Color temperature is an essential part of all photographs, and though most beginners don’t realize it, color casts – and the photographer’s response to those casts – can dramatically alter each image.
By understanding how these color casts affect your photos, you’ll be able to create beautiful images that feature natural, neutral colors or even (if it’s what you’re after) boldly colored hues. On the other hand, if you fail to consider color casts when photographing and editing, your images may look subtly off or even downright strange.
In this article, I explain all the basics of color temperature in photography so you can keep your images looking as authentic as possible, and I share several methods for counteracting unwanted color casts!
Understanding Color Temperature to Improve Your Photos:
What Is Color Temperature?
All lights, even lights that are considered “white,” lie along a color spectrum. This spectrum spans from yellow to blue – with yellow lights referred to as “warm,” and blue lights referred to as “cold.” Most lights have a color cast of some sort, which puts them in the yellowish or bluish part of the spectrum.
Our eyes are very good at recognizing when light has a color cast. So we often don’t notice that a color cast is present, given how quickly and accurately our eyes compensate.
But there are times when untrained observers do note color shifts – such as when looking at an orange candle flame, when seeing a red sunset, or when seeing a very cold blue flame.
These are simply extreme examples of color casts. But even if you don’t see a color cast instantly, it’s probably still there; sunny days produce cold light, tungsten lights produce warm light, and cloudy light is somewhere in between.
Related Posts
Now, photographers refer to the color of light in terms of color temperature. We use a scale in Kelvin; you’ll talk about very cold lights in terms of 7000 Kelvin and beyond, and you’ll talk about very warm lights in terms of 3200 Kelvin and below.
Now, there’s an obvious point of confusion here: Low Kelvin values refer to “warm” colors and high Kelvin values refer to “cold” colors. What’s that about?
Honestly, it’s not important – what matters is that you remember what color temperature is and that lower Kelvin values mean warm while higher Kelvin values mean cold.
Cool Lights vs Hot Lights
Before I really dive into the importance of color temperature to photography, it pays to understand what types of lights are warm and what types of lights are cold.
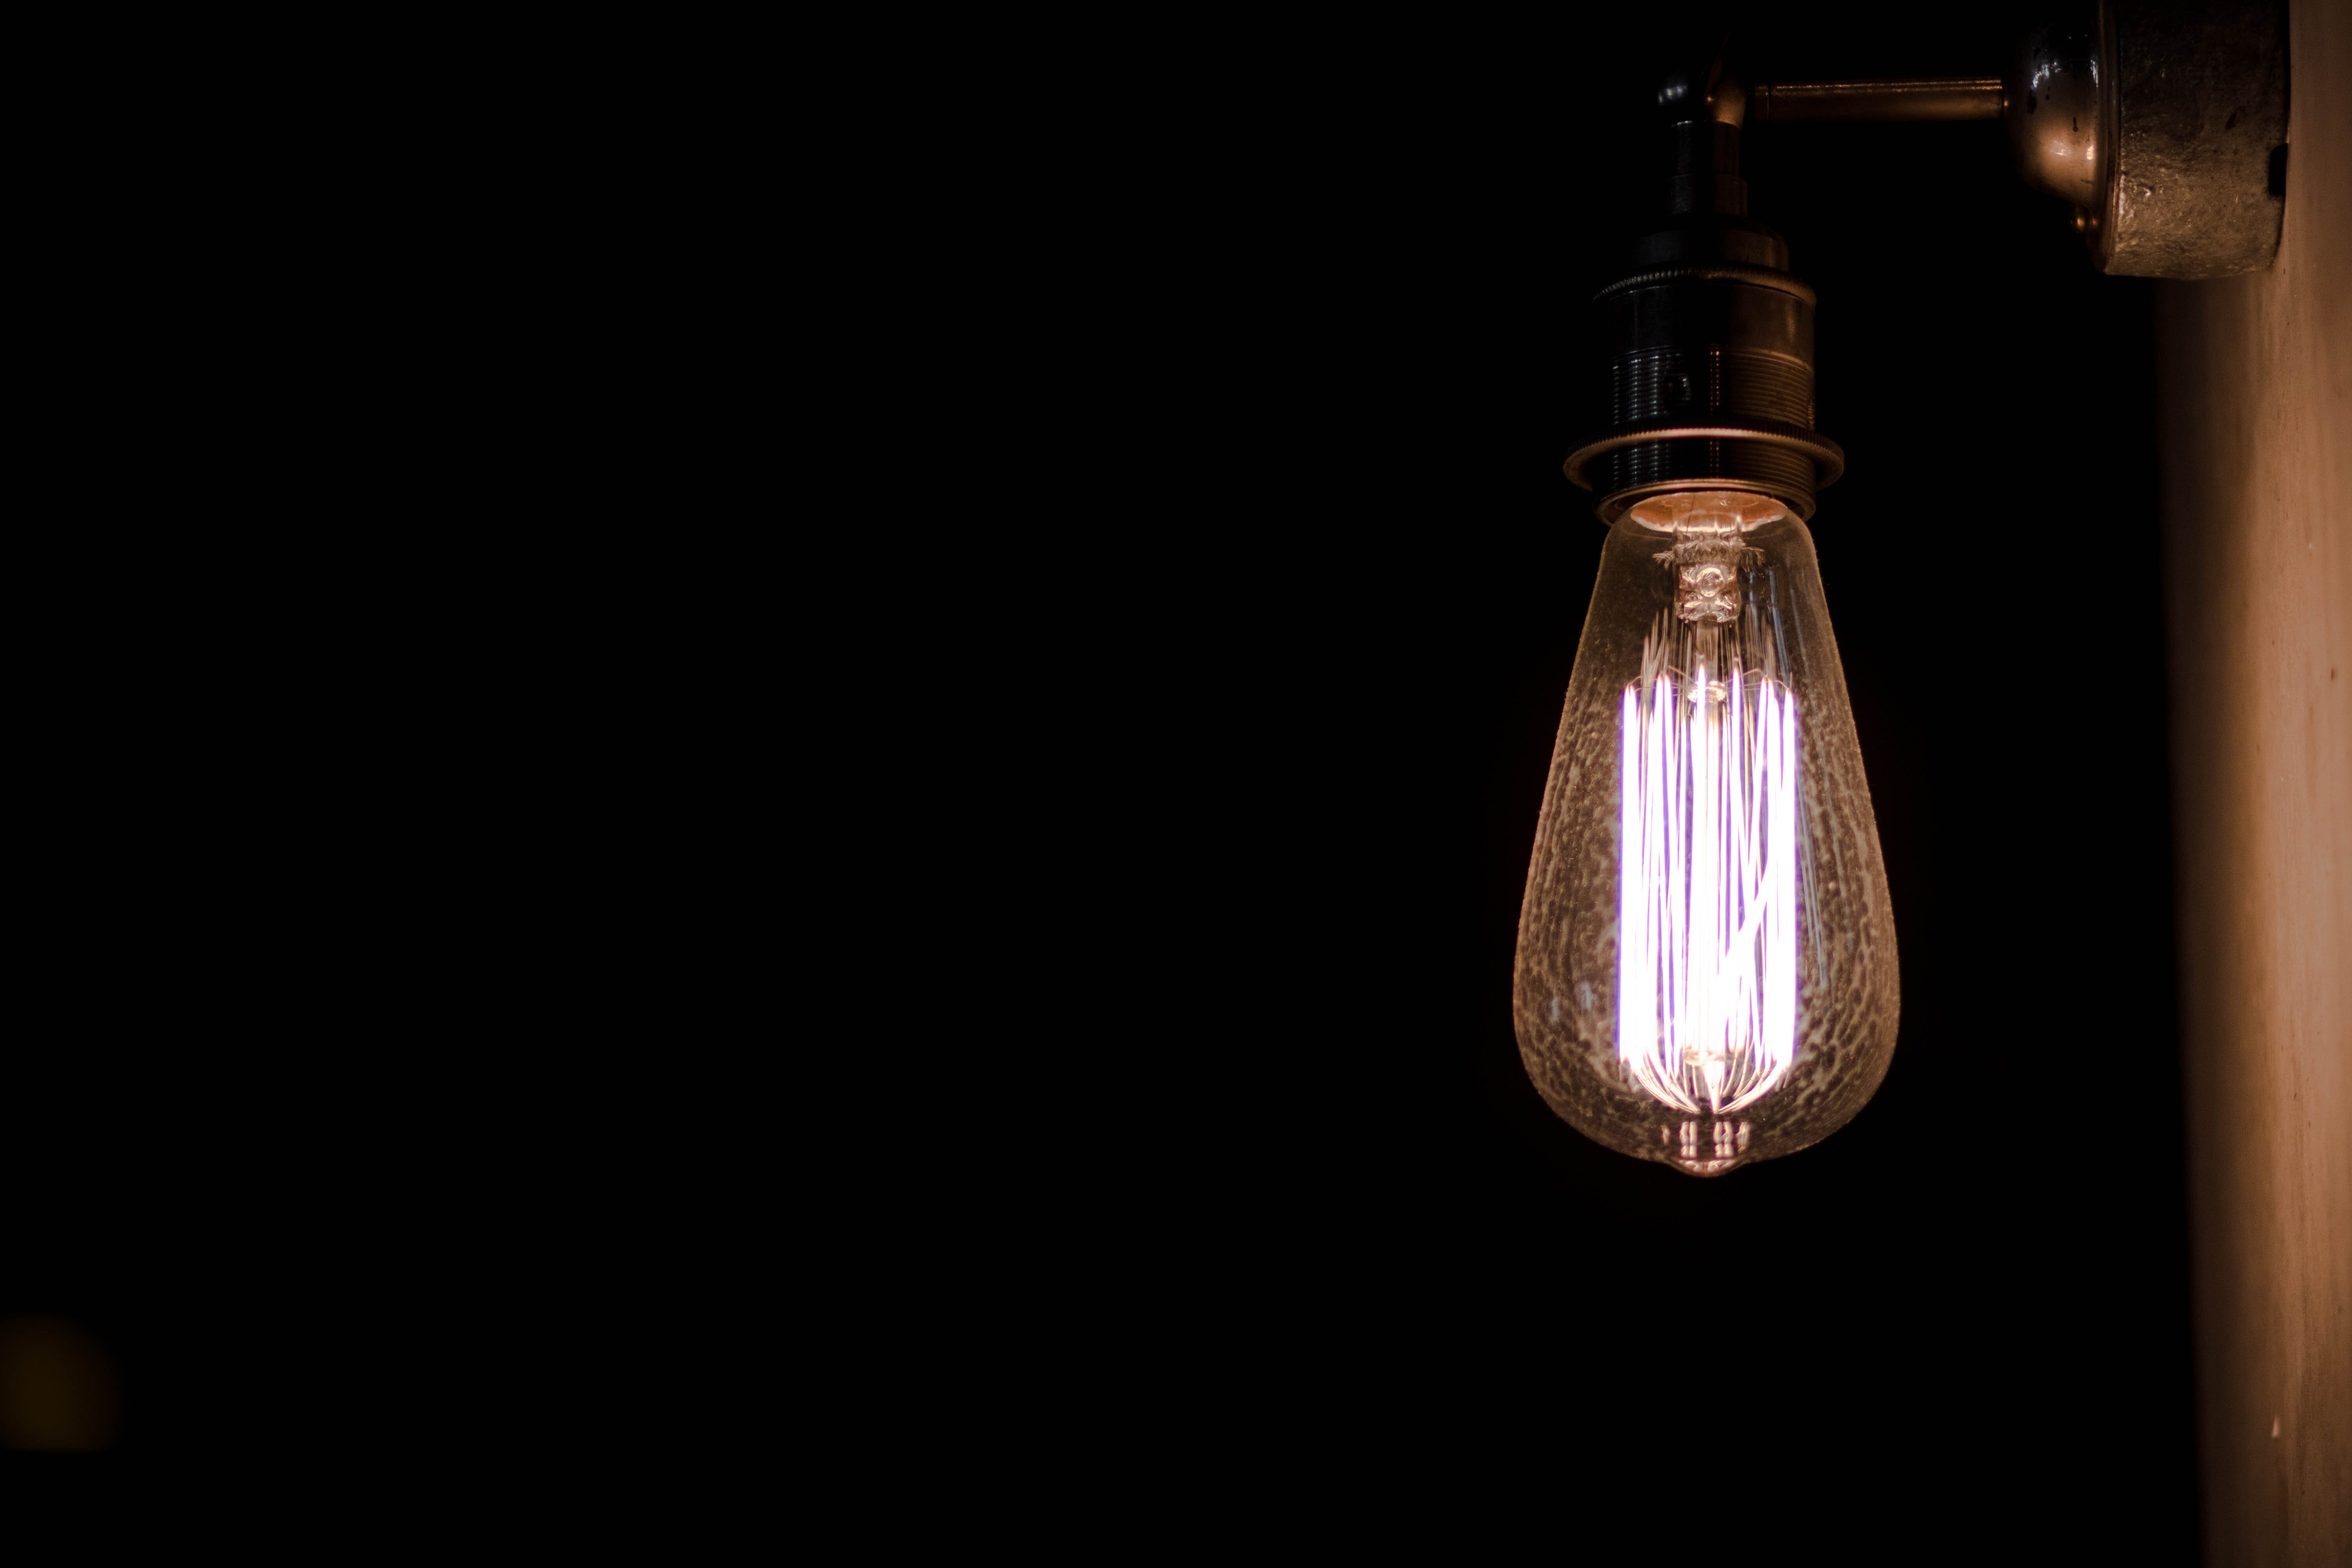
Candles are very warm, as you might have guessed. Sunsets and sunrises are slightly less warm. Tungsten light bulbs are less warm still (but still warm).
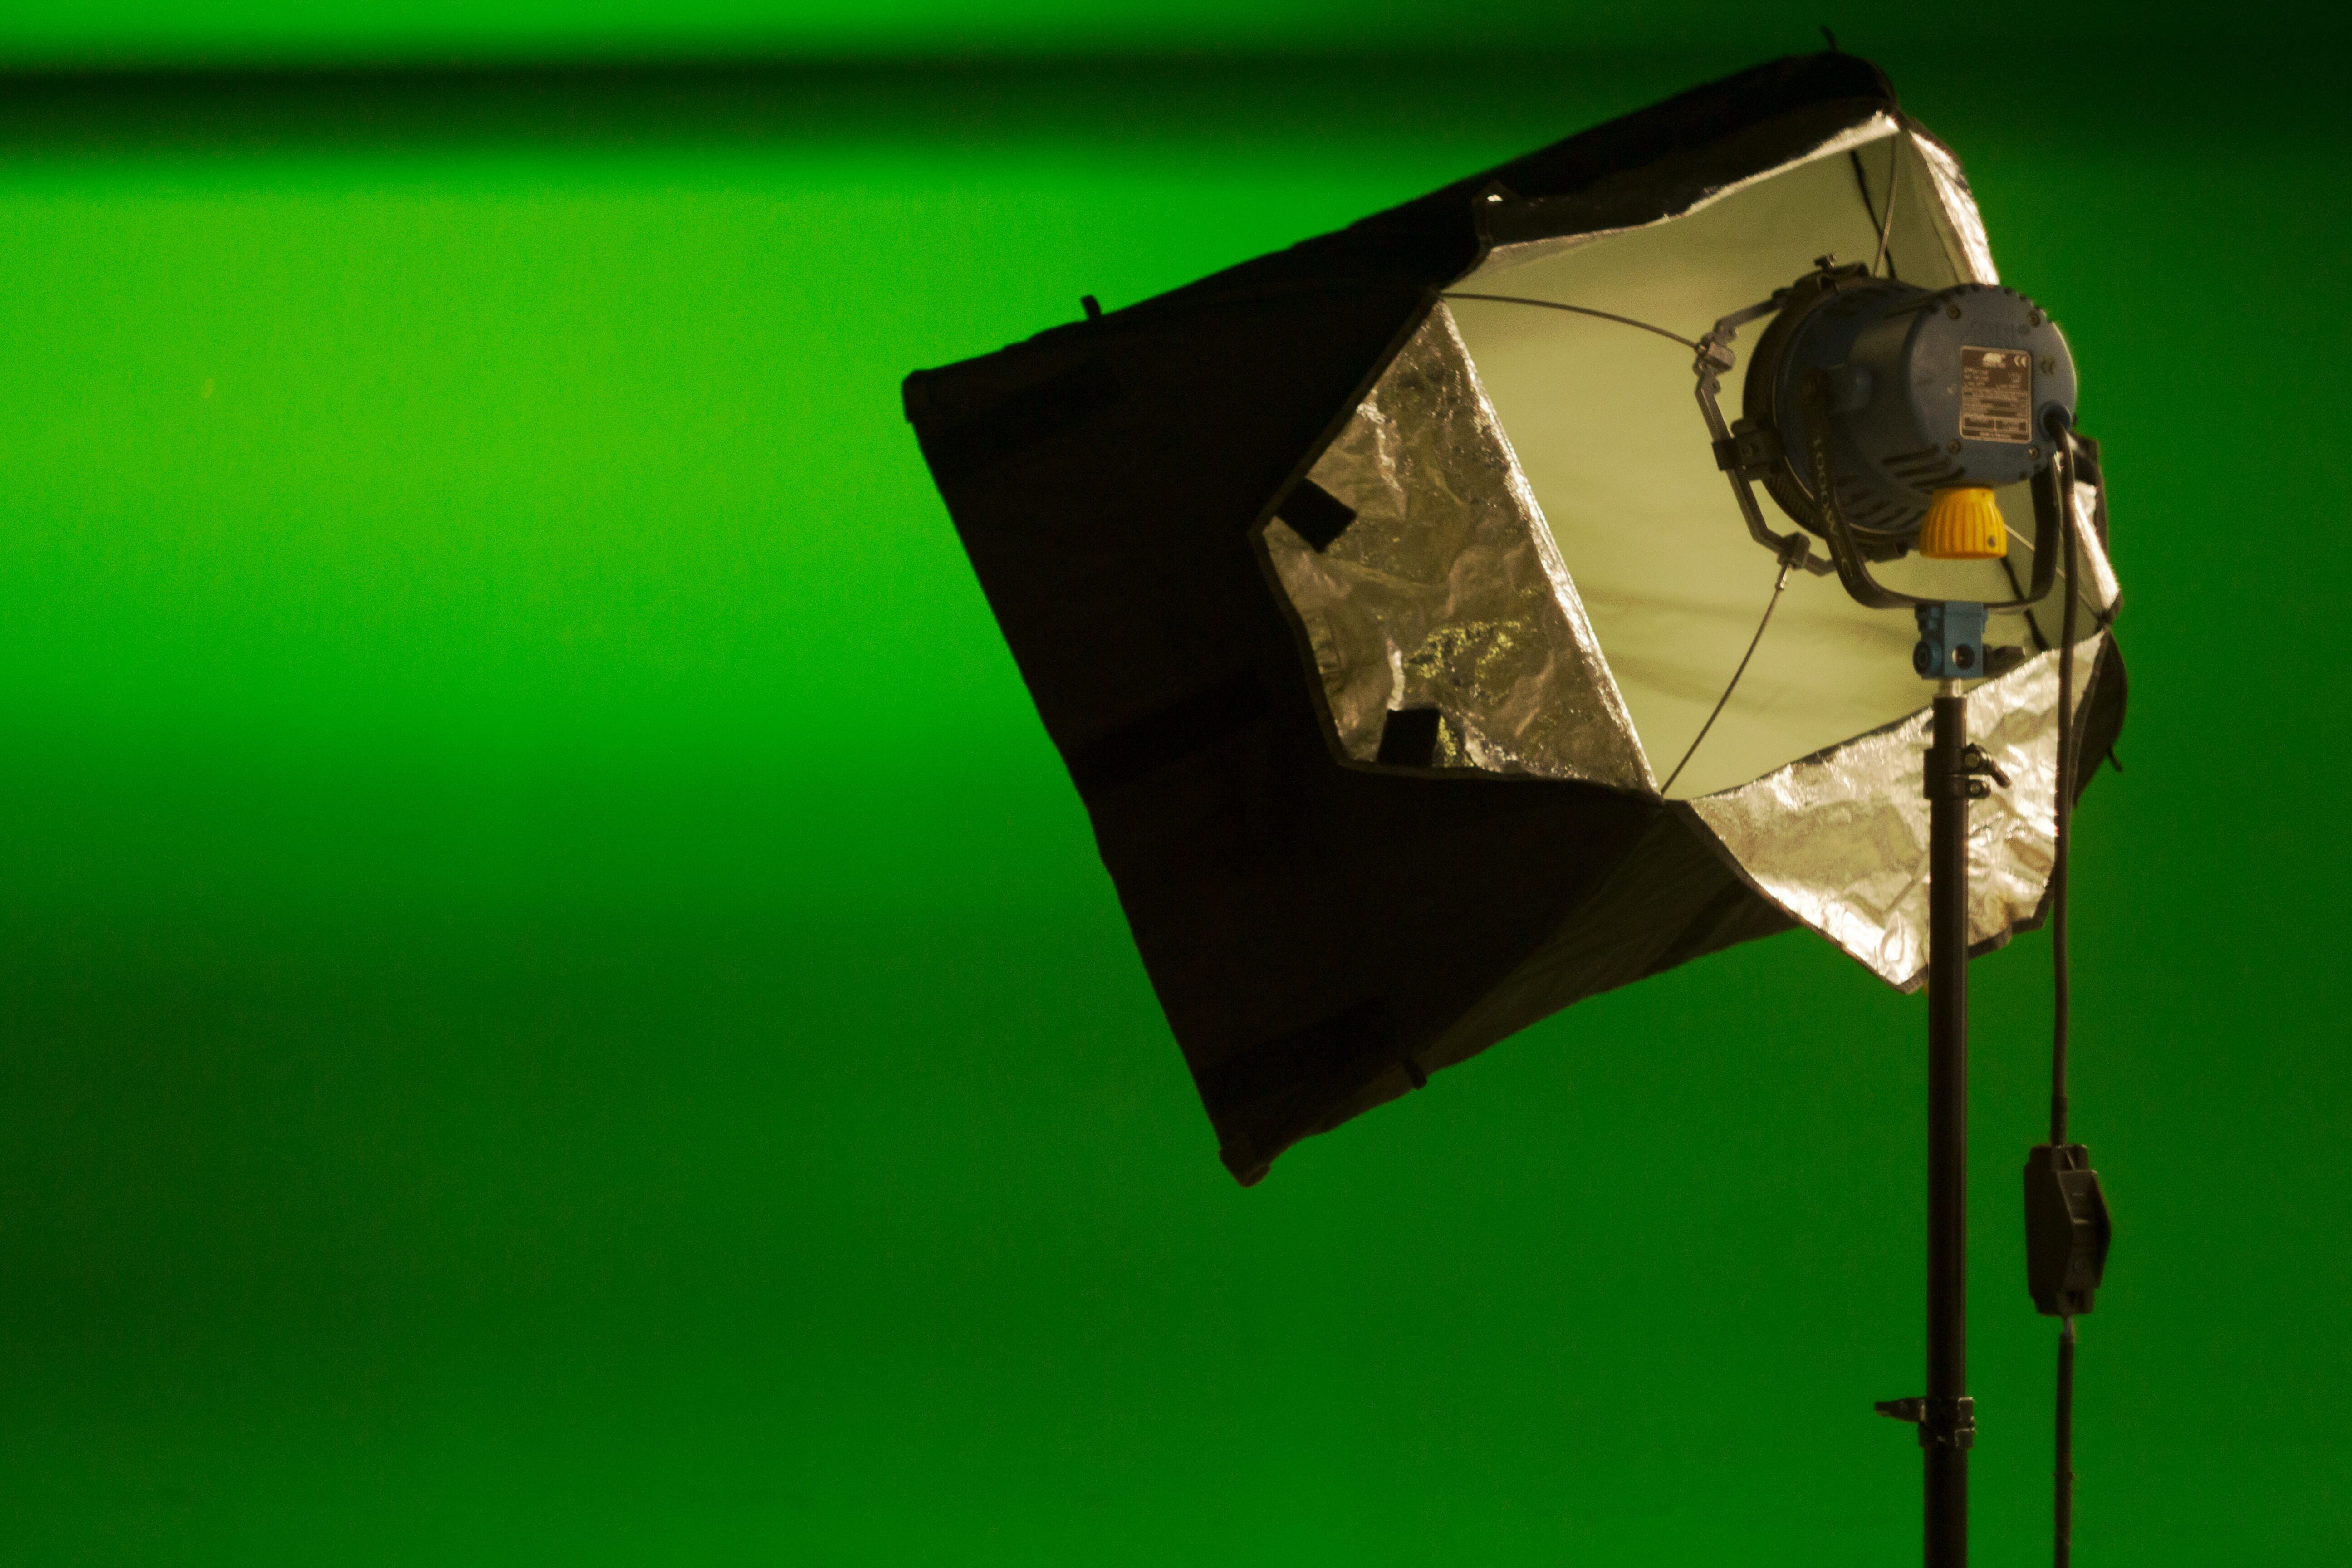
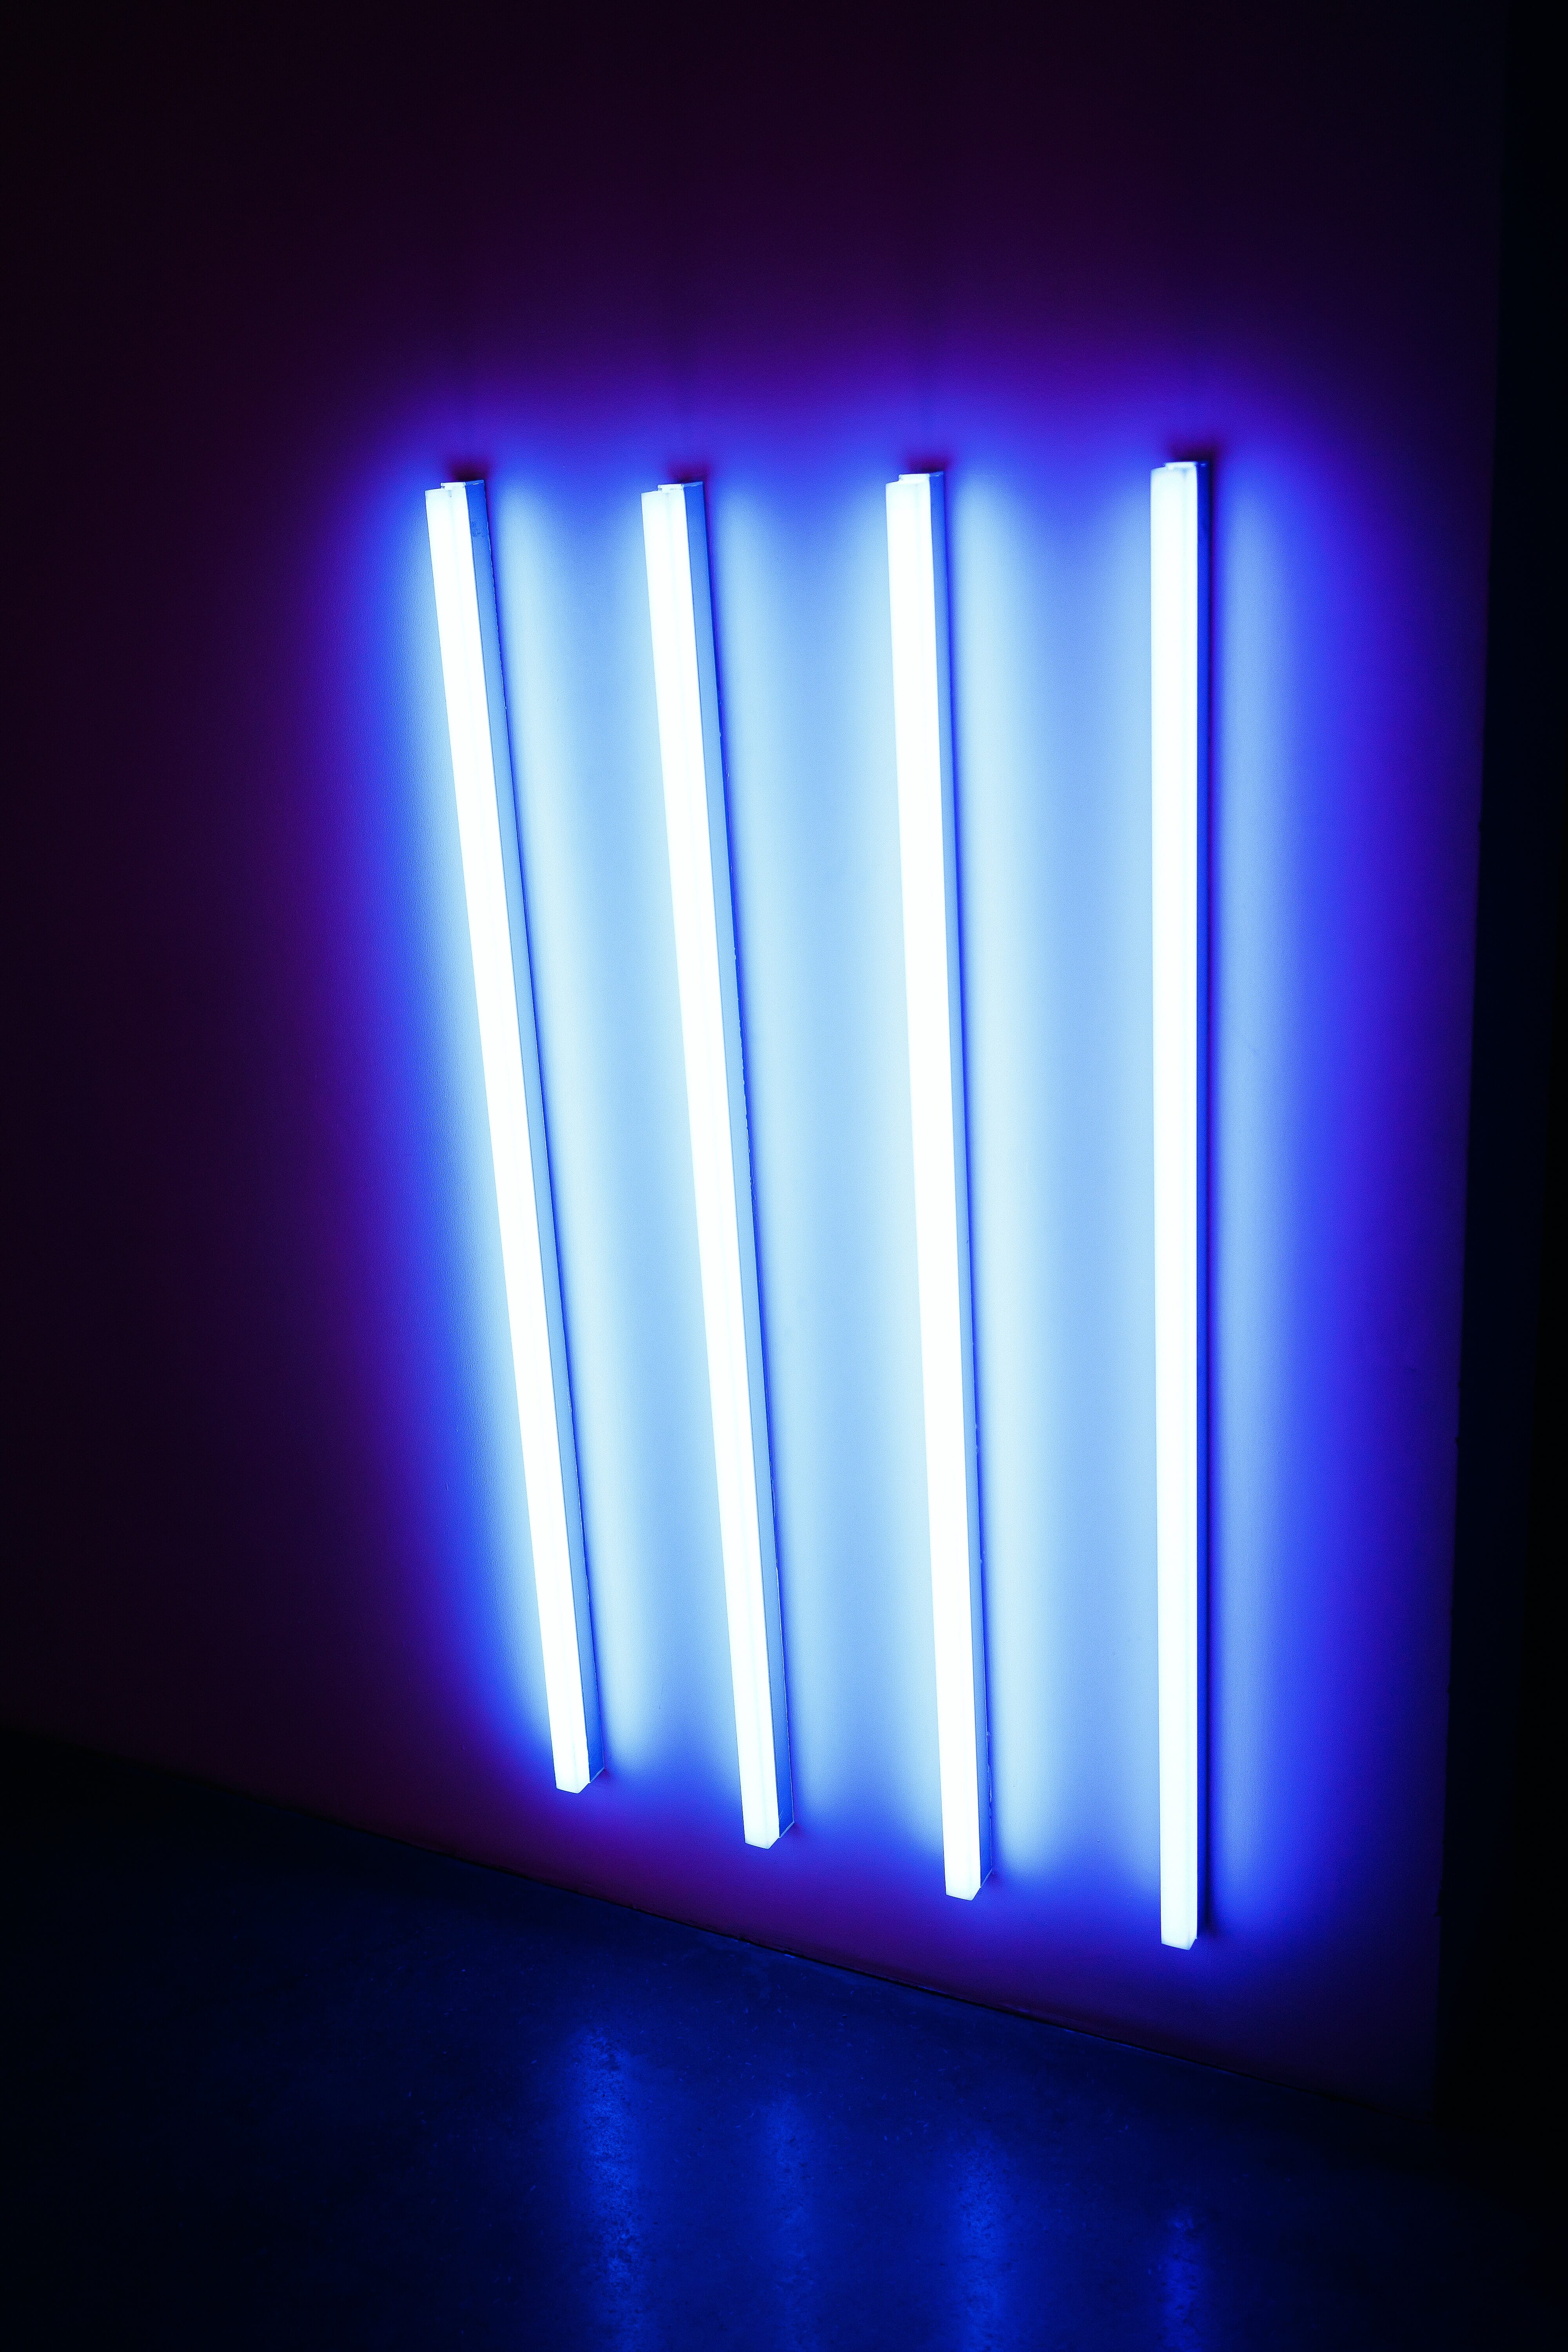
White fluorescent lights, on the other hand, start to push toward cold. Sunny daylight is a bit colder, as is light produced by a standard flash. Cloudy light is colder still, and shady light is very cold.
Of course, there are many other light sources, both natural and artificial, all of which offer different temperatures. Over time, you can train your eye to see the warmth or coolness of a light source – but for now, just understand that these variations exist.
What Is Color Tint?
Remember how I said that every light lies along a yellow/blue spectrum? Well, there’s another spectrum that matters: The green/magenta spectrum, also referred to as the color tint spectrum.
Most light doesn’t actually move very far along the color tint spectrum, which means that photographers often just talk about color temperature and get away with it.
But you’ll occasionally run into lights with strong tints (such as the green tint of a bright neon sign), so it’s a good idea to remember what color tint actually is, just in case.
Why Does Color Temperature in Photography Matter?
Now that you know all about color temperature (and color tint), it’s time to get to the most important part of this article: Why light color actually matters.
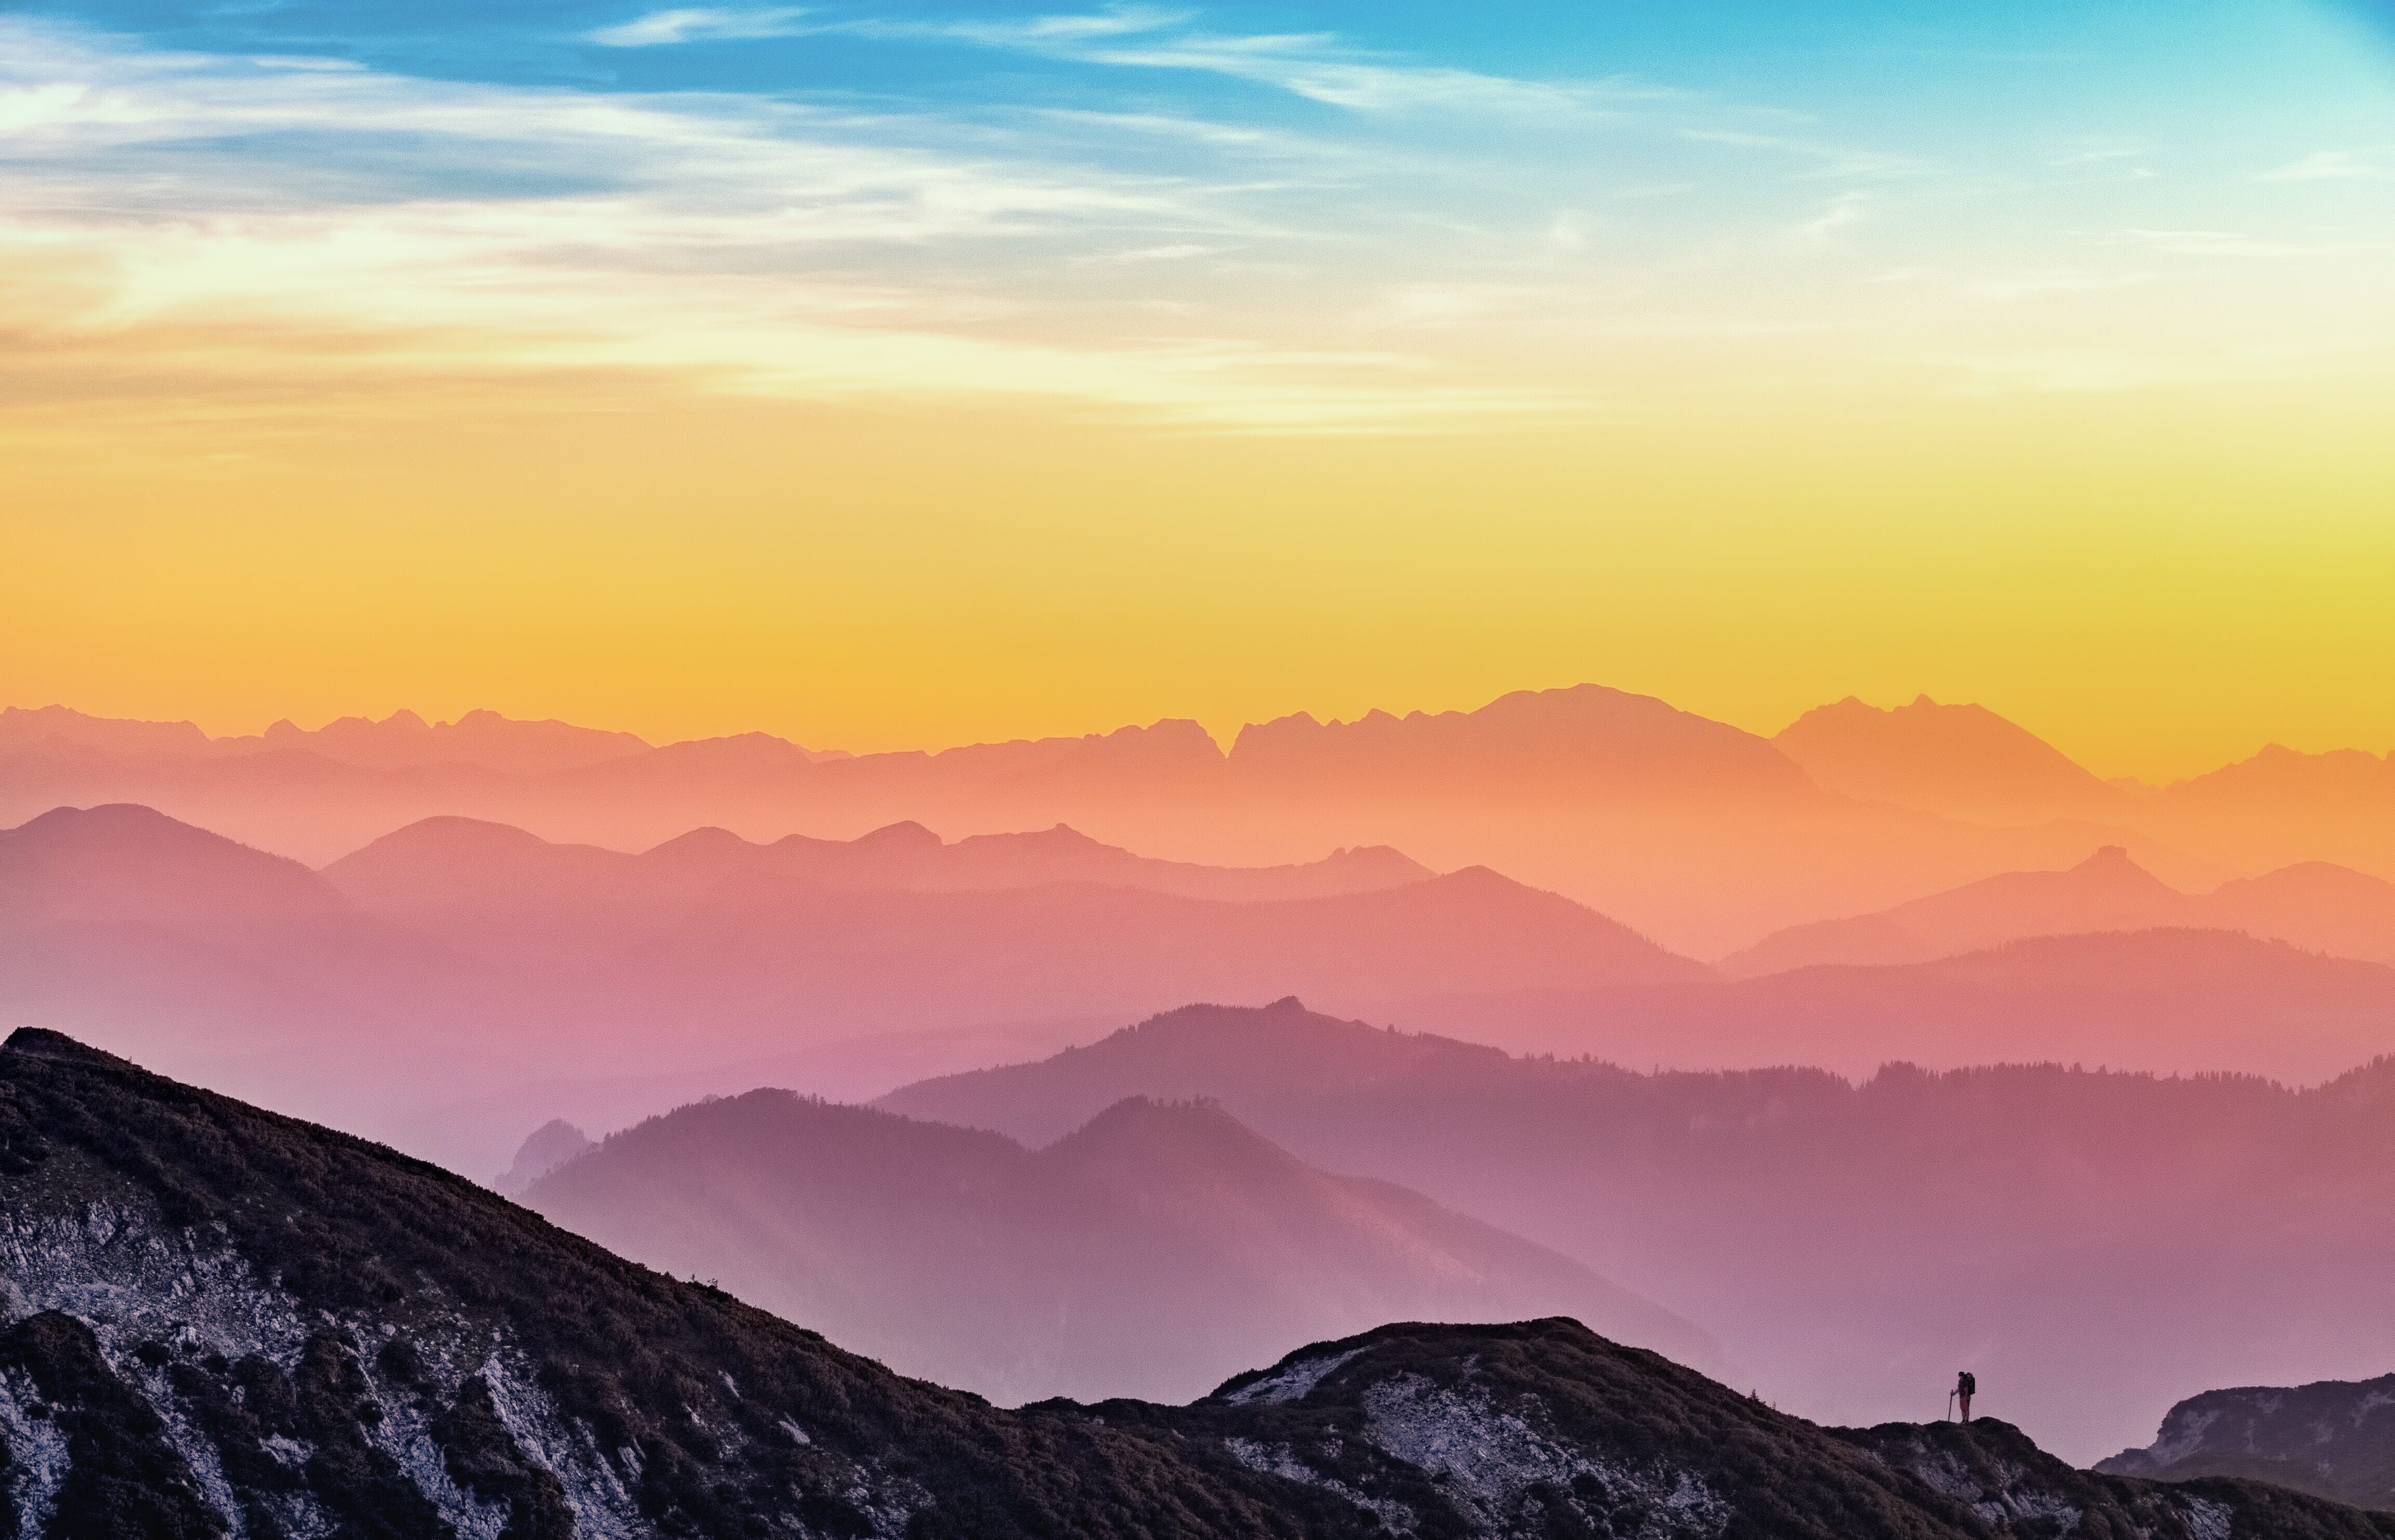
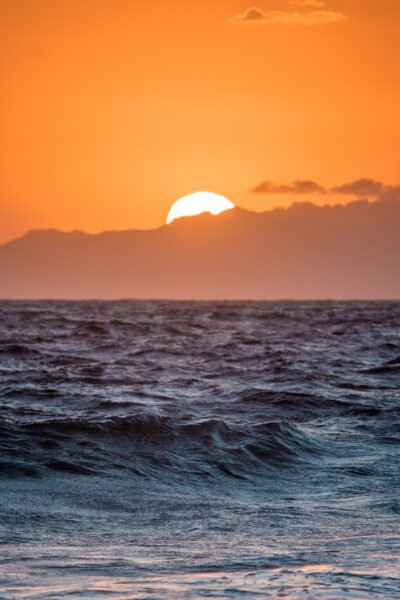
As I said, your eye is really good at compensating for color shifts and can instantly make everything appear pretty neutral. But your camera, on the other hand, is not that skilled. So when you photograph a scene that’s under warm light, you’ll end up with a strong yellow/orange/red color cast. Like this:
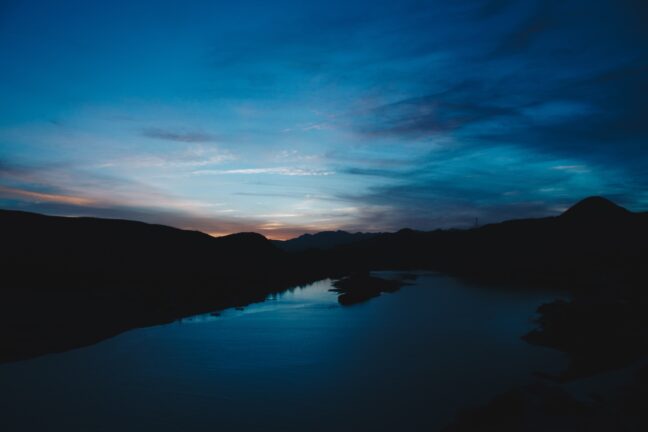
And when you photograph a scene under cold light, you’ll end up with the opposite (a cool blue color cast over your image):
Generally speaking, this is not what you want. You want images that look relatively natural, rather than images that are weirdly blue or strangely orange. Like this:

So what do you do when you encounter images with a warm or cold color cast? You compensate for the color cast using something called white balance.
White Balance Explained
White balance refers to the process of correcting color casts in your images. So if you have an orange or a blue image, a white balance can make it look neutral again.
(It does this by adding in some of the opposite color on the spectrum; if your image is blue, the white balance process adds in some orange, and if your image is orange, the white balance function adds in some blue. Then the colors balance out!)
Now, you can apply white balance effectively in two different ways: Either in-camera before you take a shot or in post-processing after your images have been captured. There are pros and cons to each method, which I’ll discuss below.
How Should You Set Your White Balance for Great Results?
Here’s my favorite method of dealing with white balance, and it’s really, really easy. Simply put your camera’s white balance setting to Auto. Then let it do its thing.
Your camera will analyze the lighting and generally give you fairly neutral photos. But in cases where your camera messes up, that’s okay; just open the images in a post-processing program and correct the white balance.
Note that for this to work effectively, you will need to photograph in RAW (rather than JPEG or HEIF). RAW will give you the flexibility you need to change your white balance after the fact, whereas file formats such as JPEGs really bake in the white balance so you can’t do much adjusting.
White Balance in Camera
If you’re a product photographer or a commercial photographer, you may need to nail the white balance while shooting. So you won’t want to just set the white balance to Auto and forget about it.
Instead, you’ll want to get it right from the start and know that it’s right (so as to ensure that your clients are happy). This leaves you with a few options.
First, you can use one of the white balance presets included on most cameras. These are options such as “Shade,” “Daylight,” and “Cloudy,” which you should dial in depending on the light you’re currently dealing with. But the problem is that most cameras only offer a few presets, so they’re not very precise.
Second, depending on your camera, you may have a manual white balance option, where you can dial in the exact white balance value – in Kelvin – that you want. For this, you’ll need a light meter, however, because you won’t know what to dial in unless you measure the light first.
And third, you can often use a custom white balance function, which allows you to place a gray card in front of your camera and create a white balance based on that. This is the method I recommend if you need to get the white balance correct from the start, but the specifics vary from camera to camera, so I suggest you check your manual for information on how to set it up.
White Balance in Post-Processing
If you need to correct your white balance in post-processing, then you’ll have a really easy time: Simply pull up your image, then adjust the temperature and tint sliders until you get a value you like.
Alternatively, you can use the dropper option (which is present in most software). Just click on an area of the image that’s supposed to be a neutral gray or white; your post-processing program will quickly correct the entire image (by using that spot as a reference point).
Creative vs Corrective White Balance
Here’s one last thing you should know about white balance: While it’s a good idea to correct for unwanted color casts, sometimes the color casts are good.
Different color casts evoke different moods. Blue adds sadness. Red adds intensity. And if a color cast adds to your image, then don’t remove it. Let it stay! You can even introduce color casts that don’t exist by playing with the white balancing options in post-processing.
Related Posts
When it comes to creative white balancing, the sky’s the limit – so don’t be afraid to experiment!

Keep Your Images Looking Natural!
If you’re aiming to capture stunning images, then you have to master color temperature. After all, color correction is often the difference between an amateurish snapshot and a professional image.
So make sure you pick one of the white-balancing strategies I’ve mentioned above. And get it set up on your camera!
If you do it right, you’ll get some great results. I guarantee it!
Above, you have this sentence: “We use a scale in Kelvin, so you’ll talk about very cold lights in terms of 7000 Kelvin and beyond. And you’ll talk about very cold lights in terms of 3200 Kelvin and below.” Should the second “very cold” be “very warm”? (I’m happy to admit to being confused by nature, if I have misunderstood!) Good wishes. I enjoyed the page.