Everyone wants a fantastic picture of their favorite furry friend, but the task is more challenging than you might expect. Dogs don’t pose on command, and they certainly won’t smile for the camera. To get the best results, you’ll need to combine photographic skills, passion, and plenty of patience.
While I can’t do much to increase your passion or patience, I’ve been honing my approach to dog photography for the better part of a decade, so I can offer plenty of practical advice to improve your skills.
In this article, I share a variety of tips to make your dog photoshoots successful, including tricks to keep your subject focused, techniques for compelling compositions, and secrets for capturing the dog’s personality. It doesn’t matter whether you’re working for yourself, a friend, or a regular client – with a few of these dog photography tips, you’ll be creating pro-level pup shots in no time at all.
Tips for Amazing Dog Photos:
1. Get the Dog’s Attention with Treats or Toys
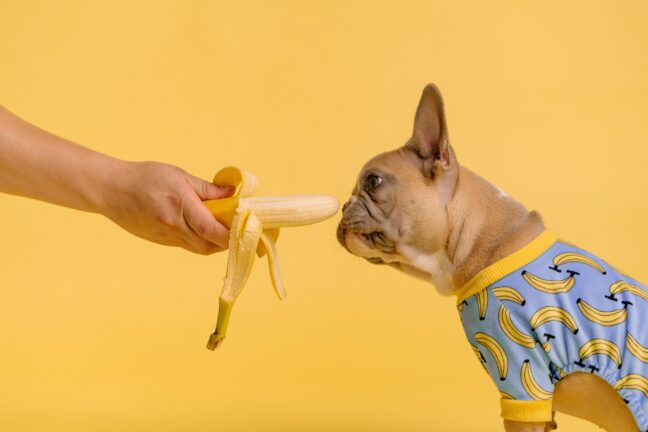
I can’t overemphasize the importance of treats and toys in dog photography. You want to get that lively and engaging expression as well as a good pose, and nothing does the job better than a tasty treat or a squeaky toy. Hold the food or toy near your camera and watch as the dog looks eagerly in your direction.
Of course, if you’re using treats, be mindful of the dog’s preferences or allergies. And if you’re not working with your own dog, be sure to consult the owner to make sure you’ve chosen something safe.
Don’t hesitate to experiment with different items, either. You might find that the dog ignores certain treats completely but a banana or carrot instantly grabs its attention. Though identifying the right motivator might take some time, it’s worth it; an engaged dog makes for engaging photos!
A final word of advice: Whether you work with treats or toys, one thing to watch out for is a sudden lunge toward the camera. I’ve had quite a few slobbery near-misses over the years, myself – it’s one of the reasons I ensure that all my dog photography lenses are protected by UV filters.
2. Keep the Eyes in Focus

As the saying goes, the eye is the window to the soul, and that applies to dogs as well as humans. Therefore, keeping the eyes sharp is critical. It doesn’t matter if other parts of the dog are a bit out of focus; the eyes need to be crisp and clear.
Using single-point autofocus and placing the AF point directly on the eyes can really help here. Alternatively, if you have a camera with animal eye tracking, you should definitely test it out. (Don’t try any new settings during a photoshoot for a client, however! Make sure that you’re ready to go before arriving on-site.)
Also, be prepared for some failure. If I’ve photographed a dog in a particularly challenging situation – in a field with lots of tall grass that distracted my camera’s AF system, for instance – I’ll often spend extra time reviewing the images zoomed in to 100% on my computer because I know that some of them won’t feature sharp eyes.
Keep in mind that some dogs are a little uncomfortable looking you directly in the eye, and that’s okay. While it’s great to photograph a dog that’s staring into the camera, you can also get some nice shots of your subject as it looks off to the side or just above you. Remember, however, that the eyes should still be the sharpest part of your images.
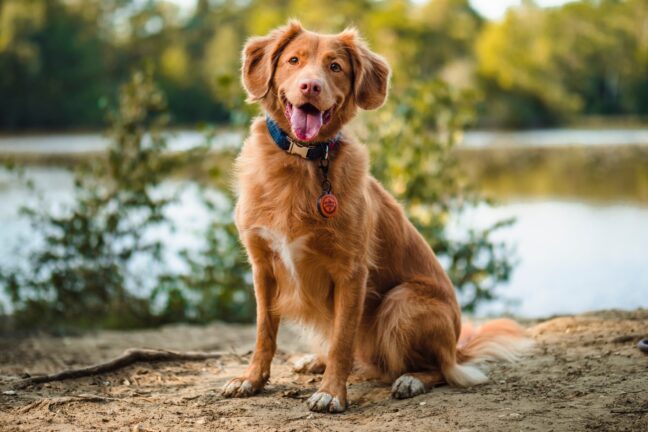
3. Go Low for Added Intimacy
A dog’s perspective is unique, and to truly capture it, you’ll want to get down on its level. Shooting from above can be cute, but it often makes the dog look small or insignificant, whereas getting down low creates a more personal and engaging view.
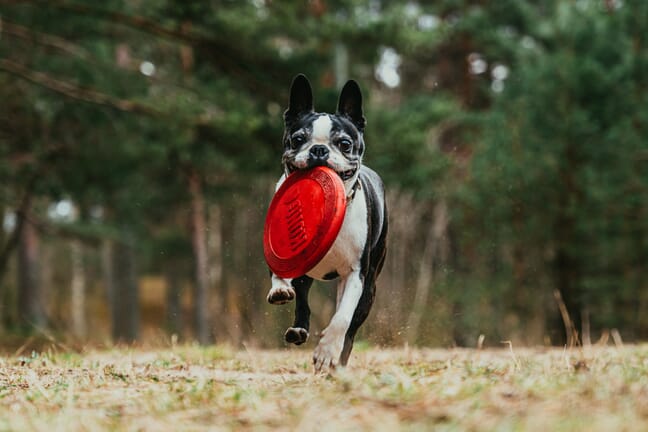
So don’t be afraid to crouch down or even lie down on the ground. In general, lowering yourself until you’re on a level with the dog’s eyes works exceptionally well – it’s the approach I use about 90% of the time – but you can always go even lower for a very heroic result:
Pro tip: If you – or your knees – aren’t thrilled about getting down on the ground, consider using a camera with an articulating screen. It’ll make nailing those low-angle shots a lot easier.
4. Capture the Dog’s Personality
Every dog is unique, and capturing that special personality will make your photos even more memorable. If you’re photographing an unfamiliar dog and you have the time, ask the owner if you can hang out with the dog before the shoot. Observe its quirks, habits, and characteristics, and when the photoshoot gets underway, try to capture shots that show off these traits.
You can also work closely with the owner to bring out the true personality of the dog. Owners know their pets better than anyone and can help you identify and photograph those hidden traits that make the dog stand out.
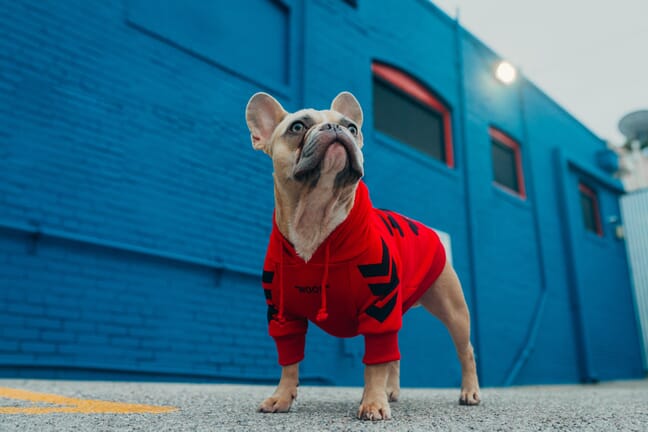
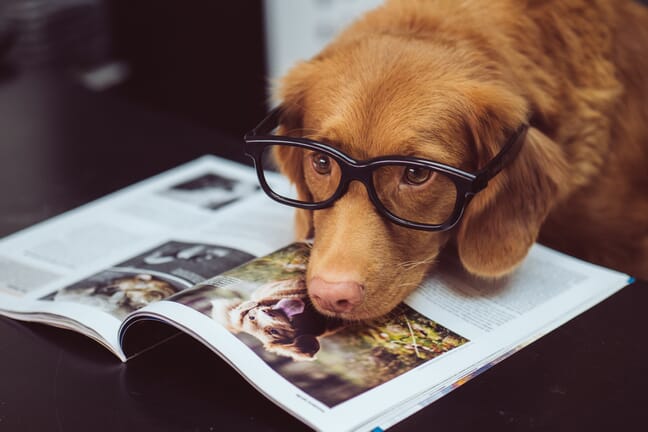
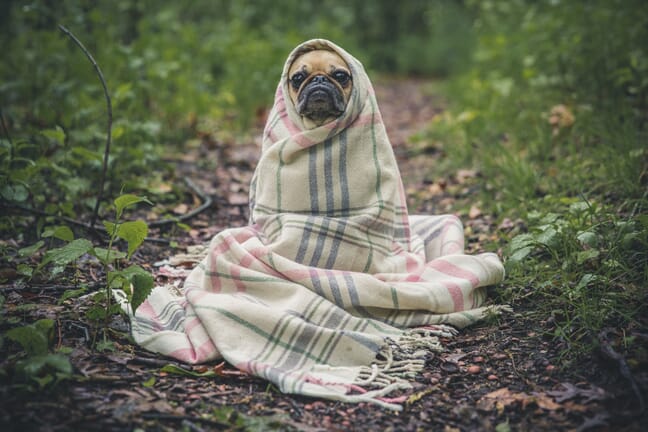
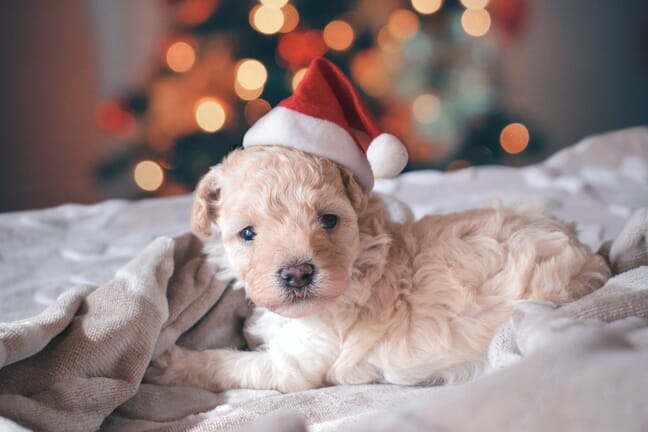
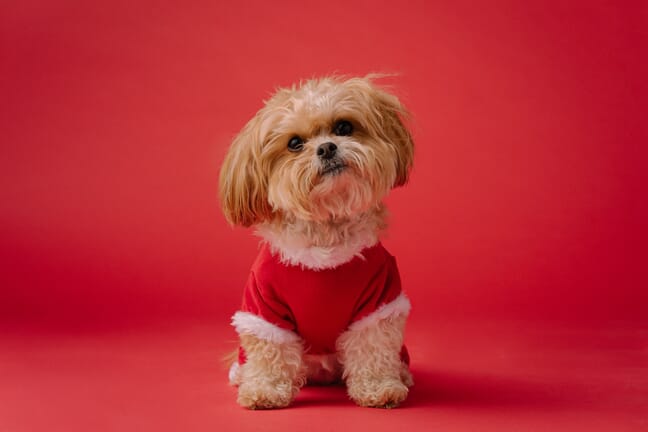
A big part of personality-focused dog photography involves capturing the subject’s behavior, but you can also emphasize certain characteristics by adding fun photo props, such as sunglasses, blankets, sweaters, and hats. I’m also a big fan of incorporating natural props into dog images, such as sticks (some dogs love to carry these around!).
Of course, not all dogs will be comfortable with this, and you certainly shouldn’t force it. Instead, you want to do what makes both you and the dog happy.
So have fun with your subject. Capture different moods and expressions; try adding in a few different props and see what you can create. The resulting images will look great, and they’ll resonate with the owner, too.
5. Try a Shallow Depth of Field Effect
One of the most striking techniques you can use in dog photography involves a shallow depth of field effect. It allows you to create a soft and pleasing blur that emphasizes the subject and causes any distracting background elements to fade away.
The way to achieve this blur (also known as bokeh) is by using a large aperture. I’d suggest starting with a setting like f/2.8 or f/4, which will compress the plane of focus. You can also use a telephoto lens and/or move closer to the dog to enhance the background bokeh effect.
Focusing carefully is vital with this approach. It’s easy to accidentally focus on the nose instead of the eyes and end up with a lot of useless shots, so it’s crucial to pay close attention to where you set your focus point.
6. Watch Your Compositions
Composition might sound complex, but it’s really just about finding a balanced and interesting way to arrange everything within the frame.
The rule of thirds is a great place to start. Imagine your image is divided into nine equal segments by two vertical and two horizontal lines, then try to position the dog at one of the intersections of these lines. (If you’re struggling to imagine the rule of thirds grid in your head, your camera probably offers a grid overlay that you can activate and deactivate as needed.)
Leading lines and frame within a frame techniques can help draw attention to the dog; look for lines such as grass and sticks that can direct the eye, and try to surround the dog with nice frames such as doorways and tree branches.
That said, be sure to avoid including distracting elements in your dog photography compositions. Something as simple as a brightly colored object in the background can pull the viewer’s eye away from the main subject. Always look around the frame before you take a shot and make adjustments as needed. I’ll often make a mental note of potential distractions when I arrive on location; that way, I’m less likely to miss a major problem once the photoshoot starts.
Whether you use the rule of thirds, incorporate natural elements to guide the viewer, or apply a different compositional technique, there’s no real limit to how you can compose your shots. Experiment and see what works best for you!
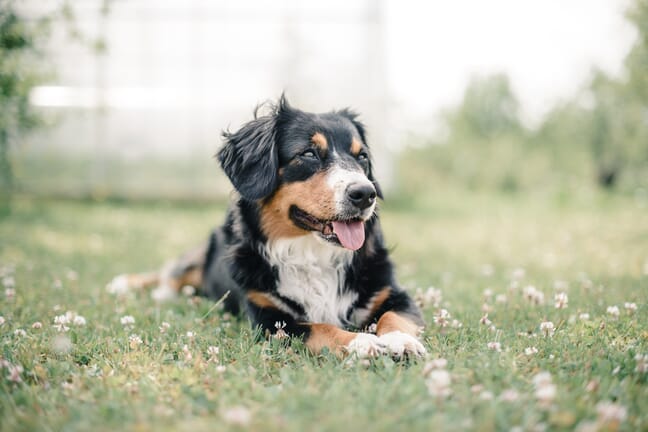
7. Choose a Complementary Background
Selecting the right background is an essential part of creating a stunning dog image. You want a backdrop that doesn’t distract from your subject but rather complements its colors and personality.
If you’re planning to work outside (see the next tip!), it can be helpful to scout locations in advance. Maybe there’s a rustic fence or colorful garden that fits well with the dog’s coat and energy, but you won’t know until you look!
Strong contrast (like white fur against a dark background) can immediately grab a viewer’s attention. On the other hand, an environment that fits more harmoniously with the dog’s colors, such as yellow leaves for a brown terrier, can also look lovely.
In a studio setting, you can always switch between several artificial backgrounds. Utilize different colored fabrics and props that fit with the dog’s fur. And if you can, pick a background that matches the dog’s character. This last personal touch can make the photograph truly special!
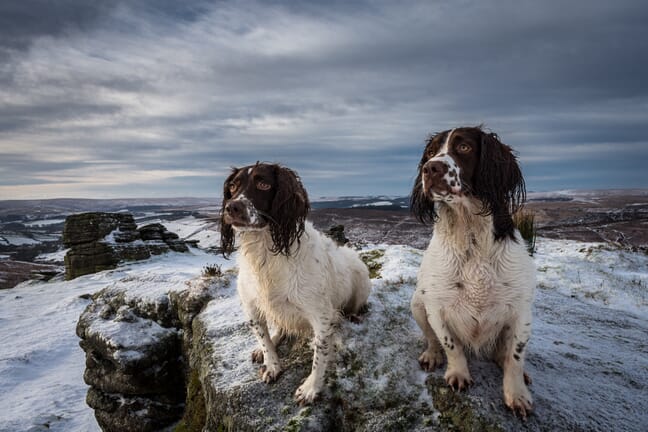
8. Consider Shooting in an Outdoor Location
I’ve worked with dogs both inside and outdoors, and both have their advantages – but for me, outdoor locations are the clear winner.
For one, outdoor settings can add a refreshing and natural feel to your photographs. Additionally, the open space, fresh air, and natural light will create a comfortable atmosphere for both you and the dog.
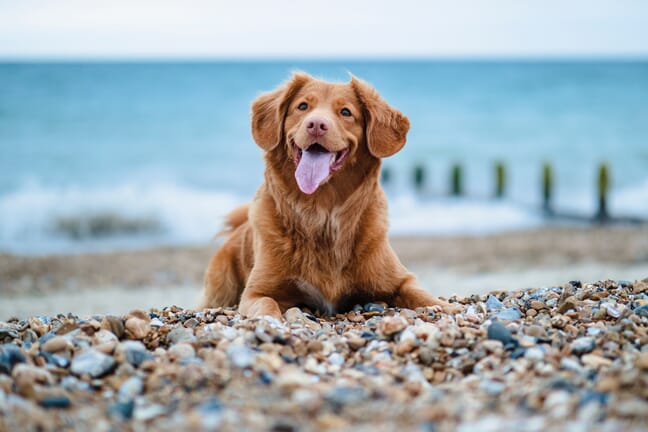
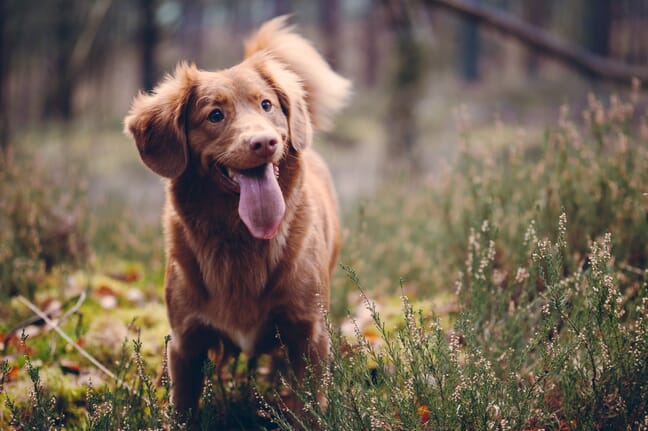
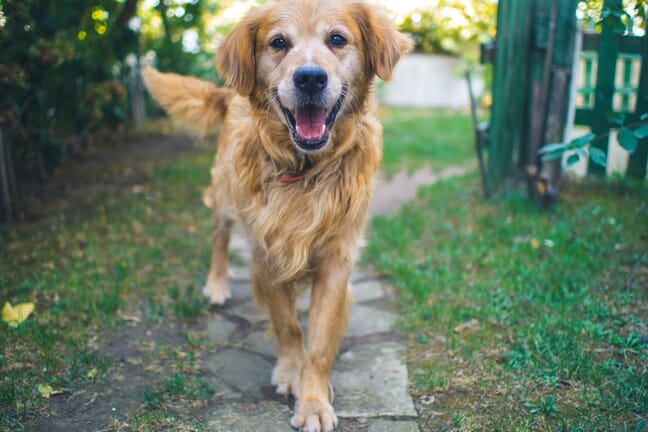
As I discussed in the last tip, carefully choosing the location is crucial here. Try to think about the breed and personality of the dog, and don’t be afraid to scout various options. A beach may suit a playful retriever, while a forest trail might be ideal for an adventurous terrier.
If you do plan to shoot outside, keep an eye on the weather and other environmental factors (like tides on a beach). Planning around these aspects can lead to a smoother shoot and more beautiful results.
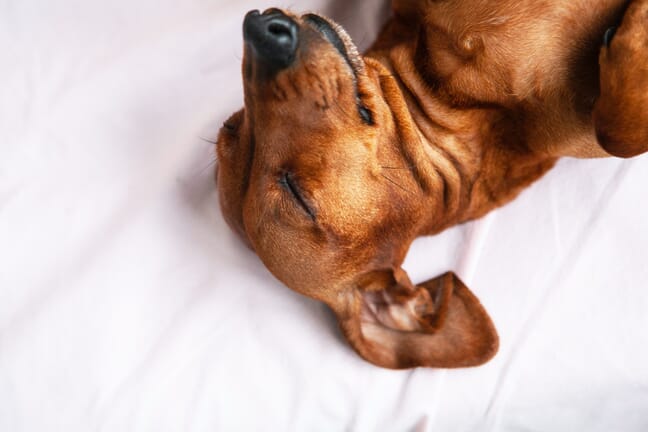
9. Wait for the Dog to Get Tired
The majority of dogs are filled with energy, so waiting for your subject to tire can lead to more controlled and calm poses. This doesn’t mean you should push the pup to exhaustion; it’s really just about letting it expend some energy.
Therefore, starting the session with some playtime is a great way to go. Not only will it encourage the dog to burn off energy, but it’ll also help it get comfortable with you and the camera.
Of course, watch for signs of tiredness and make sure you don’t push the dog too far. An exhausted dog generally won’t pose well for the camera, whereas a relaxed dog will be ready to capture some great photos!
10. Don’t Be Afraid to Bring in Backup

Having an extra pair of hands on a dog photography shoot can make a huge difference. If you’re working with a client, you can bring an assistant of your own, but it’s often better to ask the dog’s owner to help you out; they’ll know the best techniques to get the dog to listen and pose.
Communication is vital here. Talk through the shots you’re planning to take and the roles everyone will play. Don’t expect the dog’s owner (or even your own assistant) to read your mind.
And remember: Backup isn’t just about making your life easier. It’s about enhancing the overall quality of the photos and ensuring the dog is safe and happy throughout the shoot. You and your helpers should work together to get the best possible results.
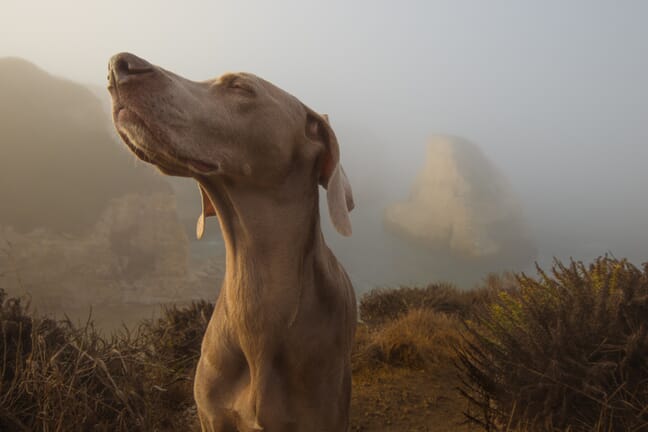
11. Use Natural Light, Not Flash
Lighting is everything in photography, and when it comes to dogs, natural light is your best friend. Soft natural light will bring out the beauty in a dog’s fur and the sparkle in its eyes.
If you’re shooting in a darker location, you may be tempted to use a flash, but this isn’t something I generally recommend. Flash can scare or distract your subject, leading to a stressful experience for everyone involved. Instead, try to move the photoshoot to somewhere with better lighting (or ensure that you’ll be working with strong natural light from the get-go).
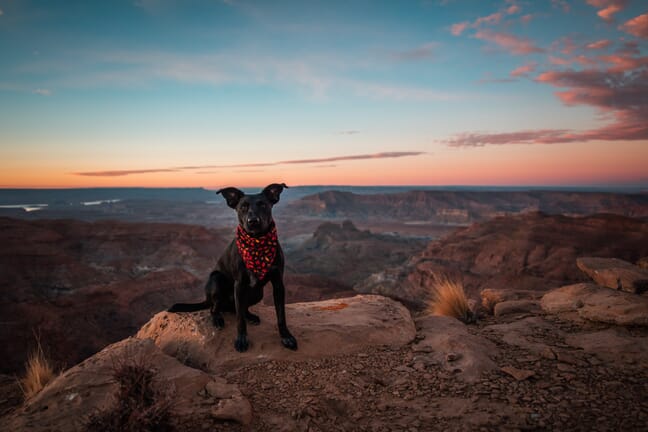
Think about shooting during the golden hour (the time just after sunrise and just before sunset). When the sun is low in the sky, the light is soft, warm, and simply magical – perfect for capturing the gentle, loving nature of your furry subject!
12. Include the Owner in Some Images
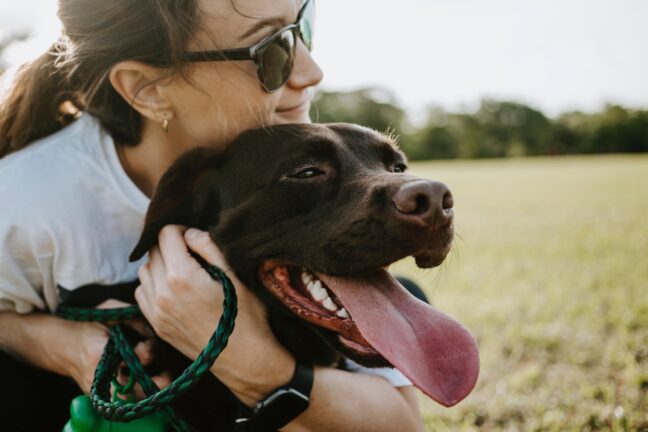
The special bond that a dog shares with its owner is often quite remarkable, and including the owner in your dog shots can add emotion and context that take photos to the next level.
Natural poses showing the relationship between the owner and the dog can be heartwarming. Try to capture candid moments or pose your subjects in a way that feels relaxed and authentic. One of my favorite methods for creating authentic images is to just ask the owner and the dog to play for a few moments. Then, once they’re fully engaged, I’ll snap a few photos!
Coordinating colors or themes might seem trivial but can make a big difference in achieving a cohesive look. Consider the colors and patterns of the owner’s clothes and the overall mood you want to create. Also think about adding props, such as a toy that the dog and the owner can play with.
Remember, a photograph of a dog with its owner is a portrait of a friendship! Keep that in mind as you take your shots, and do your best to emphasize that relationship.
13. Move Quickly
It may seem a bit obvious, but a dog will rarely hold a pose for more than a few seconds. To get great shots, you’ll have to work fast.
This means having your camera settings ready to go in advance. You don’t want to fumble with buttons and miss that perfect expression as a result. I’ll generally check my exposure and other settings during lulls in the shoot – when the dog runs off to grab a ball, for instance – and then focus on capturing the perfect moment as soon as things heat up.
Additionally, make sure you choose a shutter speed that’s fast enough to freeze motion. This will prevent blur and provide clearer expressions and details. And keep your finger on the shutter and be ready to take your next photograph at any moment.
One more quick dog photography tip: Don’t be afraid to shoot continuously. Sometimes, the best strategy is to capture a burst of photographs and pick the best one of the bunch later on.
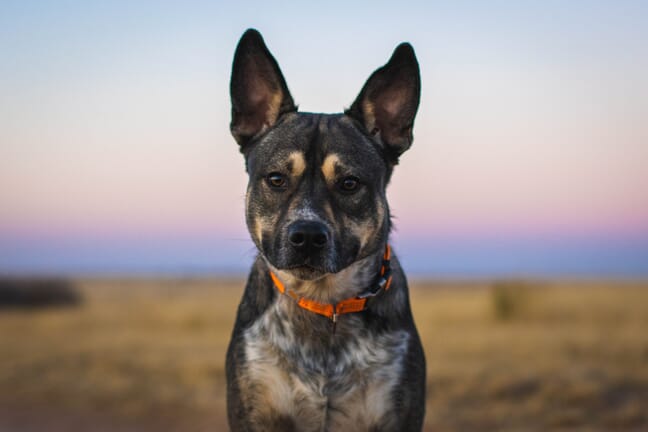
14. Experiment with Different Focal Lengths
Focal length is a powerful tool in photography, and different focal lengths can dramatically change the perspective and feel of your dog photos.
Try a wide-angle lens if you’re hoping to capture playful and exaggerated images. These lenses can make the dog’s nose appear bigger or its legs longer, adding a fun twist to the shots that I (and a lot of other dog photographers) really love. Wide-angle lenses can also come in handy when you’re photographing a dog surrounded by beautiful or dramatic scenery.
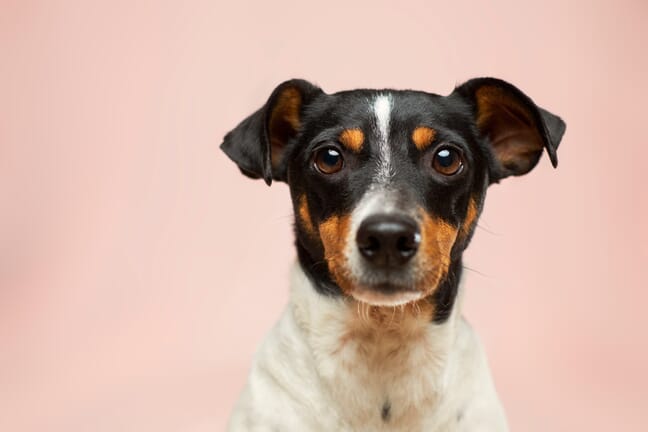
On the other hand, telephoto lenses can give you more flattering, compressed dog portraits. The way these lenses render space and proportions can be quite elegant, and they’re especially great for tighter headshots:
Don’t hesitate to use different focal lengths within a single session. This will add variety to the final set of shots and help you determine what works best for your unique subject.
15. Try Dog Action Photography
Action shots bring life and energy to any portfolio, and they’re loved by dog owners, too. Plus, these dynamic photos are incredibly fun to capture!
Earlier in the article, I mentioned the importance of using a fast shutter speed to freeze motion. When you’re doing dog action photography, this becomes even more critical. If dialing in a fast shutter speed sounds technical, don’t stress. Just set your camera on the mode labeled ‘S’ or ‘TV,’ then turn the shutter speed dial (generally the main dial on the front or back of your camera) until your camera displays a high number. I like to work at 1/1000s, but I’ll sometimes adjust the number up or down depending on the dog’s speed.
You won’t become an amazing action snapper overnight, but with practice, your skills will quickly improve. You should also try to anticipate great action moments so you know when to start firing the shutter. Understanding a dog’s behavior is key! Communicate with the owner to know when the dog is likely to leap or run, and when the moment is right, capture a burst of shots.
16. Avoid the Leash
It’s natural for dogs to be on a leash, especially in unfamiliar places. But leashes can be distracting in photos, so I’d really encourage you to do what you can to keep it out of your shots.
One option is to do your photoshoot with the dog off-leash. This is generally ideal, and it’s how I often photograph my own dogs, but it’s essential that you only capture images of an unleashed dog in a safe (and ideally enclosed) area.
If that’s not an option, you might try positioning the leash so it’s hidden from the camera’s view. Use angles to your advantage, and don’t be afraid to guide the owner’s hand a little.
Finally, if the leash does sneak into a shot, don’t fret too much. With a bit of Photoshop magic – or even a handy object-remover app – you can often remove it without anyone knowing it was ever there.
17. Have Patience!
I know, I know; I began this article by claiming that I can’t do much to increase your patience. But it’s such an important part of dog photography that it deserves a section of its own.
In my experience, being patient is key to capturing the best images of dogs. Unlike human models, dogs can be unpredictable and don’t understand any of your carefully developed pet photoshoot ideas or even the purpose of your camera. Sometimes things may not go perfectly, and that’s okay.
It may take time to find the best strategy to photograph a new dog, especially if it’s young or excitable. You can’t expect to get the best shots right off the bat.
Even the most experienced photographers generally leave dog photoshoots with a few dozen flubs. If you’re struggling to get an image that you’re pleased with, keep trying. Remember that it takes just a few great photos for a shoot to be a success!
Easy Dog Photography Tips to Capture Perfect Pet Portraits
Dog photography is an art that combines understanding, technique, and the right attitude. Yes, it can be challenging, but it’s also incredibly rewarding and fun.
So make sure you spend time practicing. Experiment with different approaches and always keep learning. Remember that dog photography isn’t just about getting a good picture; it’s about capturing the dog’s personality in a way that’ll impress even the owner.
Hopefully, you found these tips helpful, and you’re ready to schedule a photoshoot (or three!) of your own. Grab your camera, enjoy yourself, and capture some adorable dog photos!