Event photography might seem difficult – but with the right gear and techniques, anyone can take great shots of weddings, concerts, festivals, and so much more.
In this article, we share our 15 best event photography tips, including:
- The perfect settings to get sharp, well-exposed shots
- The gear that every event photographer should own
- A simple trick to make your event photos stand out from the crowd
So if you’re ready to capture some stunning event photos, then let’s get started.
Event Photography Tips:
Event Photography Tips
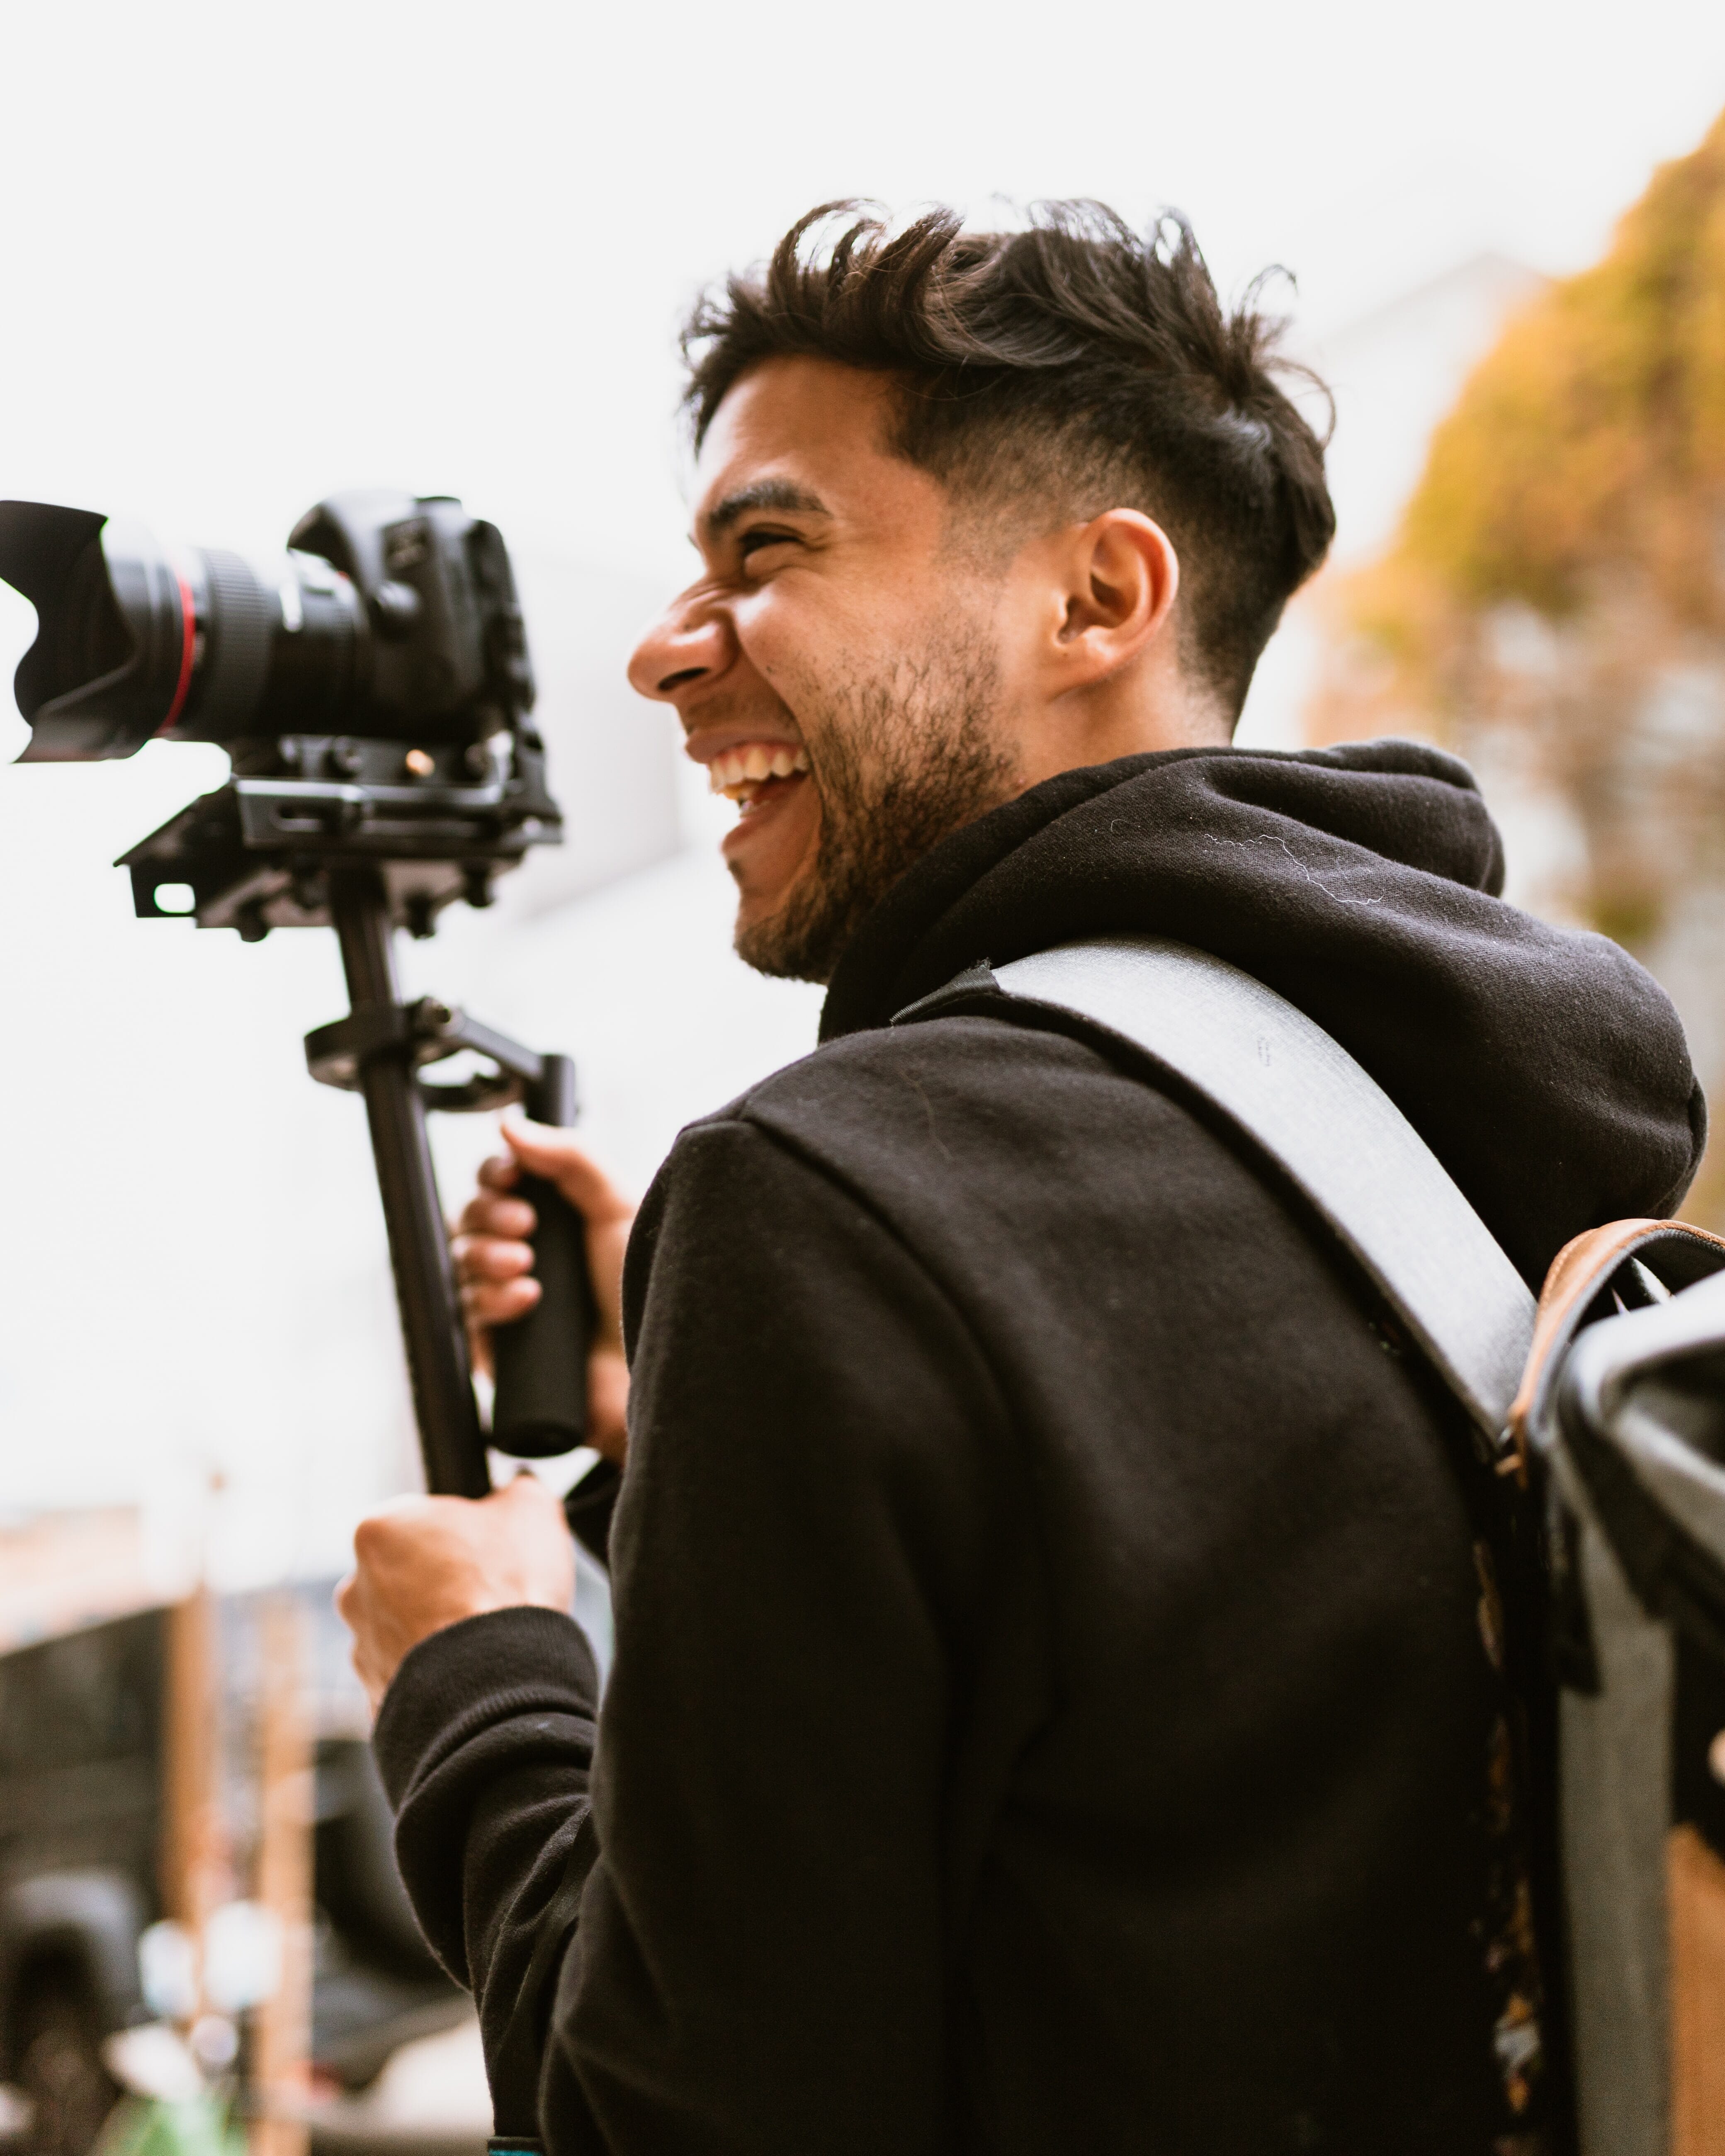
1. Make Sure to Pack Plenty of Low-Light Gear
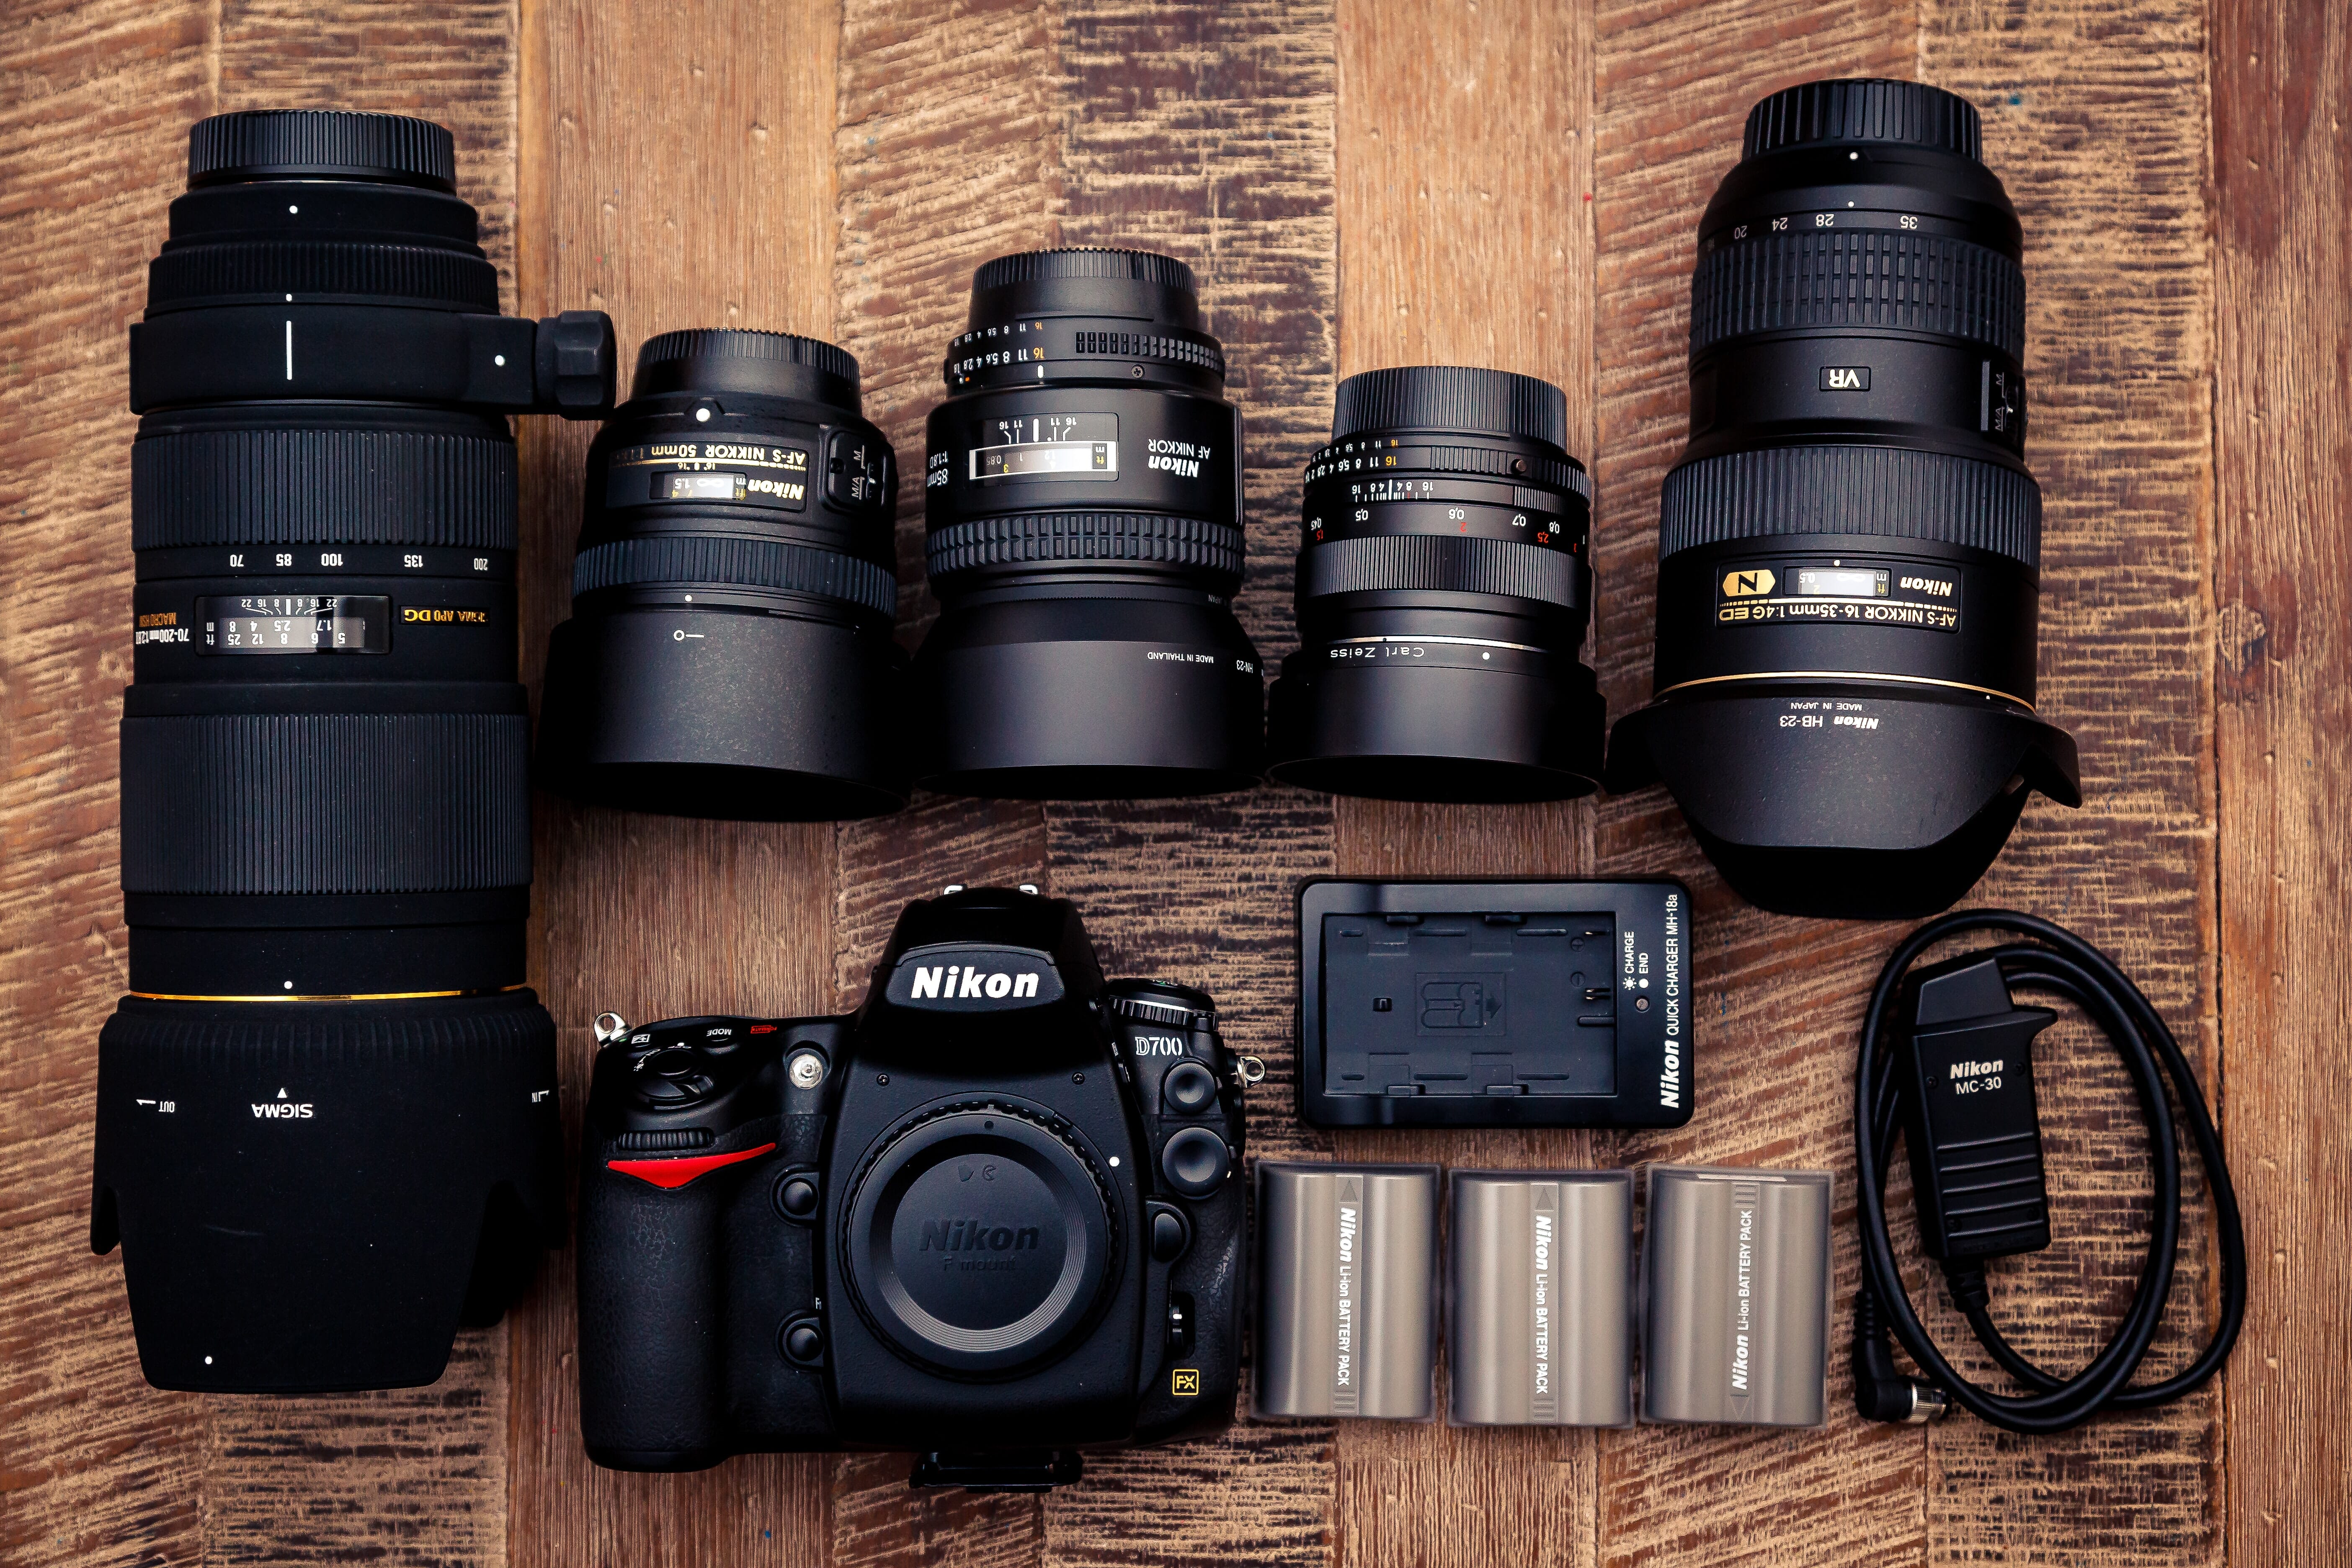
Taking beautiful event photos starts with the right gear.
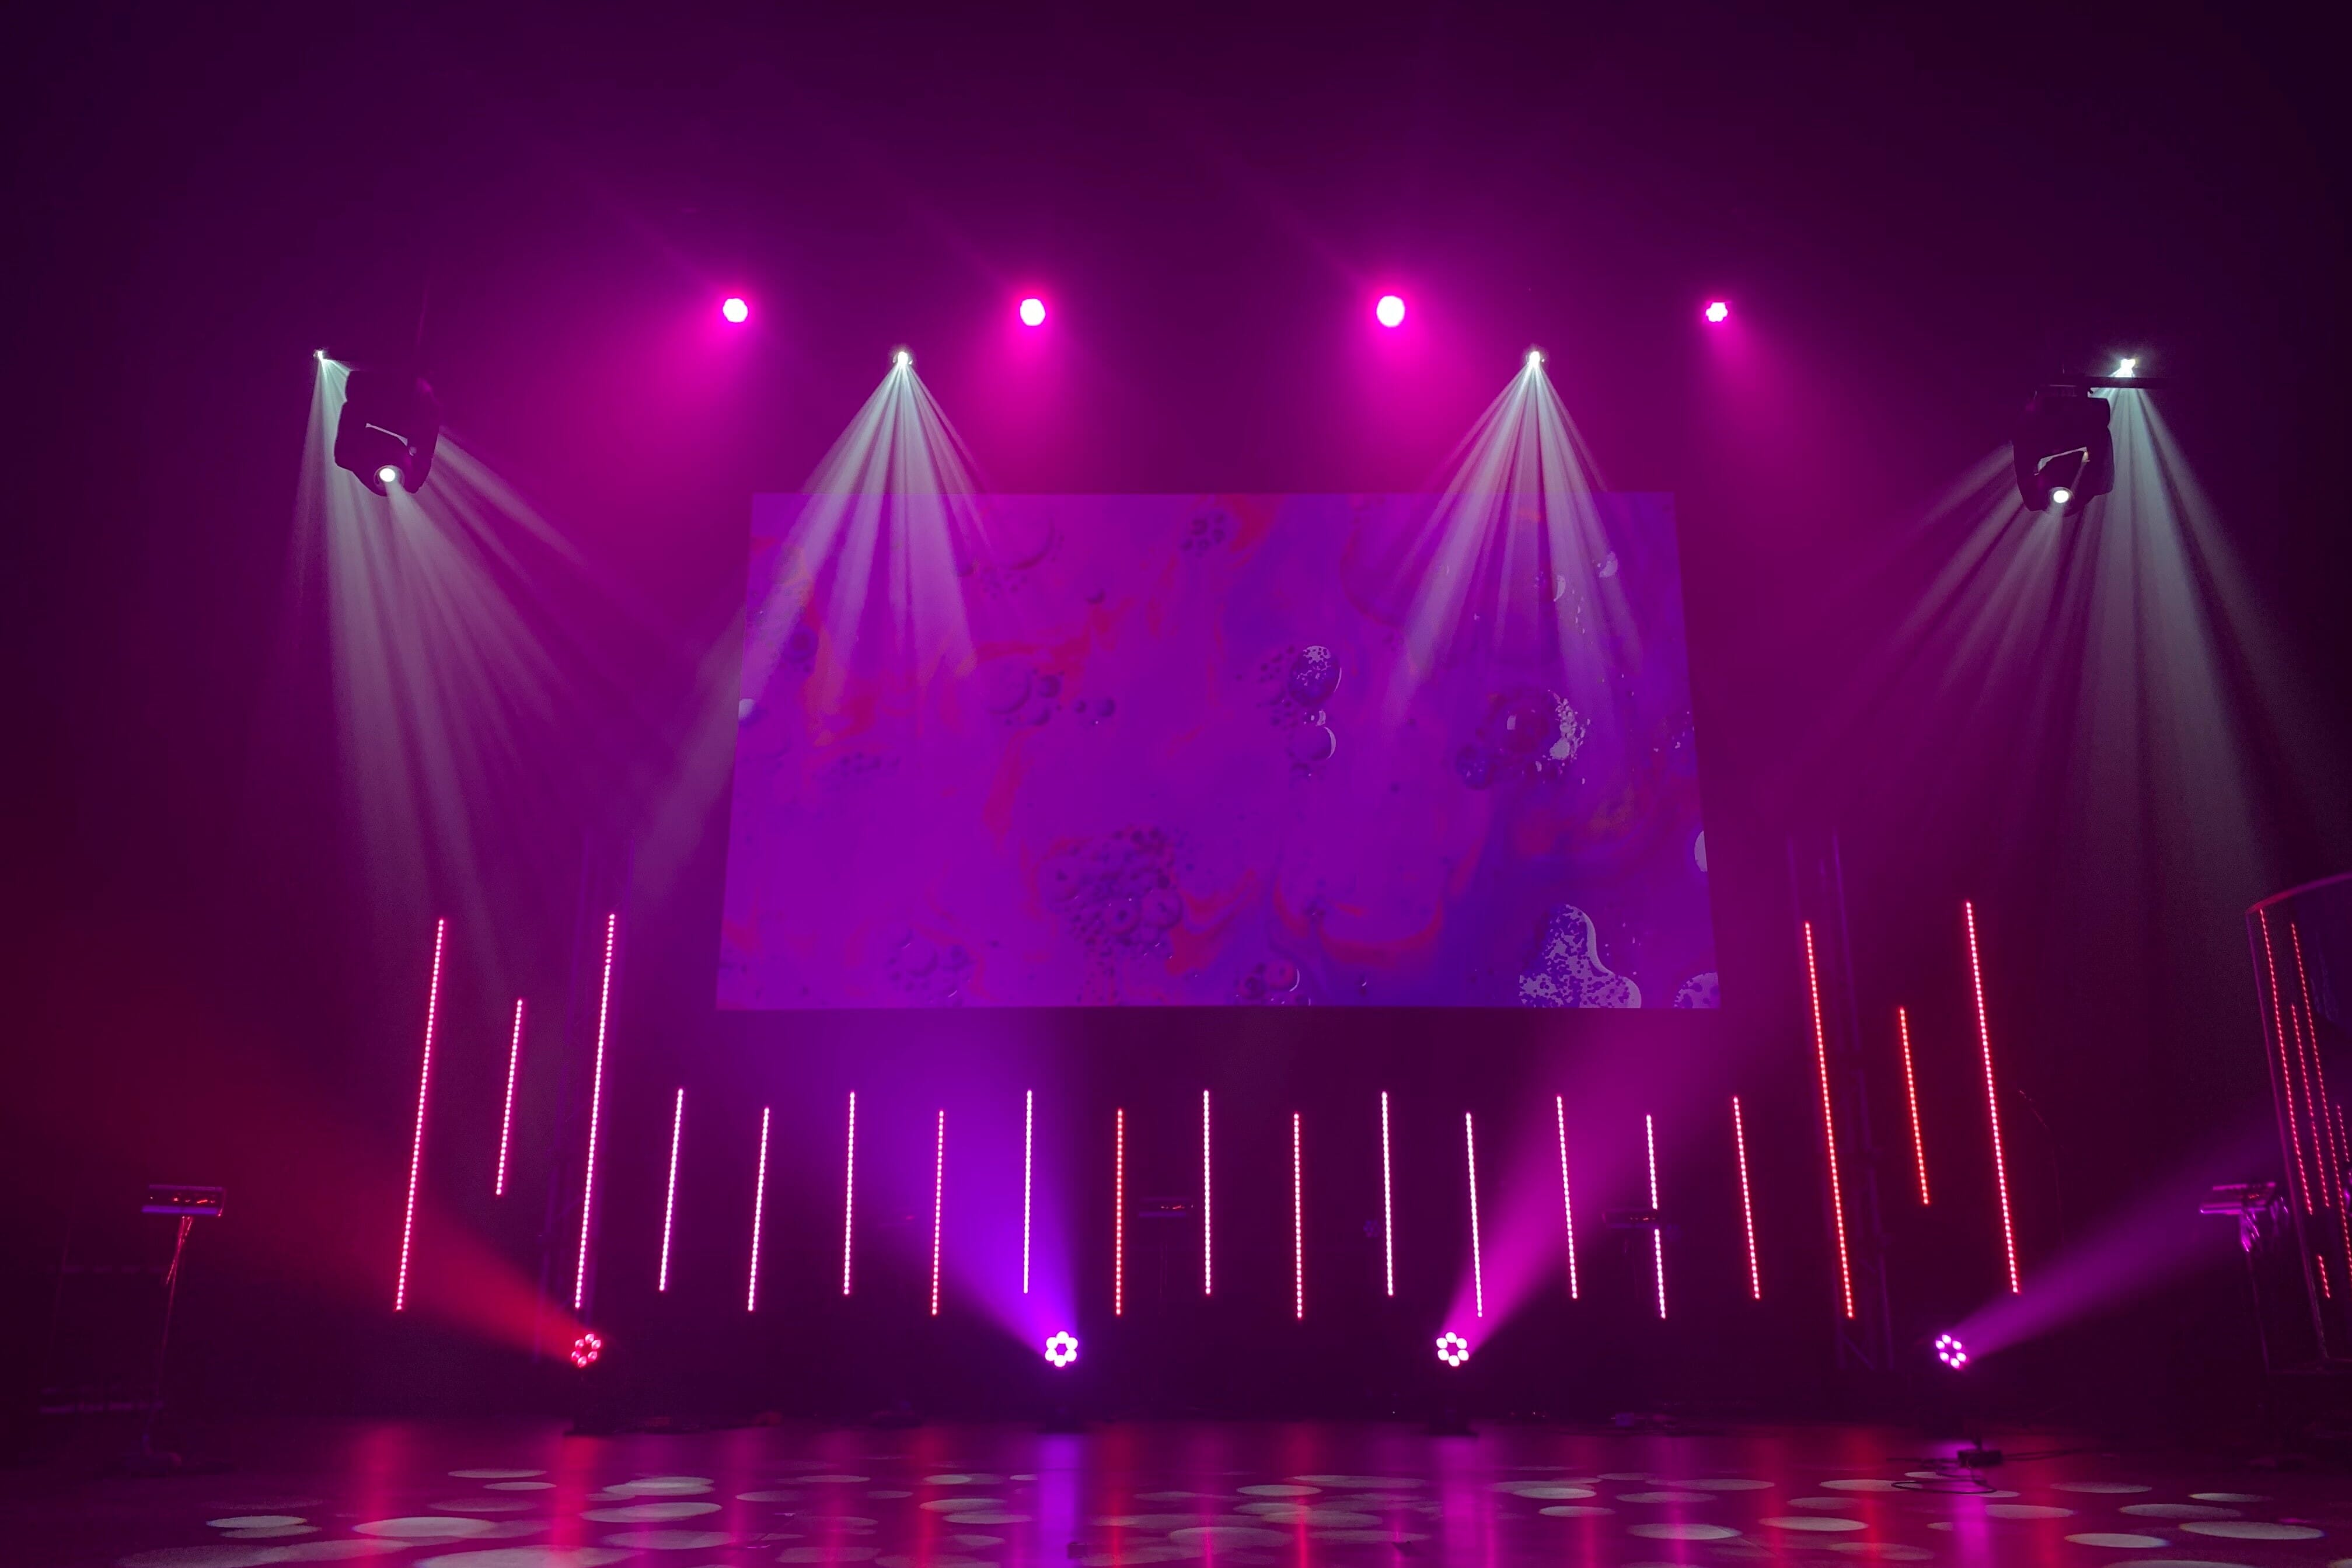
Most events – such as weddings and concerts – take place indoors, under dim artificial lighting that isn’t great for photography.
And without top-notch low-light gear, you’ll struggle to focus on your subjects. You’ll also struggle to get clear, well-exposed images that aren’t full of unpleasant noise.
So while it’s a bad idea to rely entirely on your gear, as an event photographer, you’ll need to make sure you have the best of the best (or at least the best that you can afford).
First, purchase a camera that can focus in low-light scenarios. All major manufacturers make action cameras that are specifically designed for low-light shooting, though these tend to be very pricey, and most professional full-frame cameras will get the job done.
You’ll also want a camera that offers good high-ISO performance. The farther you can push the ISO without excessive noise, the better, as this will allow you to use faster shutter speeds even in near darkness.
Second, we recommend you purchase one or two lenses that are specifically great for low-light event photography. Look for fast focusing, built-in image stabilization, and (most importantly!) a wide maximum aperture. If you go with zoom lenses, make sure the maximum aperture is f/2.8; if you go with primes, f/1.8, f/1.4, and f/1.2 options are ideal.
Over time, you can expand up your gear setup, and eventually, you may find yourself working with three or more lenses and two camera bodies. However, a gear bag with one low-light camera and two wide-aperture lenses is a great way to get started.
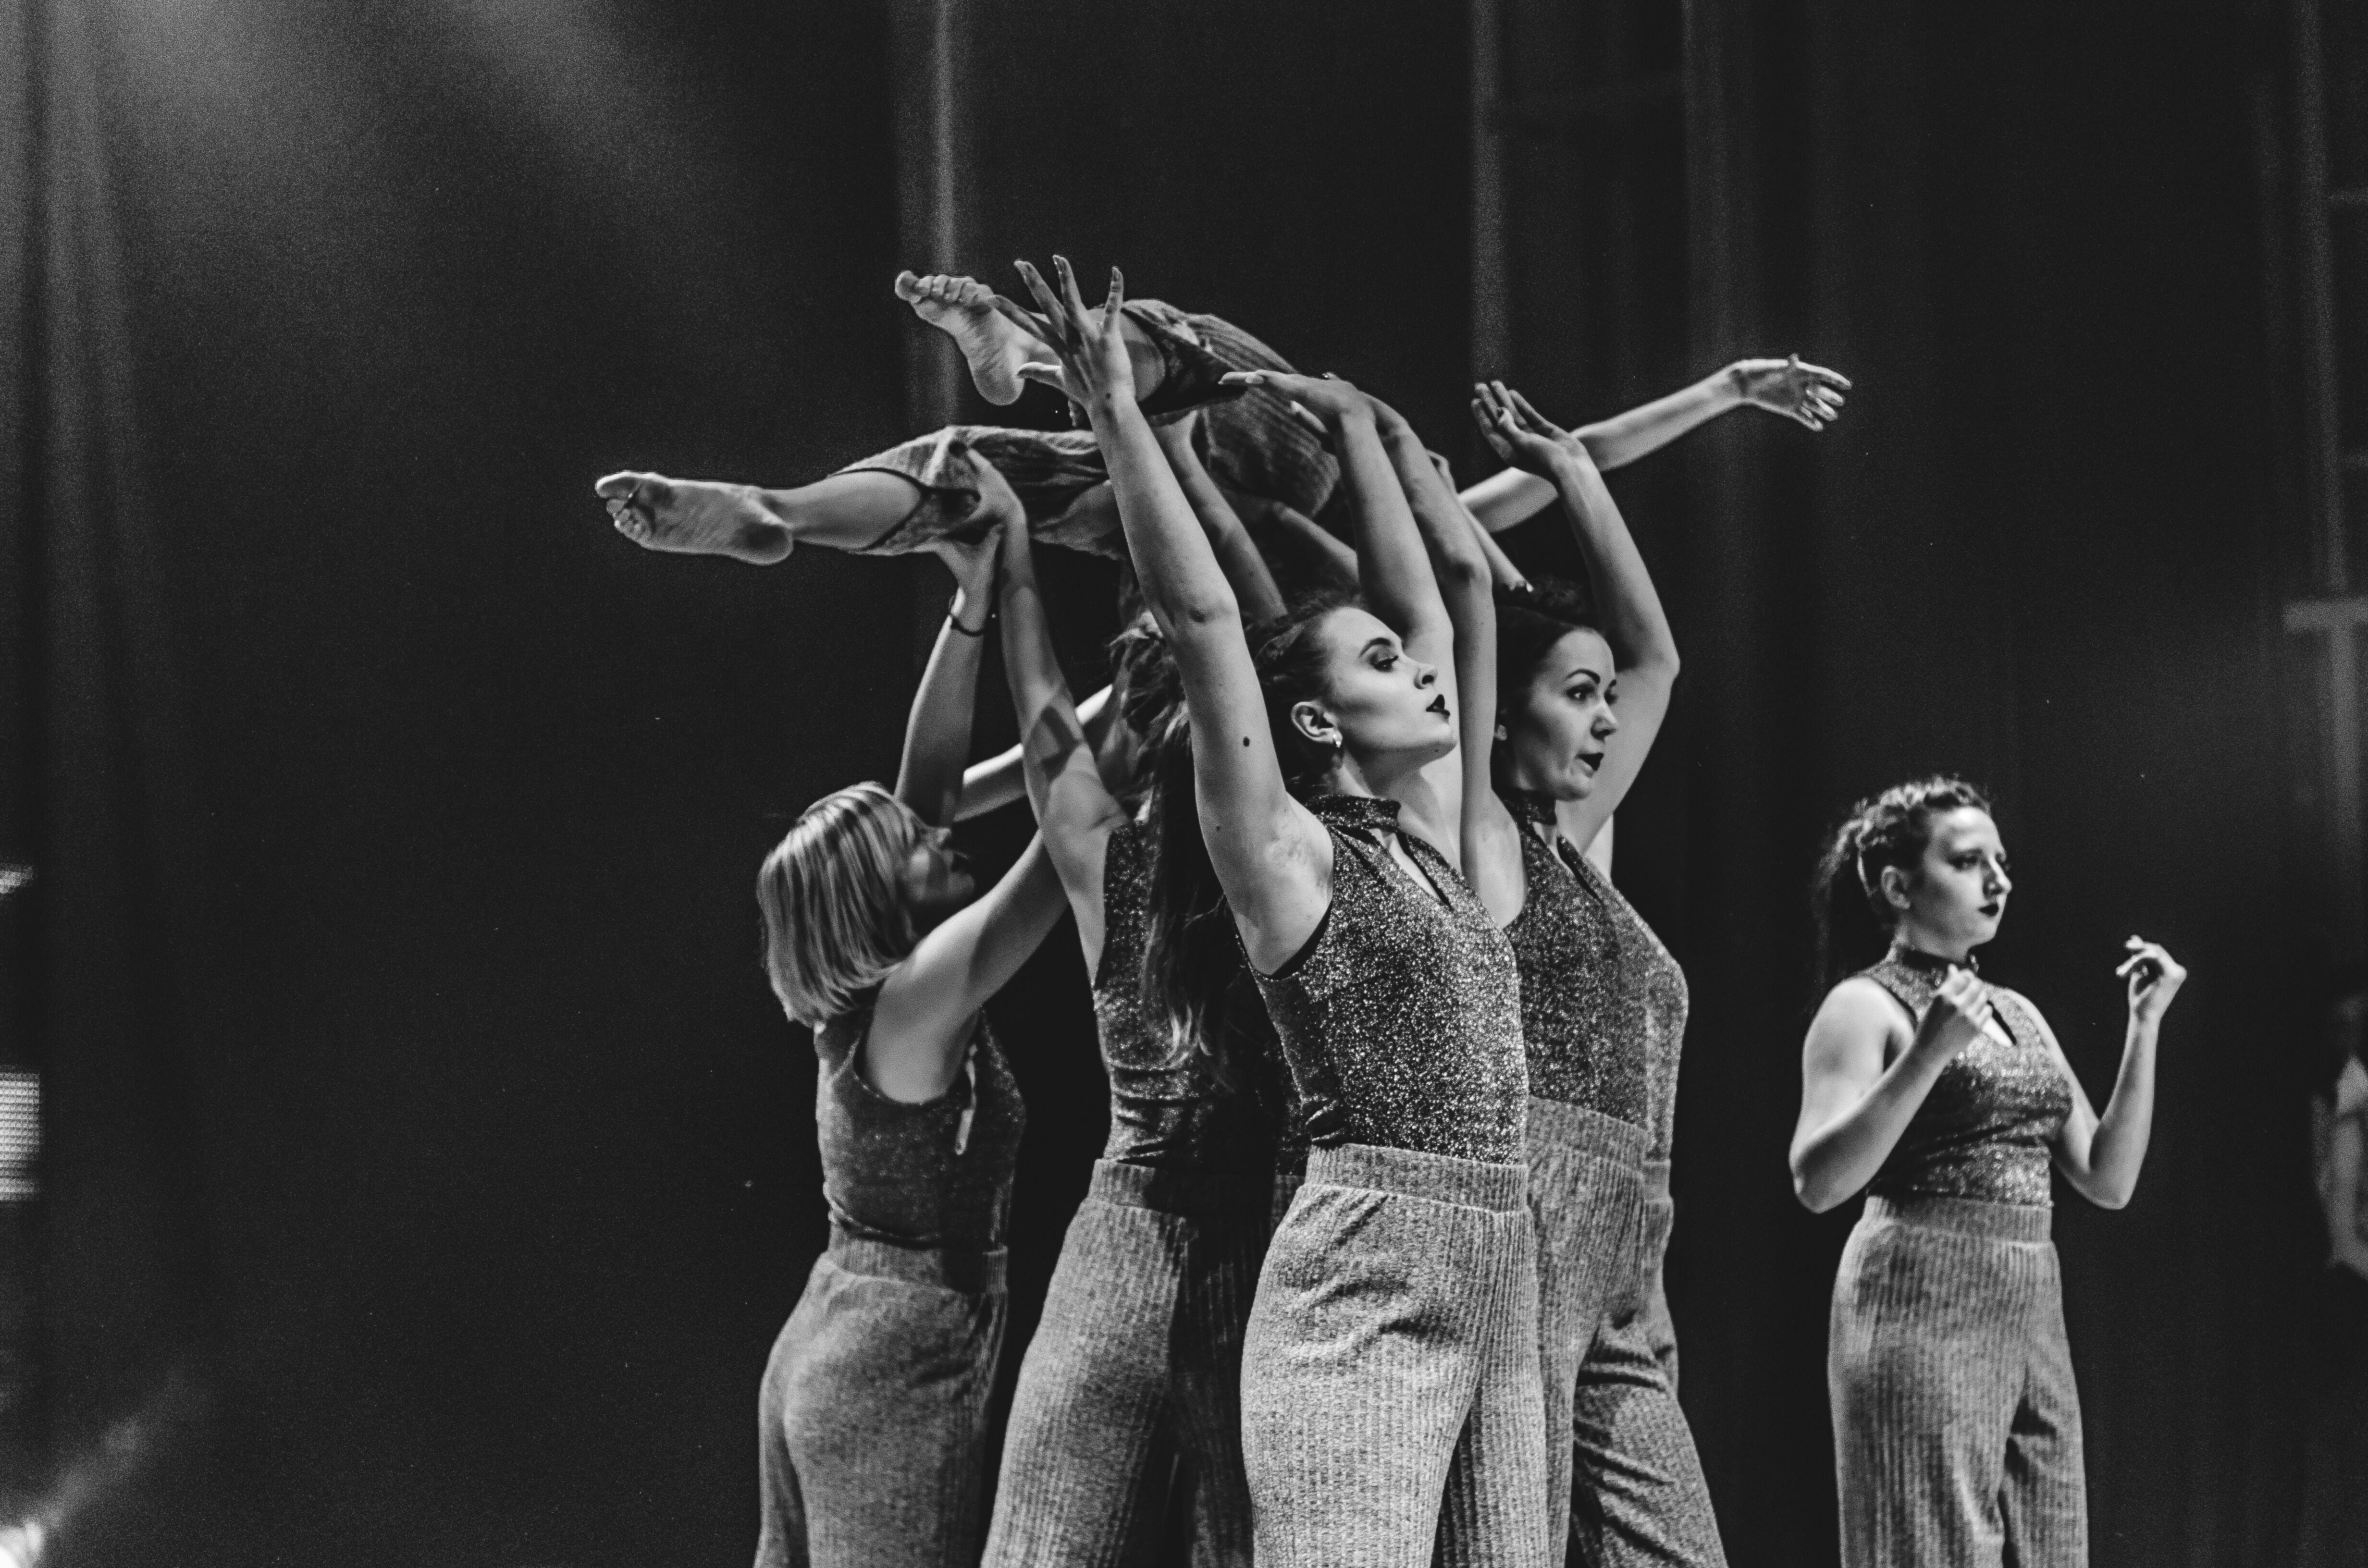
2. Use a Mixture of Focal Lengths to Tell the Story
Every event contains a story, and it’s your job, as the event photographer, to capture it. And as a storyteller, it’s essential shoot a variety of photos, including portraits of performers, wide shots of the venue, and detail photos that emphasize the little things (e.g., hands waving at a concert or decorations at a wedding).
Technically, with enough space, you can shoot many image types with the same focal length – but most events will restrict your movement, which is why I recommend you use a variety of focal lengths at every event you attend.
For instance, you might use a wide-angle focal length (somewhere between 16mm and 35mm) to shoot the venue before guests arrive. Do your best to capture the ambience of the place, and photograph seating, the performance area, decorations, and even the ceiling.
Then you might switch to a more standard focal length (between 50mm and 85mm) for candid and posed portraits, before using a telephoto lens (between 135mm and 200mm) to capture close-ups of performers, little details, and more.
If you’re just getting started and can’t afford more than two lenses, then we’d suggest a standard 50mm prime and a fast (f/2.8) telephoto zoom. But you’ll want to add a wide-angle lens as soon as you can; it’ll help you capture sweeping shots that really convey the feeling of the venue.
3. Work in Aperture Priority Mode for the Best Exposures
If you want to capture beautifully exposed photos, you need to maintain control over your exposure variables.
However, events tend to be very fast paced and the lighting often changes; if you spend all your time fiddling with your camera settings, you’re bound to miss important moments.
That’s why we highly recommend you shoot in Aperture Priority mode. It’s a semi-automatic setting that lets you dial in an aperture and an ISO while your camera selects a corresponding shutter speed for the best exposure.
In other words, Aperture Priority mode gives you the opportunity to select key settings, but it takes away the difficult work of adjusting your settings with the lighting.
If you’re shooting an indoor or nighttime event, we recommend you start by dialing in your lens’s widest aperture. This is for two reasons:
- It ensures your lens lets in plenty of light for a bright exposure.
- It blurs the background to emphasize the subject (i.e., it creates a shallow depth of field effect).
You’ll also need to select an ISO; here, we’d recommend you limit noise by choosing your camera’s base option (which is generally ISO 100).
At this point, your camera will select a shutter speed. If you’re photographing action and the shutter speed is very slow (e.g., below 1/100s), you may want to boost the ISO, which will add noise but will also increase the shutter speed for a sharper shot. However, if your shutter speed is already fast enough, then it’s fine to keep your ISO at its base value.
What shutter speed is sufficient? That’s what we address in the next section:
4. Keep Your Shutter Speed Fast (for Sharp Shots)
A fast shutter speed will help you capture sharp shots, even if your camera shakes or your subject moves.
However, a fast shutter speed will also reduce the light hitting the camera sensor, so you’ll need to increase the ISO to compensate (and a high ISO produces lots of unpleasant noise).
Therefore, as an event photographer, your goal is to strike the perfect balance between a fast shutter speed and a low ISO. You don’t want to push the ISO too high or you’ll ruin the image quality, but you don’t want to keep the shutter speed too low or you’ll get a blurry shot.
Note that there is no set formula for this; the best shutter speed really depends on the situation. But here are a few simple guidelines:
- It’s generally a good idea to start with the reciprocal rule, which states that your shutter speed should be equivalent to the reciprocal of your lens’s focal length. If you’re using a 50mm lens, you can shoot at 1/50s; if you’re using a 200mm lens, you can shoot at 1/200s; and so on.
- If your lens or camera offers built-in image stabilization, you can shoot slightly slower than the reciprocal rule suggests.
- If you use a monopod, you can shoot slower than the reciprocal rule suggests.
- If your subject is moving, you’ll need to raise the shutter speed beyond the reciprocal rule.
Confused? It’s not as complex as it sounds, but it does require careful consideration. Start with the shutter speed that corresponds to the reciprocal of your lens’s focal length. Then make adjustments depending on your equipment and your subject.
In more practical (but rougher) terms, you’ll often want to keep the shutter speed at 1/60s or above when capturing still subjects and 1/250s or above when capturing moving subjects.
5. Consider Bringing a Monopod to Improve Image Quality
A camera monopod offers a single leg of support, and it’s a low-light photographer’s best friend.
You see, as the light drops, you’ll struggle to capture sharp handheld shots while keeping the ISO at a reasonable level.
And while a tripod will certainly keep your camera steady, it’ll be big, bulky, and unwieldy (plus, certain venues don’t allow tripods).
That’s where a monopod comes in. No, it’s not as sturdy as a tripod, but it’s an easy way to increase image sharpness. And – bonus! – monopods are relatively cheap. (Monopods also help prevent arm fatigue when you’re shooting with a telephoto lens.)
You should be careful, however. While monopods are slim and easy to work with, you should always check with the venue in advance. You don’t want to get set up only to find out that monopods aren’t permitted!
6. Use Burst Mode to Capture Split-Second Moments
Most events are fast paced, and key moments pass by in seconds (or even milliseconds).
Fortunately, pretty much every modern camera offers some sort of burst mode, which allows you to fire off a handful of shots at high speeds. The burst mode rate does depend on the camera, and it ranges from around 3 frames per second on beginner models to 60 frames per second on professional models – but whatever your camera’s capabilities, the burst mode is bound to help you out.
It’s easy to use, too. Simply activate your camera’s burst mode option (check your manual if you’re not sure how to do this). Then, when the action starts, hold down the shutter button. Your camera will fire off rapid-fire frames, and if you’re using your camera’s mechanical shutter, you should be able to hear the click-click-click of the shutter moving.
You might be wondering: If burst mode lets you capture split-second moments, why not use it literally all the time?
For a few reasons.
First, if you constantly use burst mode, you’ll end up with thousands of shots at the end of an event to sort through, which can be a pain. And burst mode will burn through your storage space far faster than you might expect, leaving you with zero empty memory cards and hours left to shoot.
Also, most cameras can’t use burst mode nonstop. Instead, they max out after a few seconds, then you need to wait until the camera buffer clears, which is very problematic (what if an essential moment occurs?).
So use burst mode when you need it. And the rest of the time, shoot normally. Got it?
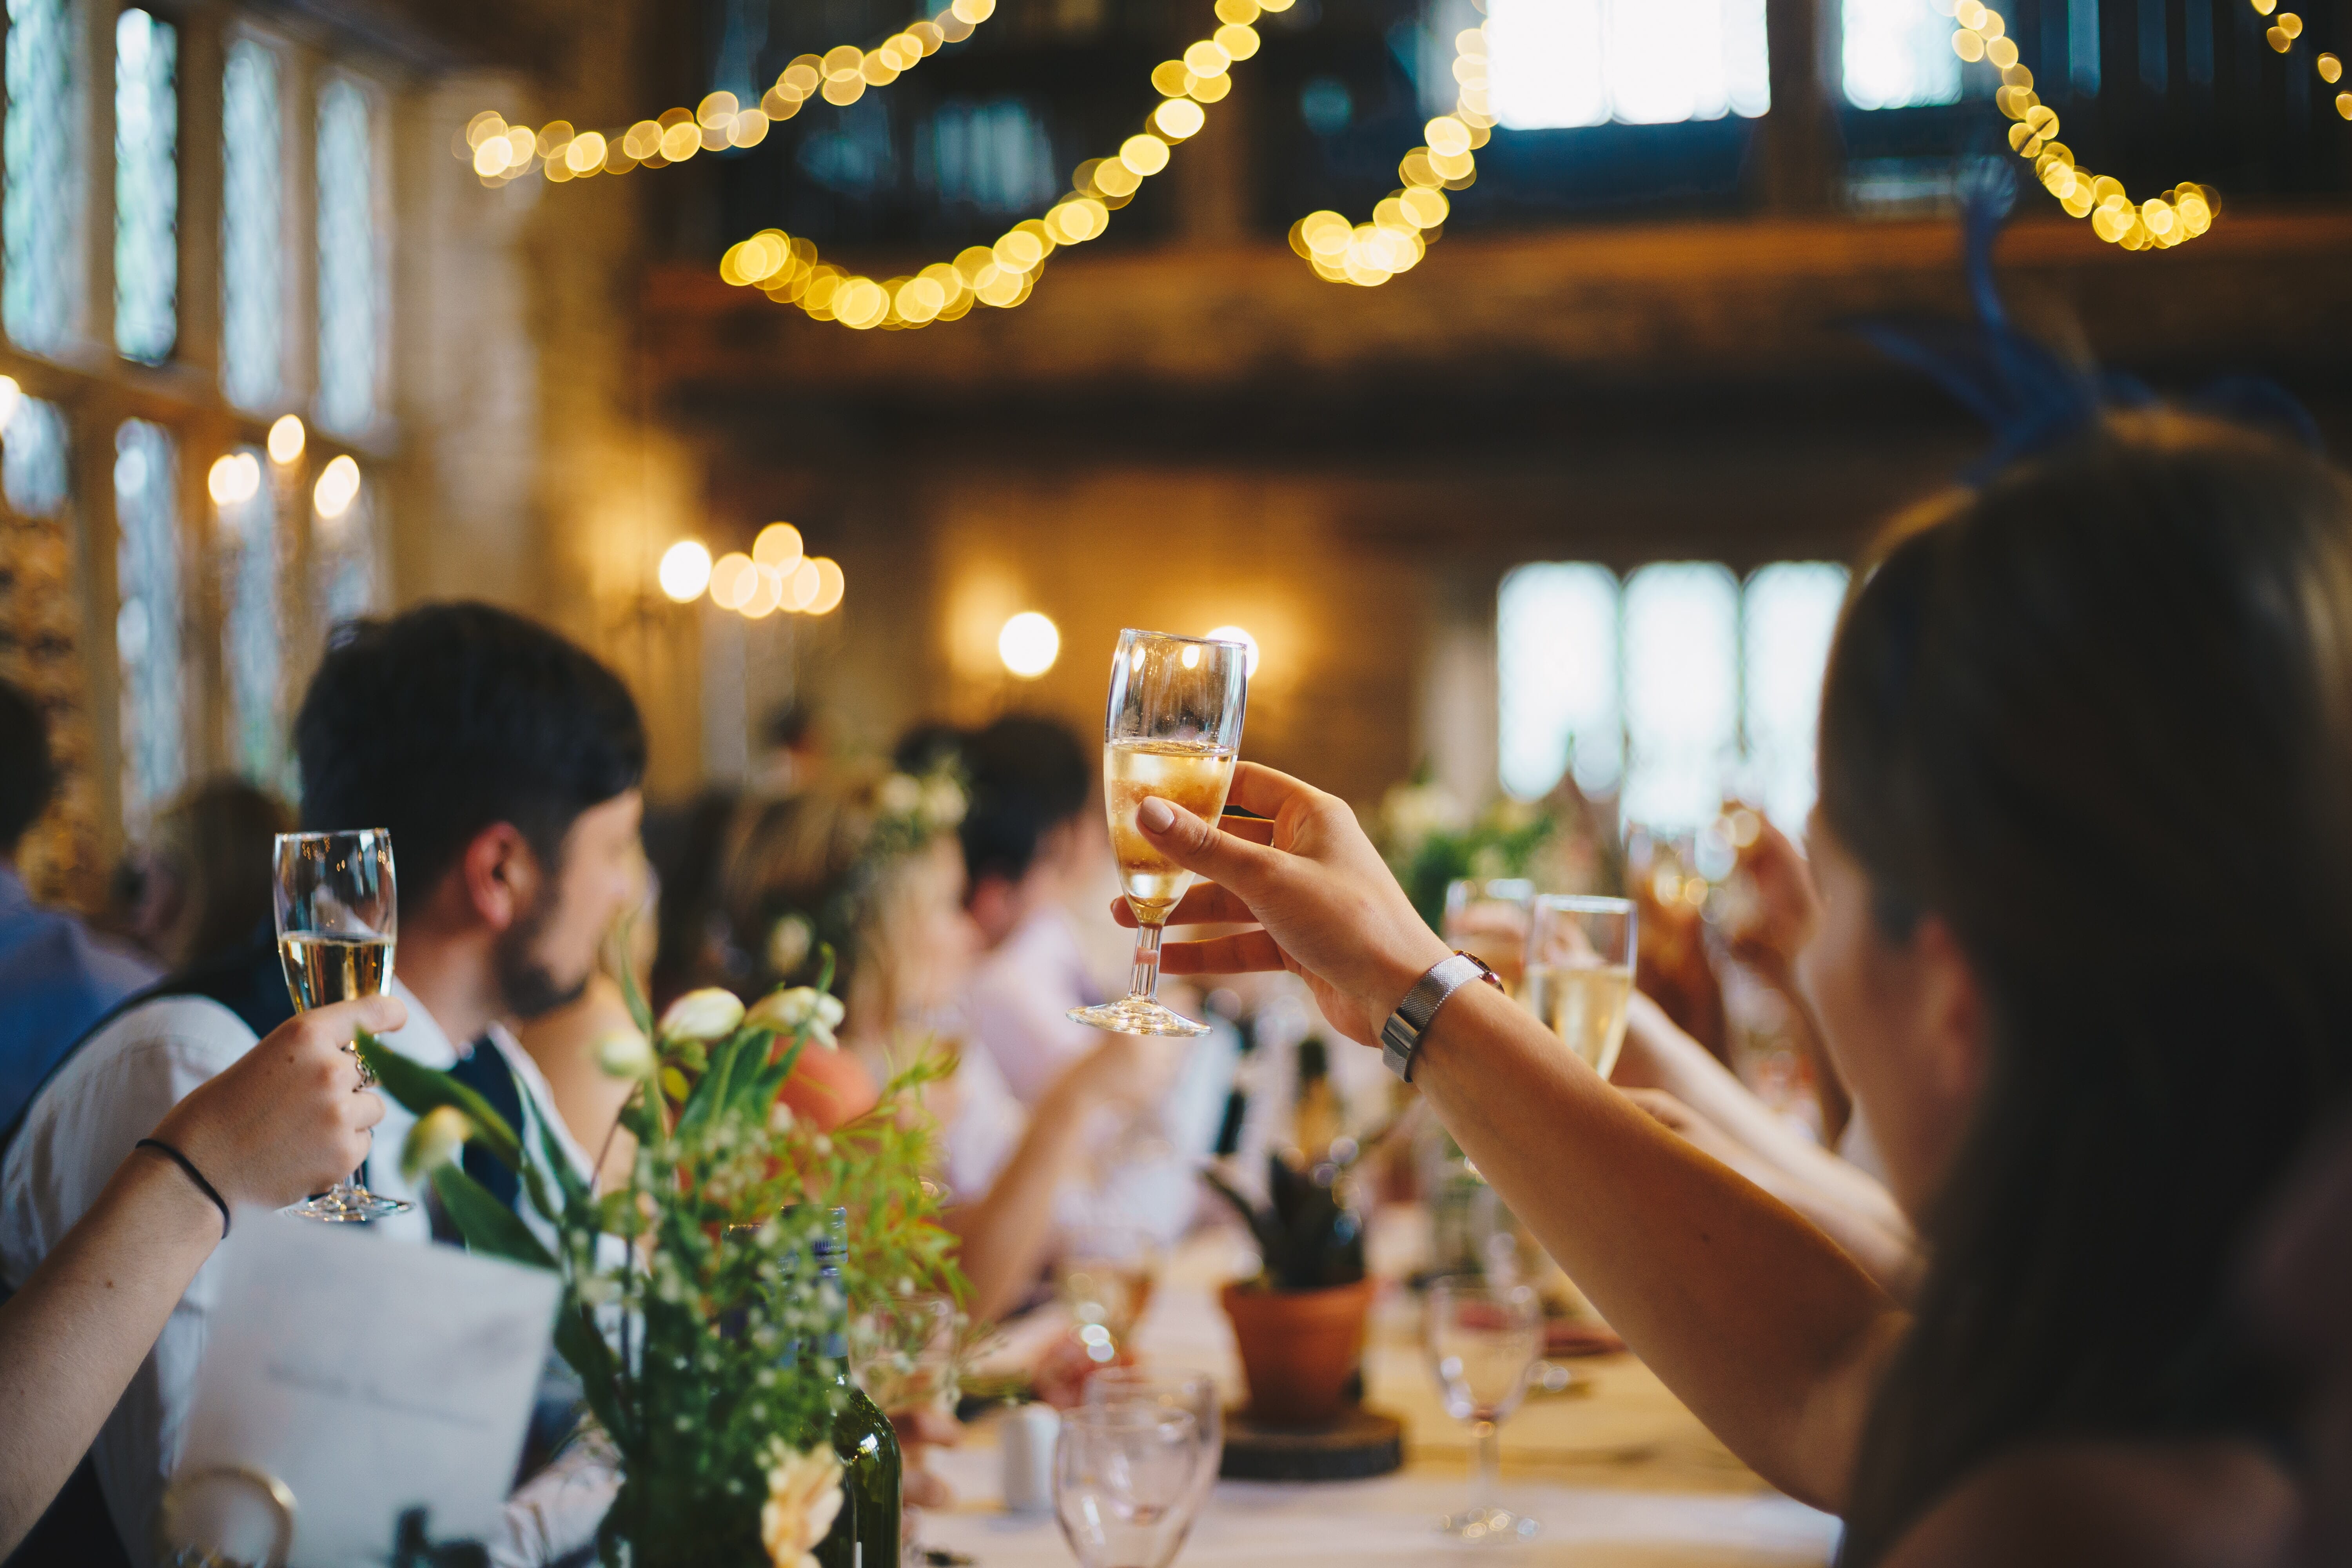
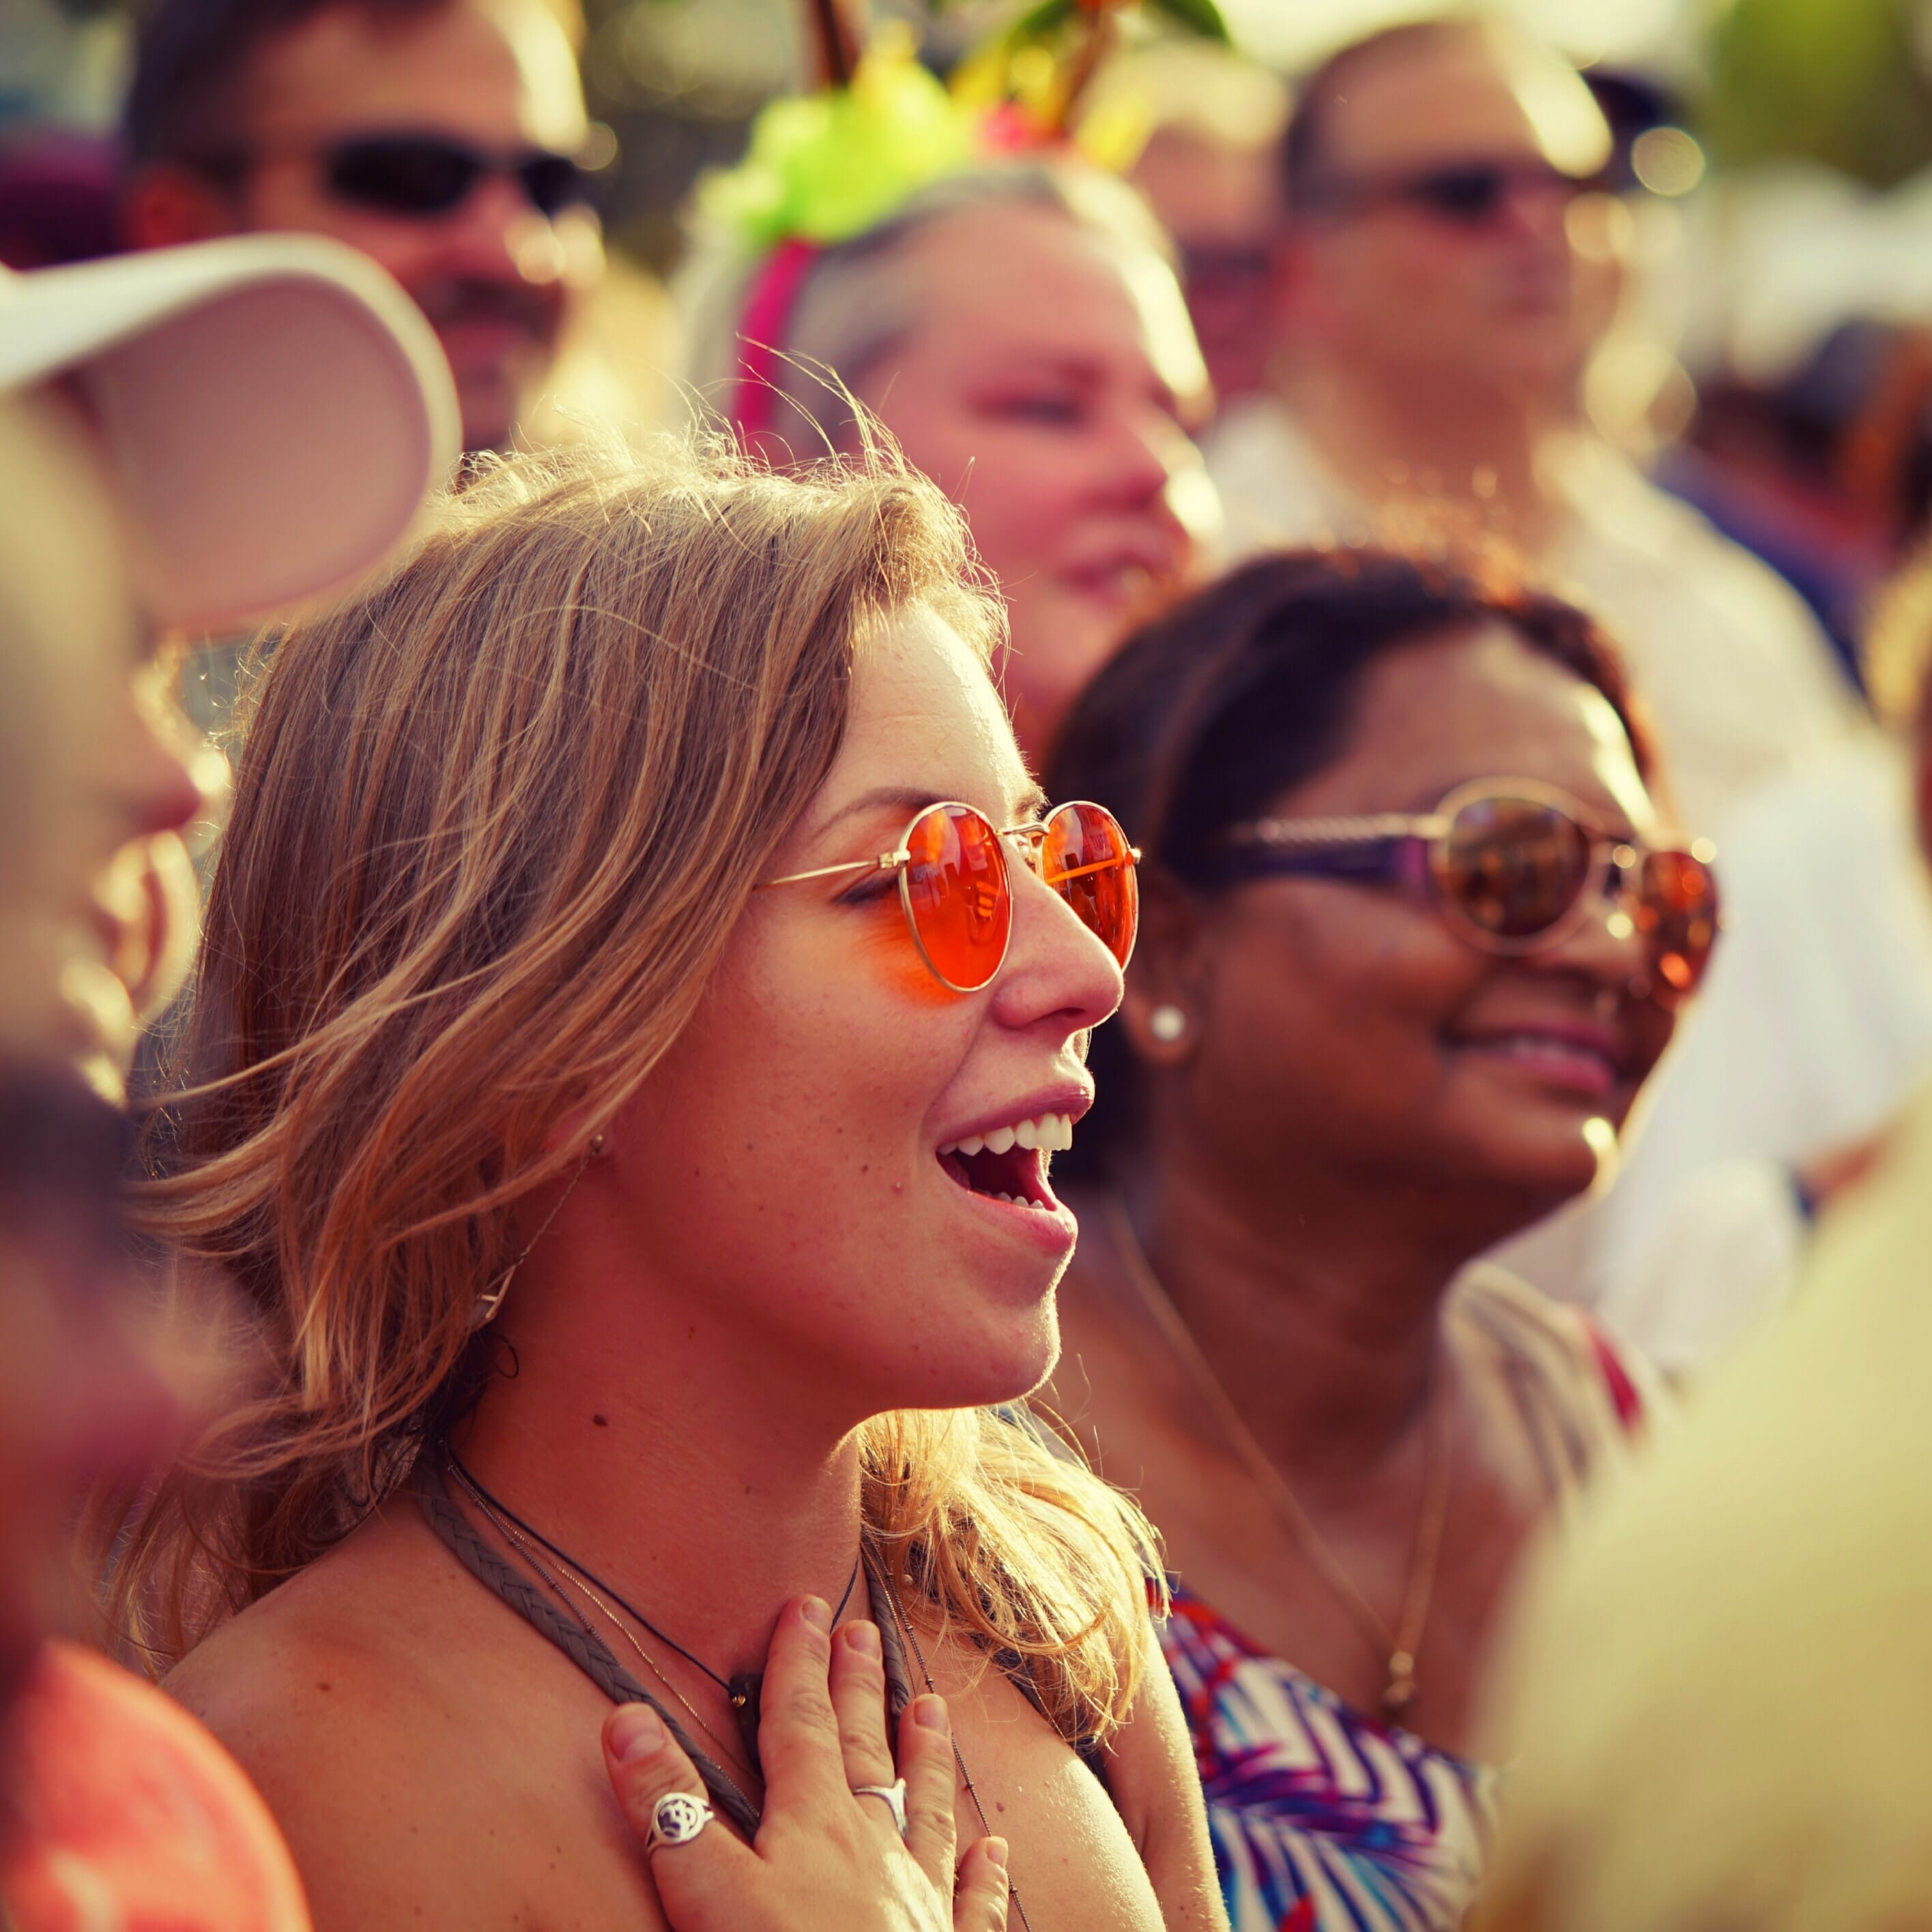
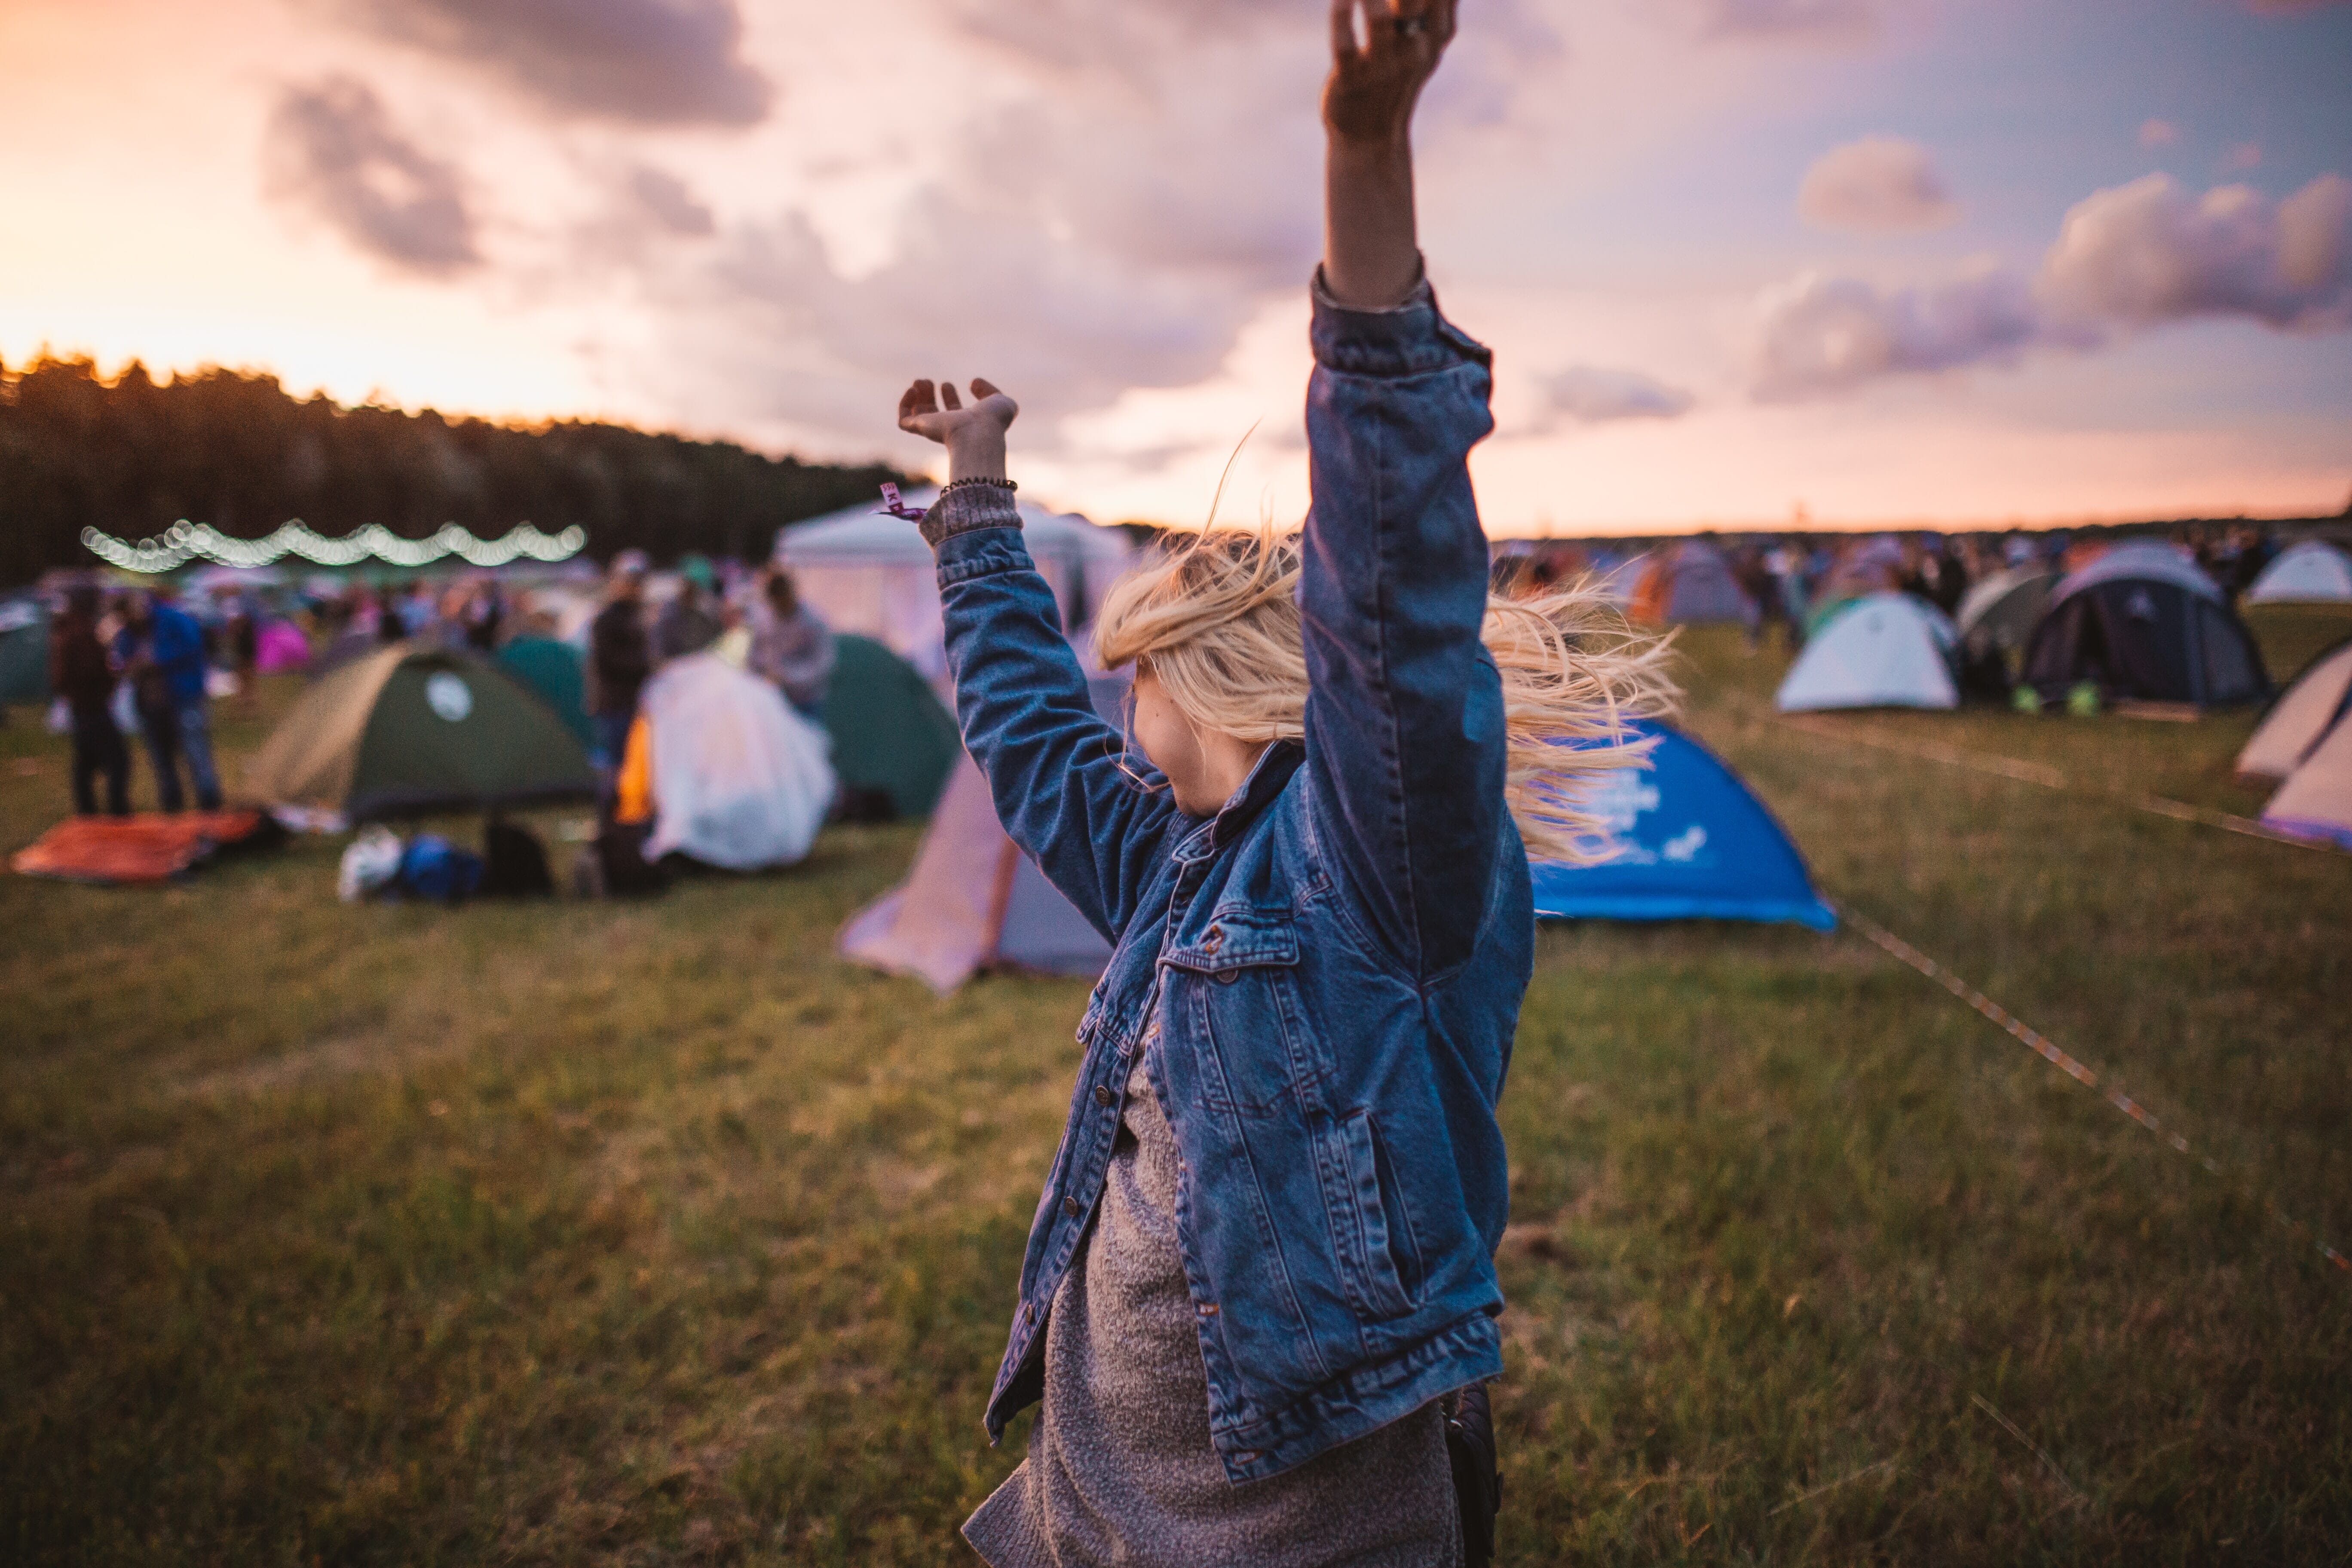
7. Look for Emotion to Captivate the Viewer
Once you have the technical know-how to capture great event photos, it’s time to think about artistry. How can you create images that stand out from the crowd?
Well, here’s our number one tip:
Look for emotion. At least in our experience, emotional shots are the kind that really catch the viewer’s attention.
So as you carry your camera around a wedding or a festival, pay careful attention to people’s faces and gestures. Keep your finger on your camera shutter button, and then – as soon as you’re struck by a person’s look or even their body language – take a shot.
Over time, you’ll become more aware of emotional expression. You’ll start to see emotion before it even happens, and you’ll get better and better at recording it with your camera.
Related Posts
Note that emotional photos don’t need to be sad. You can look for people laughing, people smiling, and people having a good time. In fact, one of the easiest ways to get great event photos is to look for emotional interaction between people, which is often relatively upbeat.
8. Focus on Your Main Subject to Add Impact
Composition refers to the way you arrange a photograph. Where do you position the main subject? What background do you include? Which elements need to be removed from the shot?
But while we could write a whole book on event photography composition, a good place to start is by simply identifying your main subject. (A main subject refers to the focal point of an image, the element that compelled you to frame the photo in the first place. It might be a person, it might be a table setting, or it might be a stage.)
Then, once you’ve determined your main subject, do whatever you can to emphasize it within the scene.
This might mean getting up close to exclude distractions at the scene’s edges. It might mean getting down low or shooting from up high to highlight the main subject’s form. It might even mean asking your main subject to move against a clean background for a nice shot.
(You can also use editing to emphasize the subject – by selectively sharpening a person’s face, for instance, or by adding a vignette around the edges of the frame.)
What’s important is that you arrange the scene around the main subject. Do what you can to eliminate distractions. Make sure the subject stands out.
That’s how you’ll get incredible results.
9. Don’t Be Afraid to Shoot Posed Images
Most event photography beginners like to shoot portraits, but these tend to be candid. They’ll photograph people jumping on the dance floor, musicians rocking around a stage, or people playing a game at a carnival.
But while candid shots are great, we encourage you to seek out posed photos. When done carefully, these posed shots can highlight the personality of guests even better than candids.
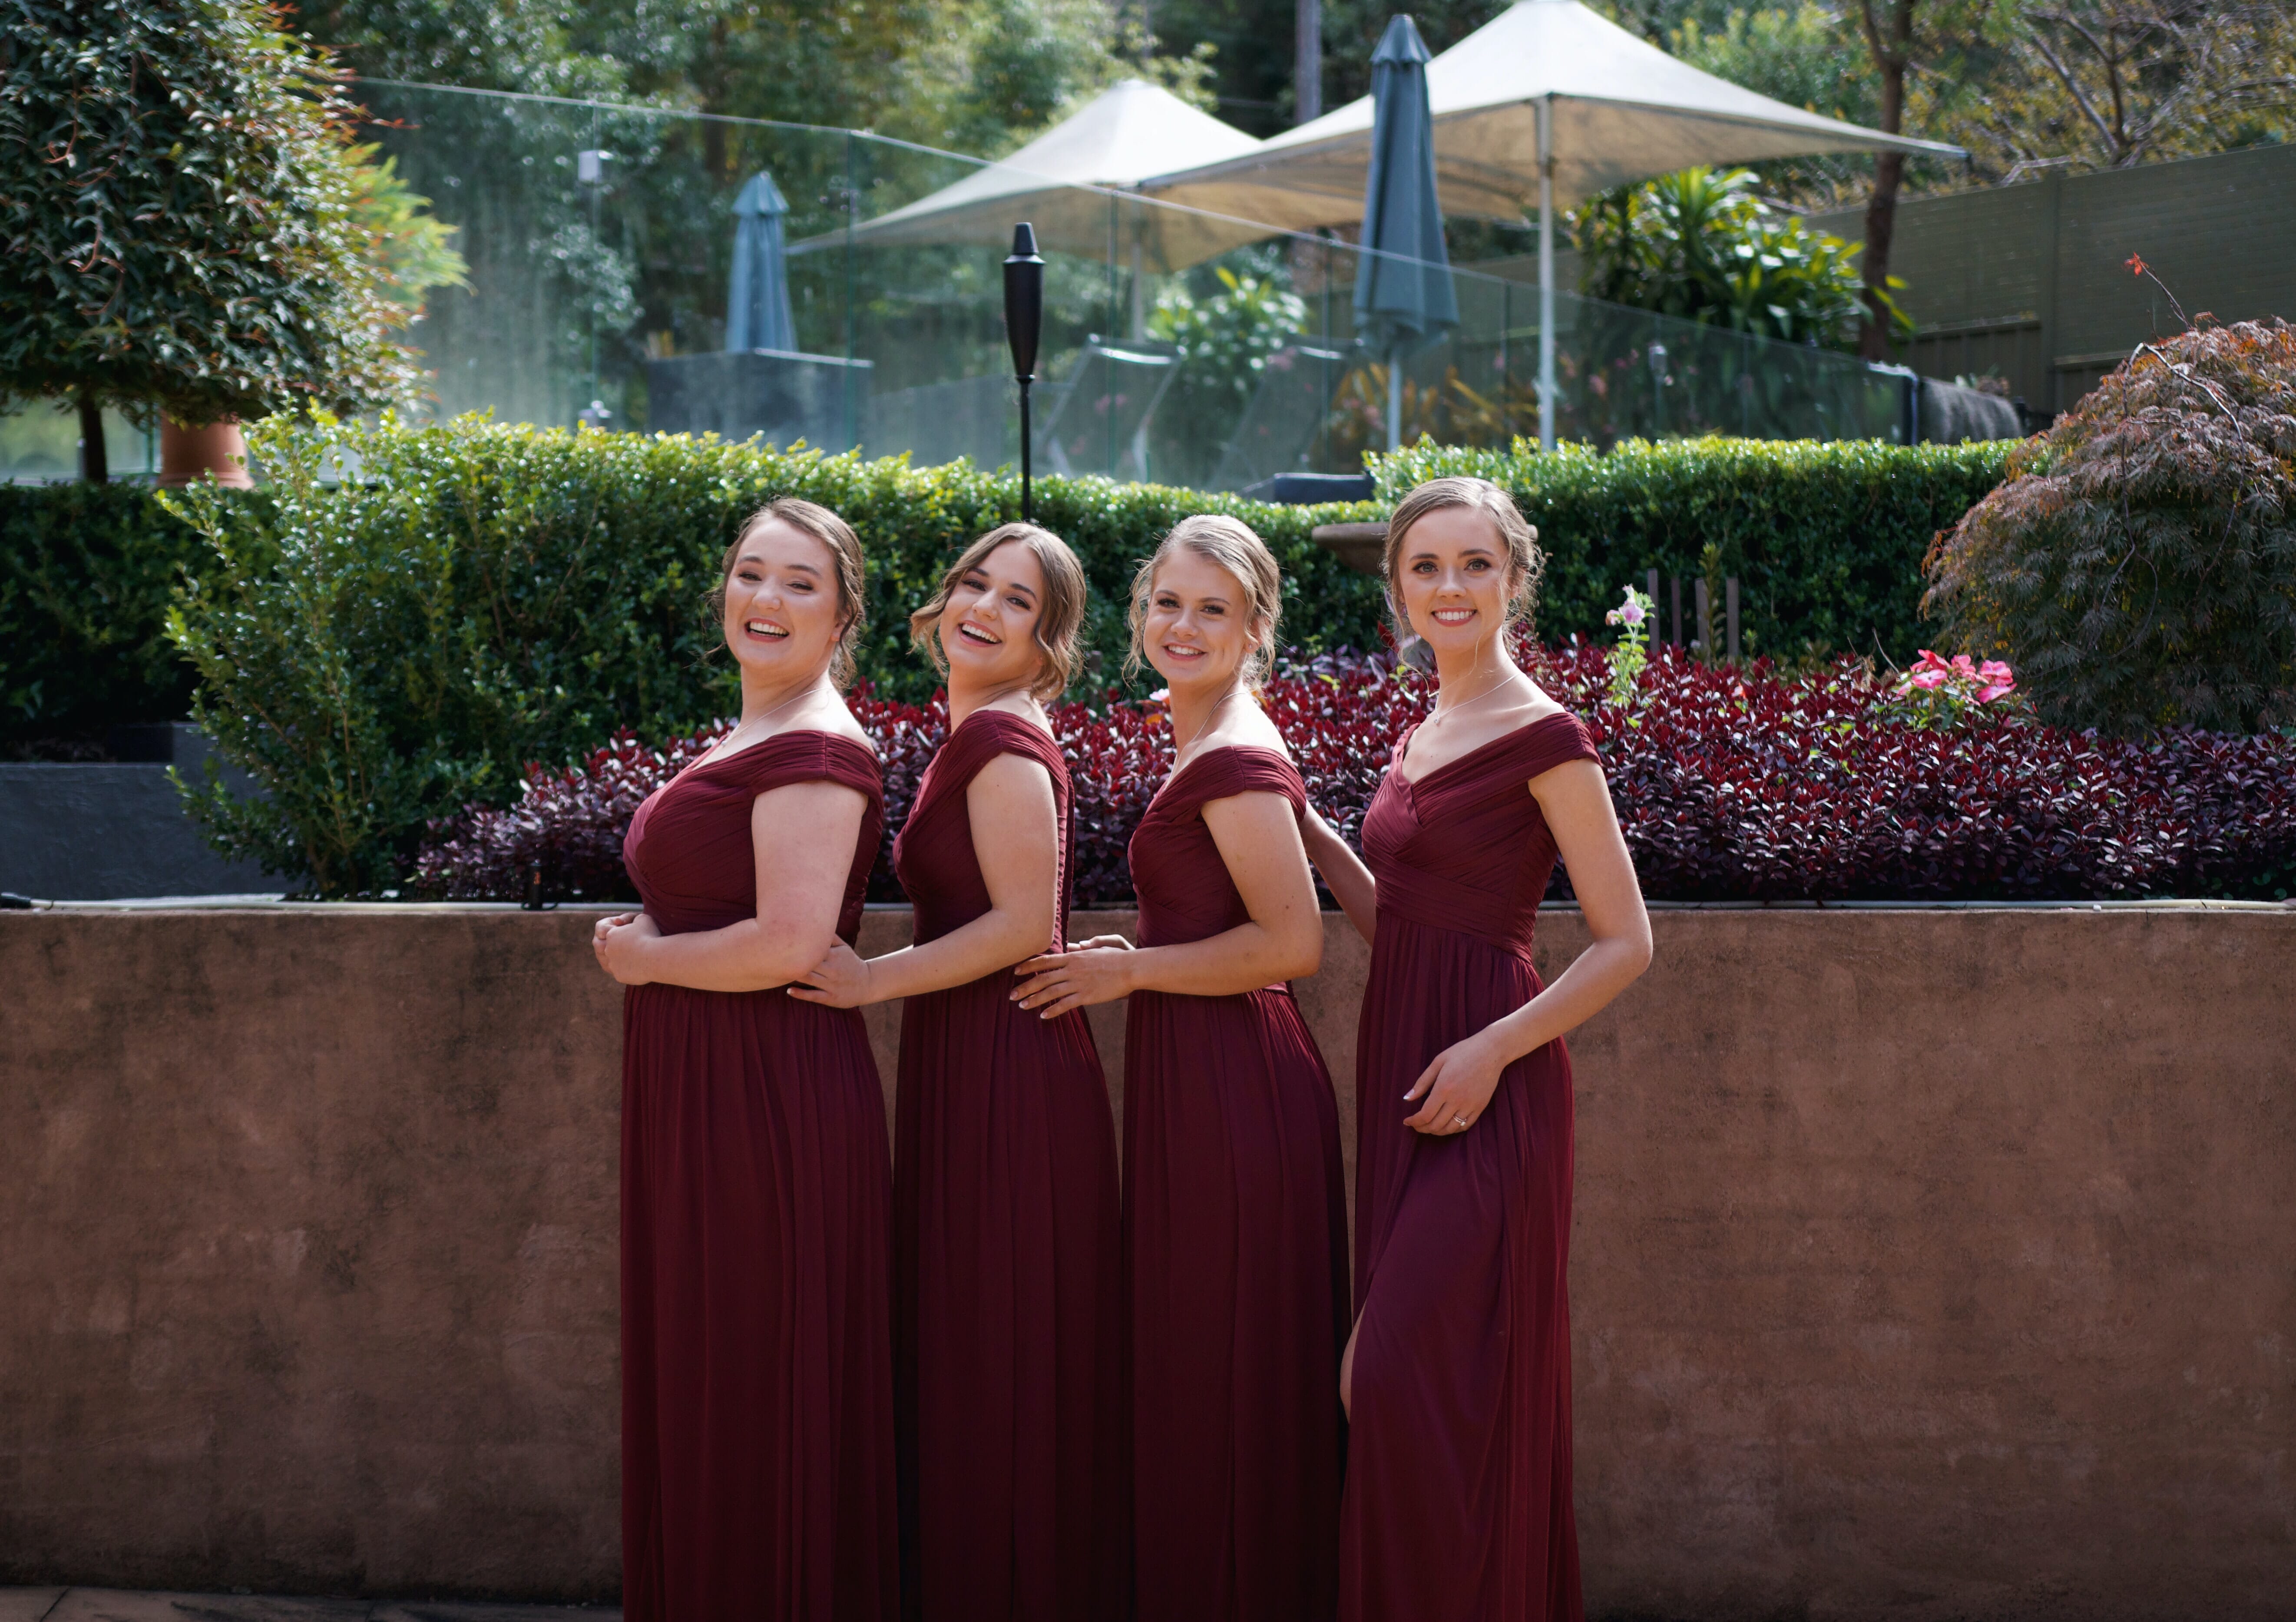
Plus, a posed shot allows you to control the backdrop and the lighting, which means you can move the subject in front of a clean background and position them near a strong light (or even use your own flash).
How do you approach someone for a posed shot? Just walk on over, show them your camera, and smile. Say, “Would you mind if I take your photo?”
Most people – especially those who are enjoying the event – will agree. And if they don’t, that’s okay, too! Just politely thank them and move on to your next shot. No harm done, right?
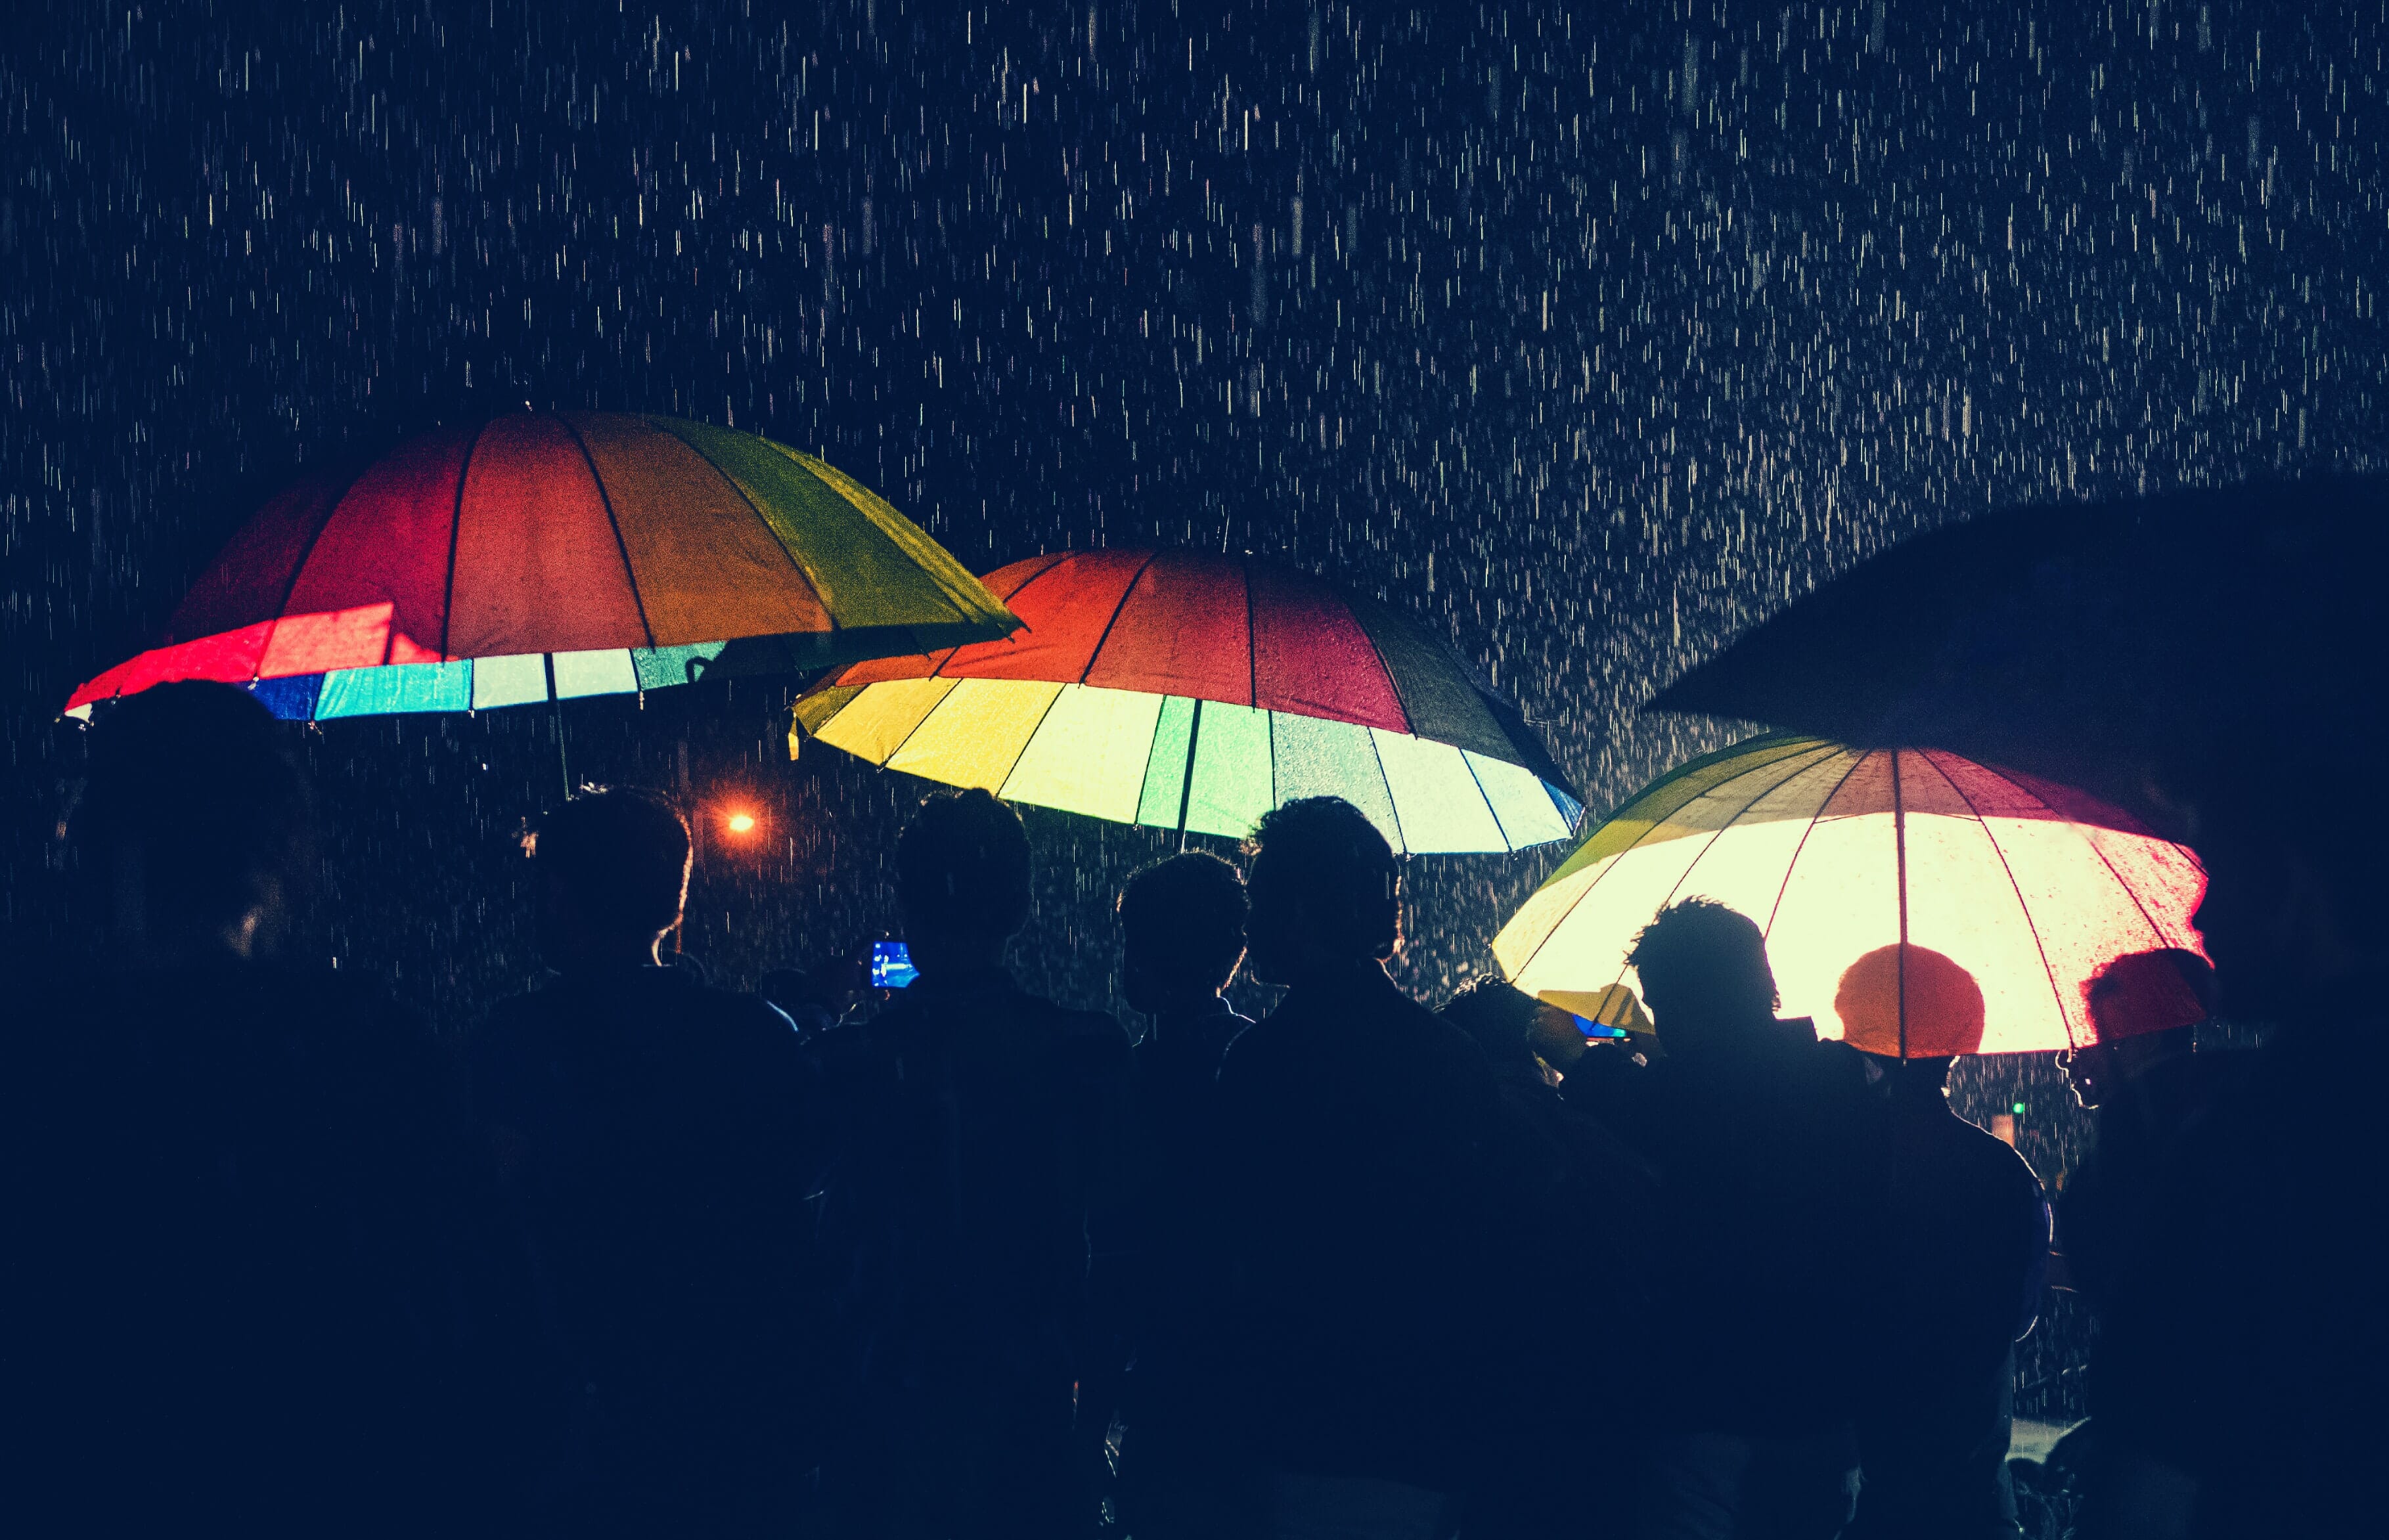
10. Bring Rain Covers (Just in Case)
Most event photographers end up shooting outside at one time or another, and outside shooting comes with a major problem: unpredictable weather.
Now, it’s true that most high-end cameras feature some form of weather sealing, but weather sealing, while nice, isn’t perfect. In our experience, rain tends to find its way into your camera gear, so do you really want to take the chance?
That’s why we highly recommend you check the weather before every outdoor shooting scenario, just so you know what to expect. And even if the forecast indicates clear skies, take a rain cover.
We’d also suggest bringing a towel to wipe off your gear as well as a microfiber cloth to wipe raindrops from your lens.
(Of course, you should also bring rain gear for yourself, even if it’s just a plastic poncho. Photographing for hours in freezing rain is not fun.)
11. Get Permission in Advance
Sometimes, you can show up to an event with your camera bag, set up, and start shooting.
But certain events won’t let a camera-toting photographer in the door without advance permission, which is why we encourage you to contact the event organizers and get approval before heading out.
Getting permission to shoot an event has its perks. For one, the organizers might end up asking you for photos, which often comes with exposure, money, or additional work. Plus, you might find yourself presented with a special access pass that’ll allow you to shoot backstage, ahead of the event, or in other off-limits locations.
Then, after the event is over, shoot the organizers a message. Thank them for letting you take photos, send them a few shots, and explain that your services are always available if needed.
Who knows; maybe it’ll turn into a job down the line!
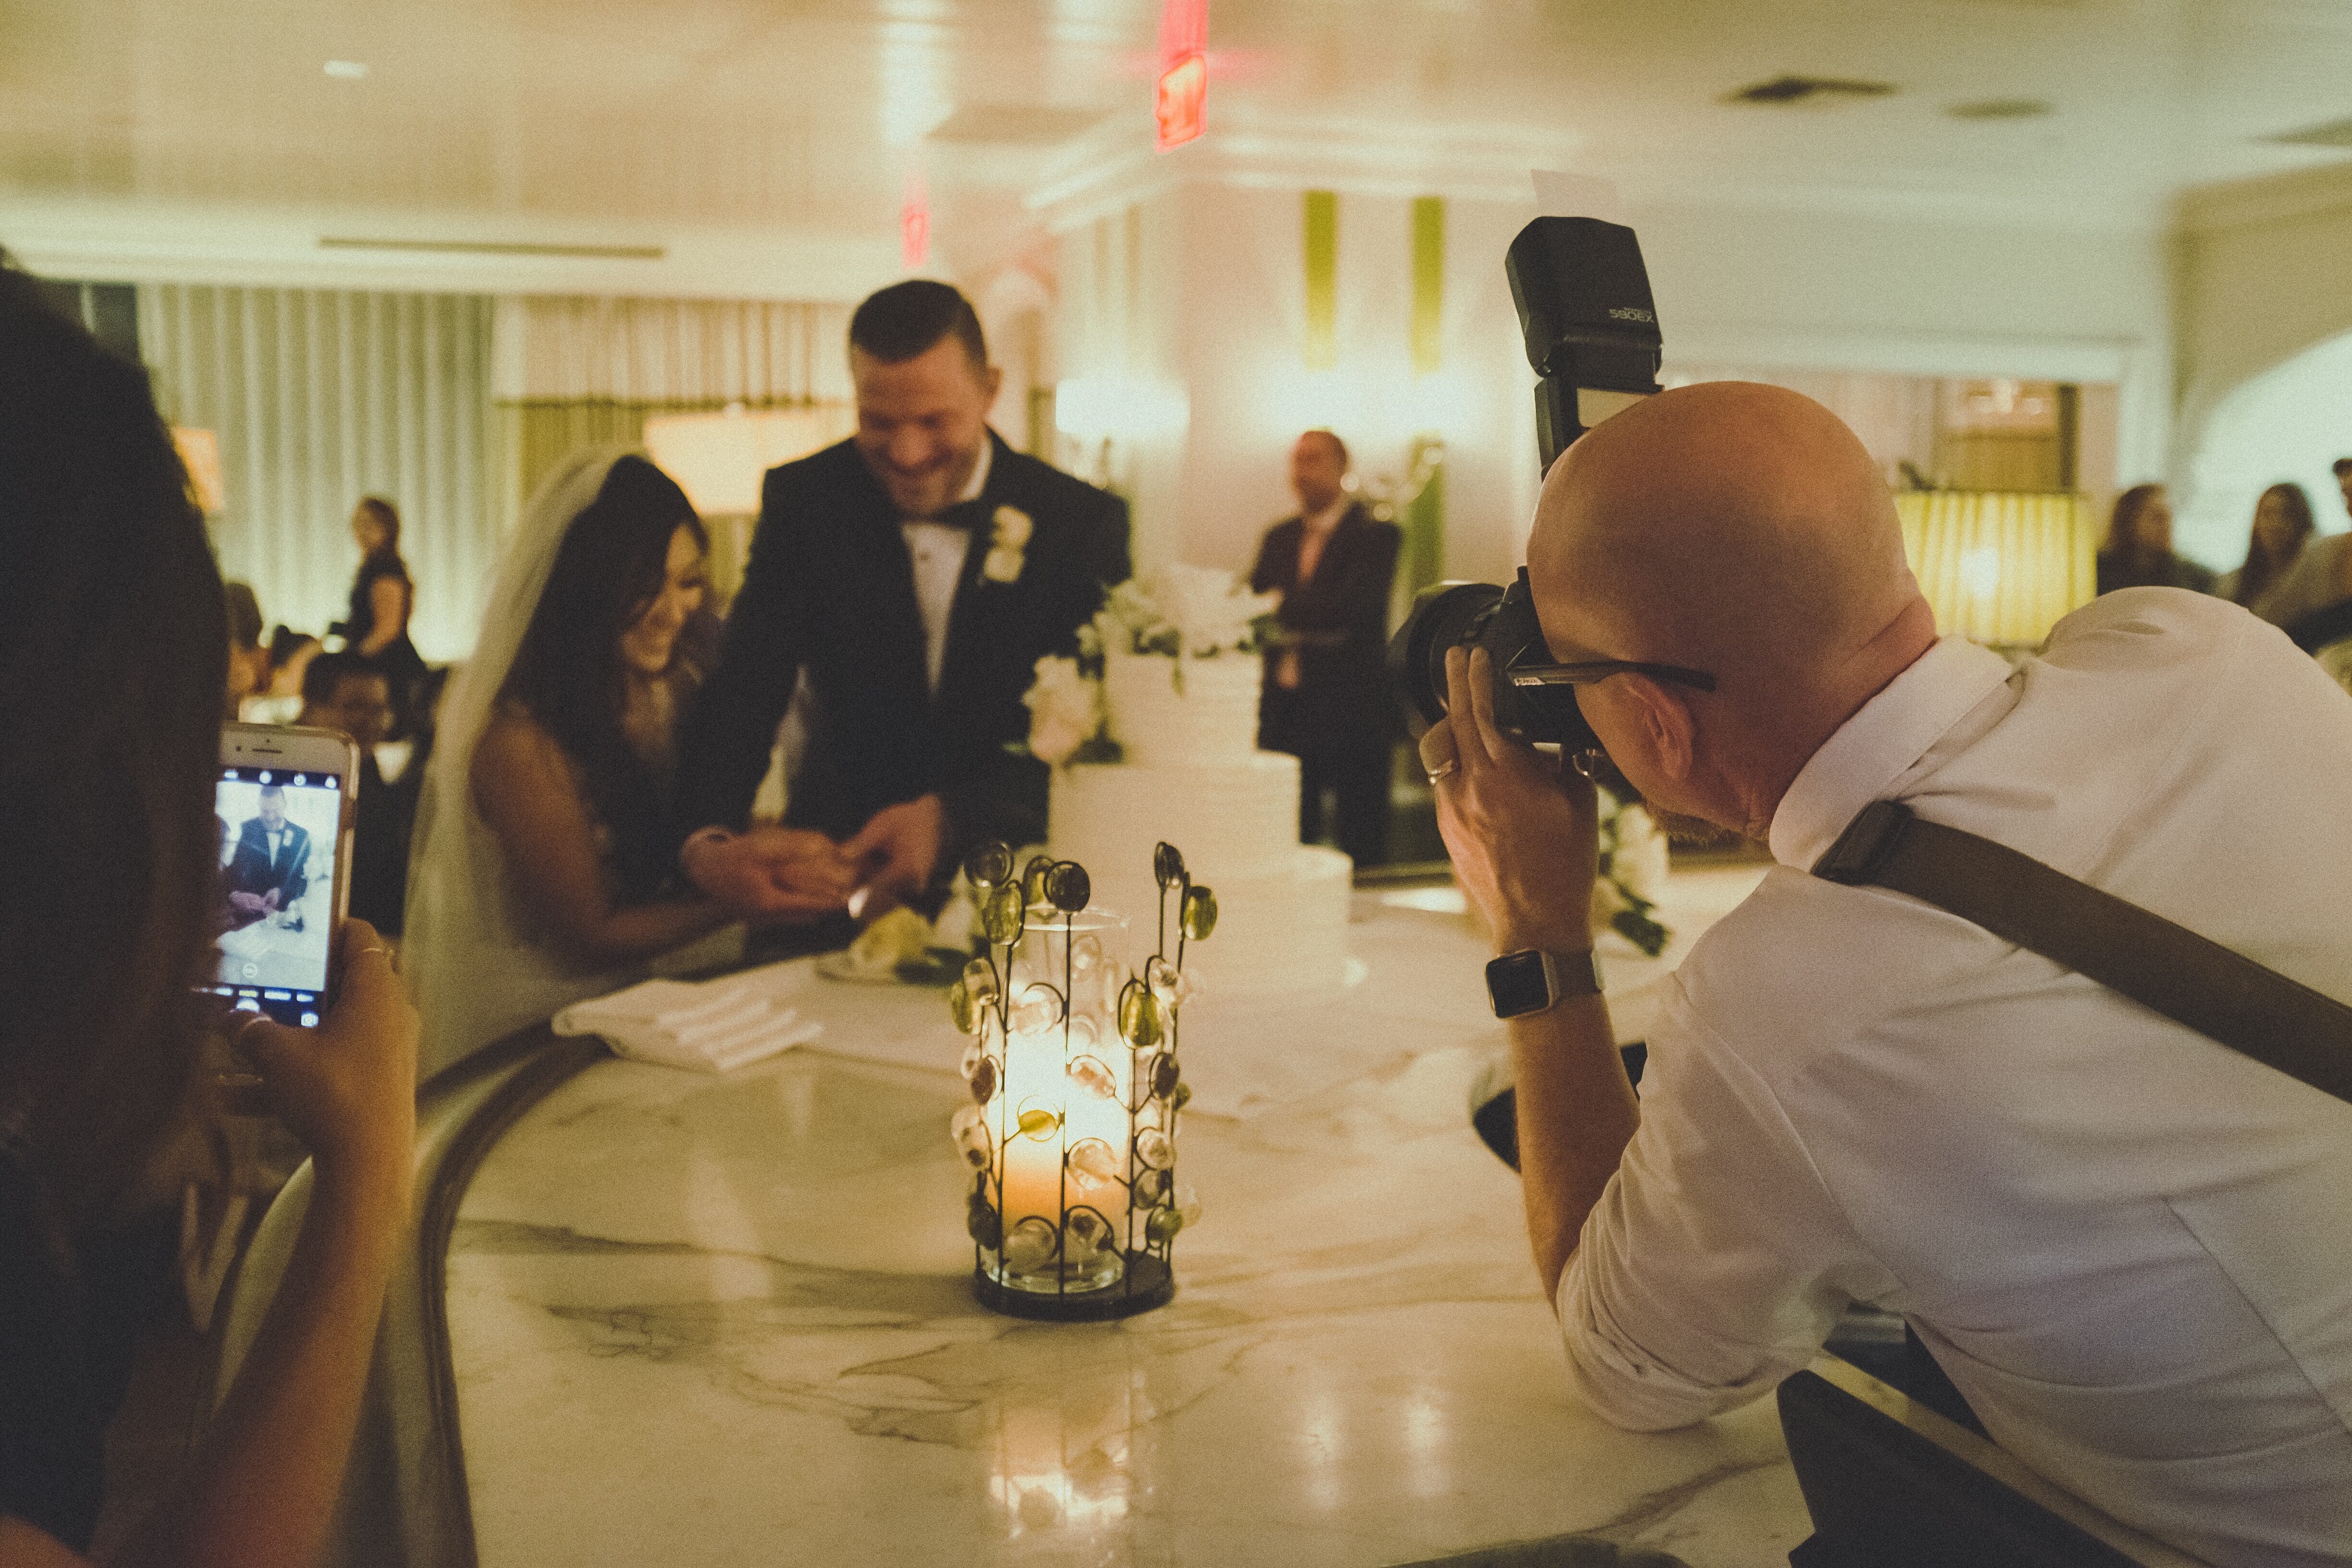
12. Be Mindful of Your Surroundings
Photographers have a tendency to get in the way of others. After all, they’re generally working with big cameras, long lenses, and hefty backpacks while also trying to capture the best shots.
So when you set up, take a quick look around. Make sure you’re not obstructing anyone’s view. And make sure your equipment isn’t obstructing other photographers, who are probably just as eager to shoot as you.
If, during the event, you need to move to get a photo, always pay attention to the people behind you. And if you desperately want to shoot in front of someone, take your shot, then quickly move away.
Here’s another quick event photography tip: If you need to capture certain shots of the venue, ask if you can arrive in advance. That way, you can shoot freely without causing problems (though always be respectful toward those who are setting up, of course).
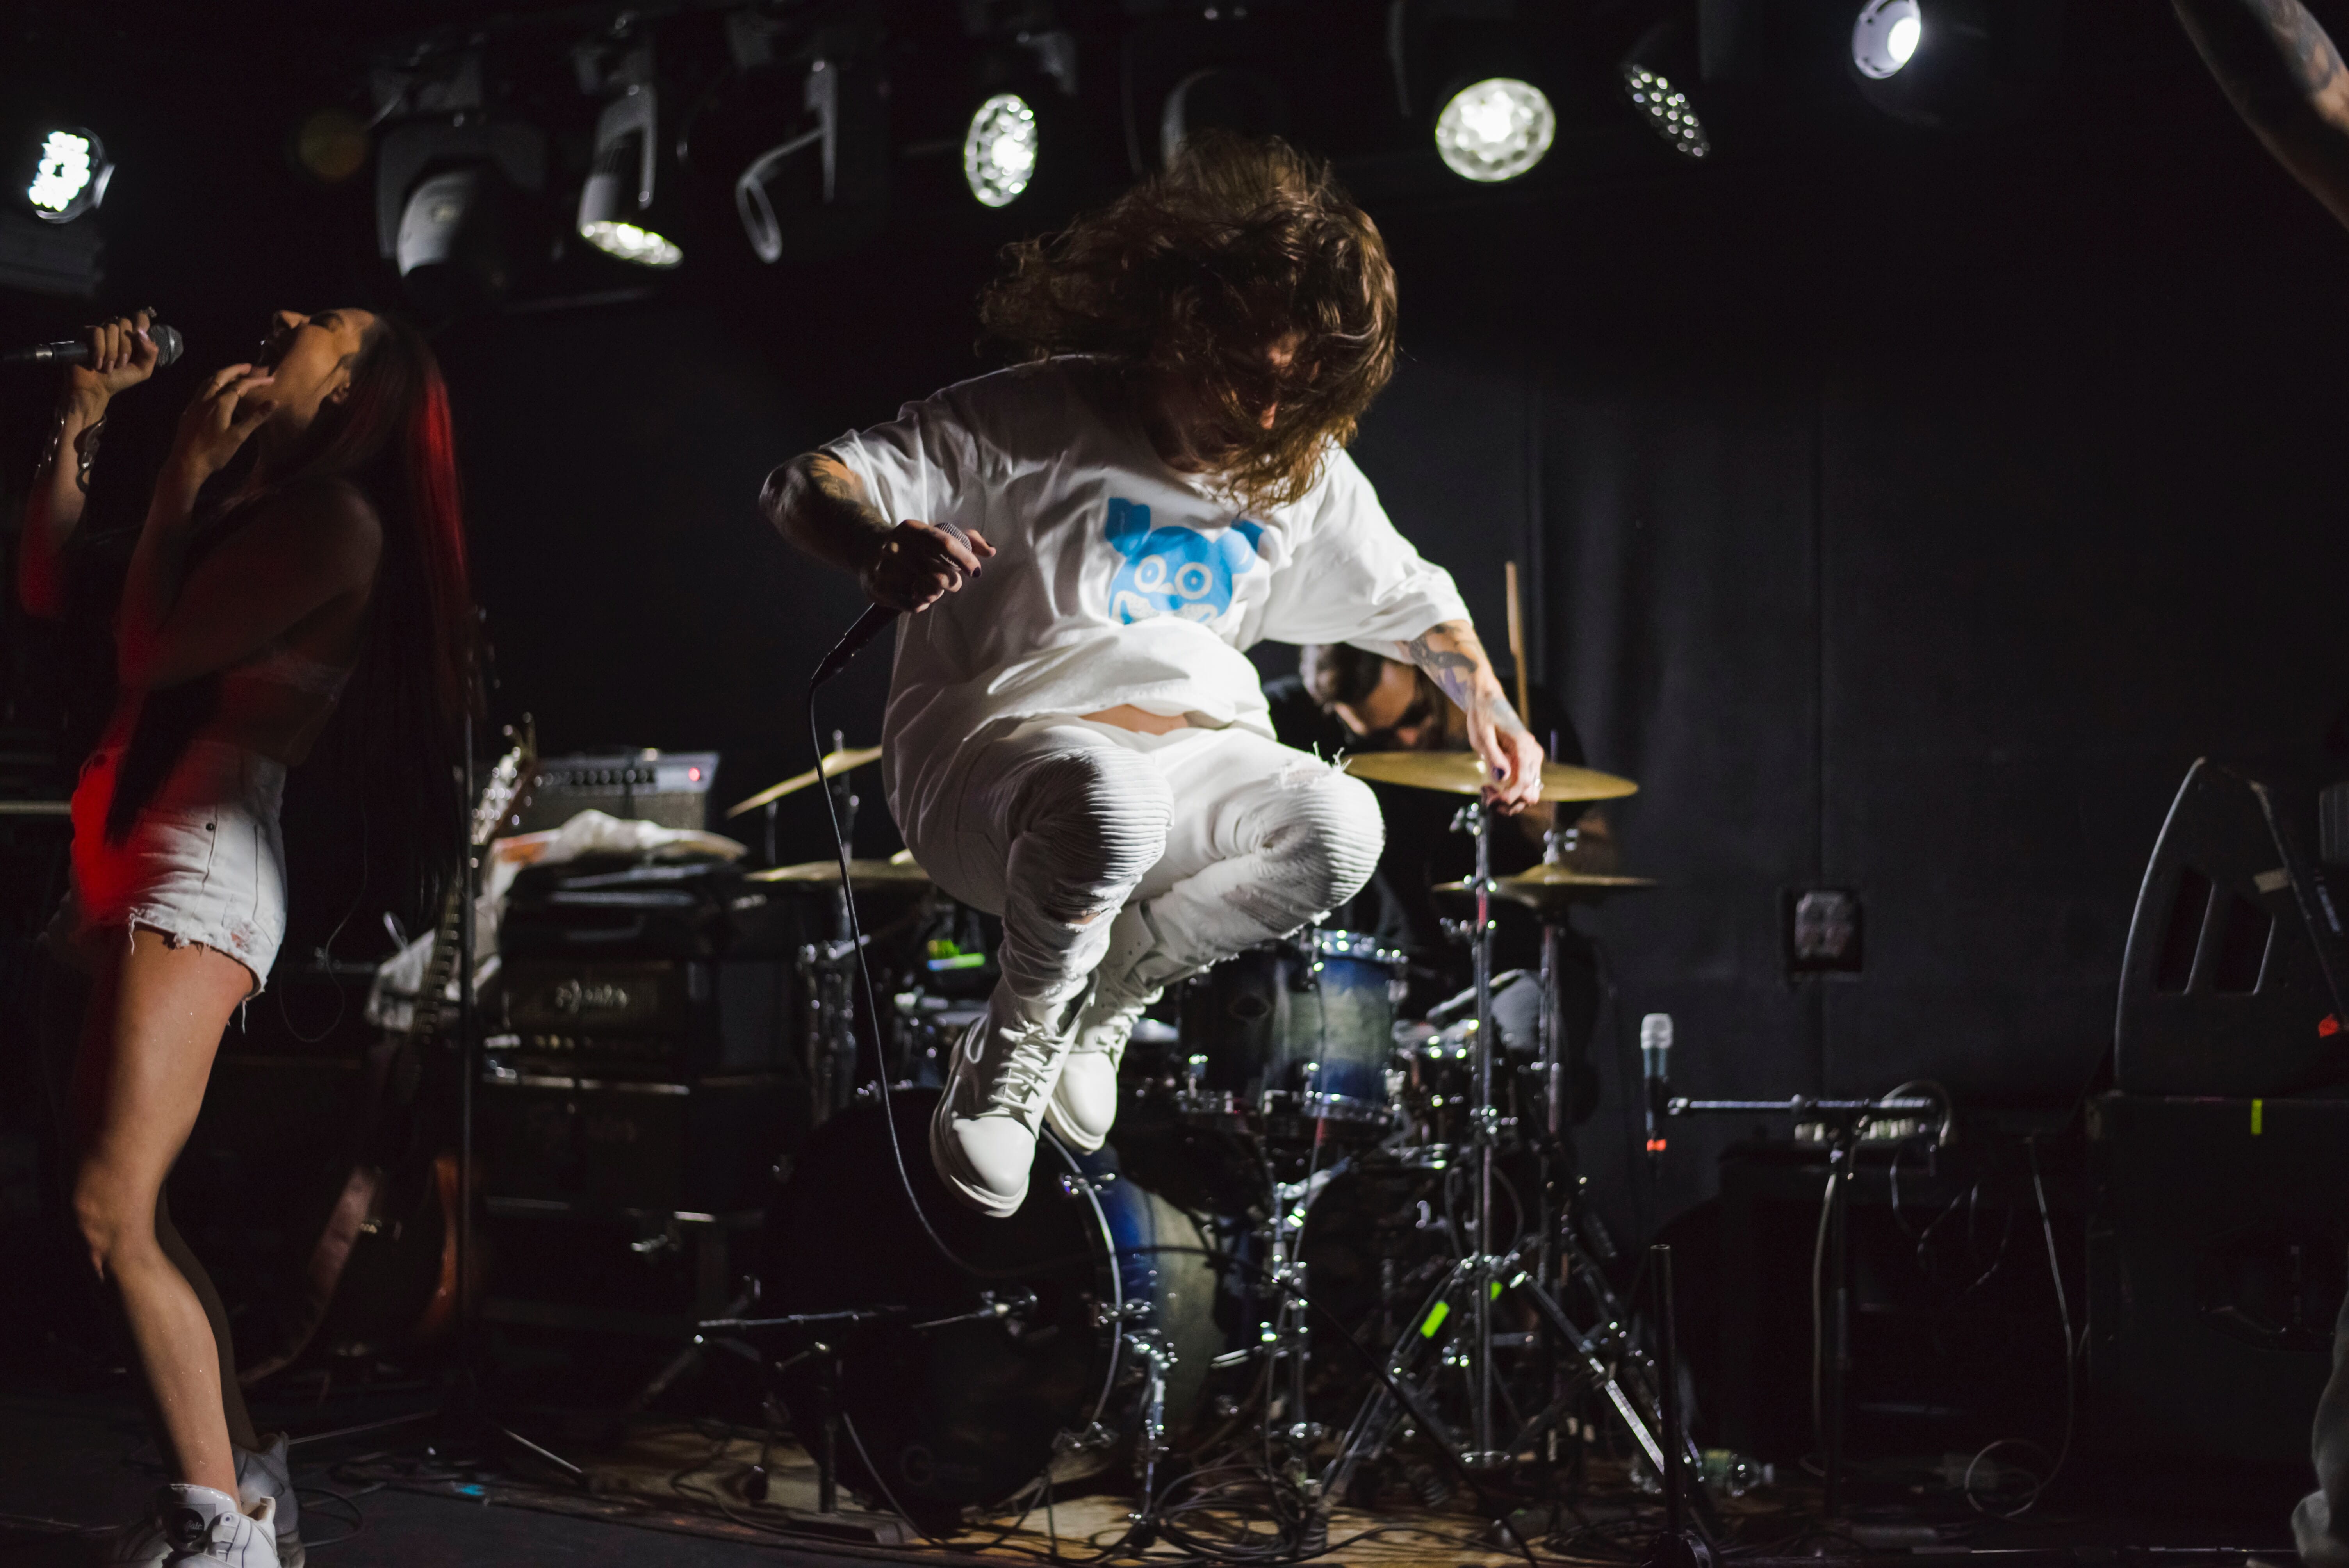
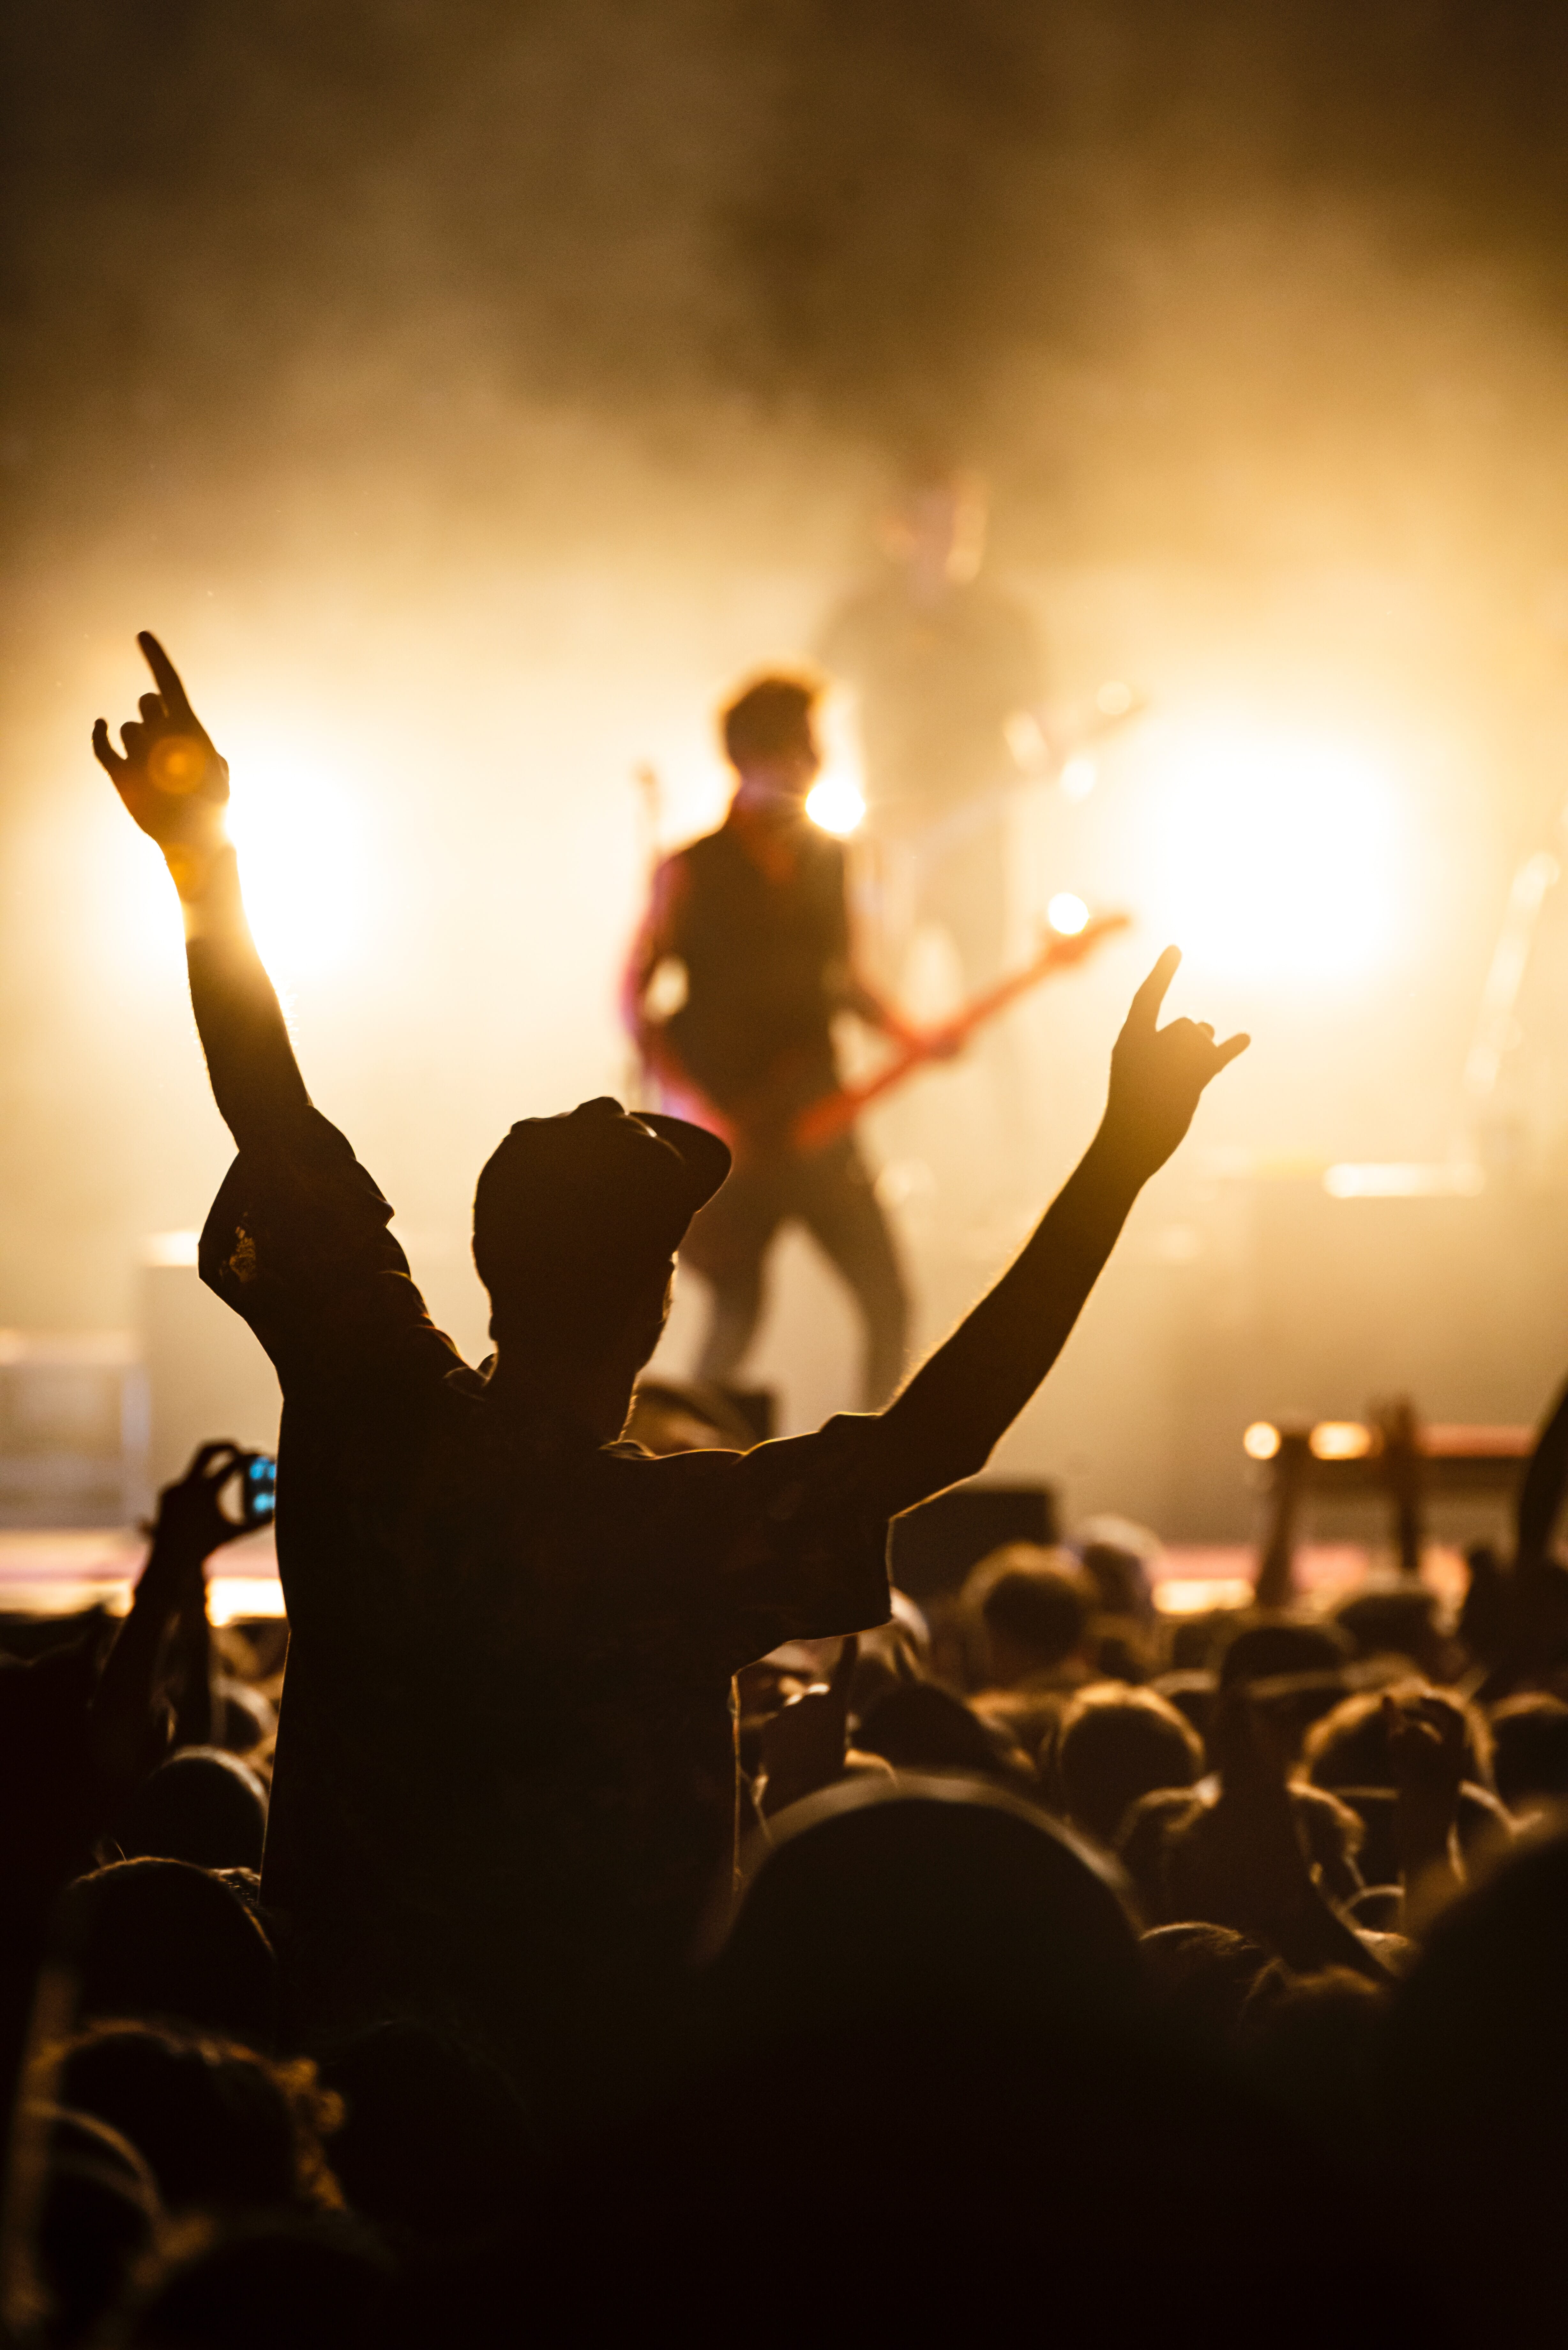
13. Avoid Flash for Concerts and Other Stage Performances
As we’ve emphasized throughout this article, concerts take place in difficult lighting conditions. The conditions are so difficult, in fact, that you may be tempted to use flash.
That is a bad idea.
For one, flash is often banned by performance venues. Plus, stage performers don’t like being flashed in the face by photographers (and it’s an easy way to make an enemy of the artist).
So learn to work without flash. Get the right camera, use the right lenses, and optimize your camera settings. That way, you won’t need to use your camera’s flash during an event, and you’ll be able to capture top-notch photos with only the ambient lighting.
Of course, certain events do allow flash photography. If that’s the case, and you’re close enough to use flash, just carefully consider whether you’ll be negatively impacting your subjects or the people around you.
Make sense?
14. Practice COVID Safety (and Follow Venue Regulations)
As an event photographer, you must pay careful attention to COVID restrictions. If you fail to do so, you’re at risk of getting thrown out of an event, or – even worse – putting yourself and others in danger.
So before going to an event, ask the organizers about COVID restrictions. Do you need to wear a mask? Do you need to stand in certain areas? Are parts of the venue off limits?
Then follow the rules to the letter.
We also recommend you take basic precautions. Do as much social distancing as possible, and wear a mask, even if it’s not a requirement.
15. Edit Your Photos for the Best Results

While it’s important to master your event photography skills, you should also remember that editing is just as important.
After all, editing is how you take a decent event photo and turn it into a pro-level masterpiece.
In fact, if you’re shooting in RAW (which we highly recommend), then you’ll need to edit before sharing your photos, as RAW files aren’t viewable by standard programs or browsers.
Must you do a lot of editing of your event photos before exporting? Not necessarily. While you can spend hours adjusting tones and colors, we’d really recommend you focus on a few simple adjustments.
First, carefully crop for the best composition. Here, the general goal is to focus the viewer on the main subject and remove distractions, but feel free to experiment with different crops to see how they look.
Next, set the white balance so the colors are natural.
Third, adjust the exposure until you have a nice level of detail in your shot. You can fine-tune with targeted sliders (like the Whites and Blacks sliders) or with the Tone Curve tool. When you’re done, add some contrast to make the subject pop.
Fourth, adjust the Vibrance and Saturation sliders until the colors look good. You don’t want to go overboard, but a little color intensity can make a big difference.
Finally, do any necessary sharpening and noise reduction. You want an image that’s crisp, but you also want to keep noise to a minimum, so adjust your Detail sliders until you get a solid balance.
And that’s it! Export your image as a JPEG, then admire your final product.
Become an Event Photography Master
Hopefully, you’re now ready to go out and capture some jaw-dropping event photos of your very own.
Just remember the tips we’ve shared, and you’re bound to come home with some great shots!
When shooting events with other photographers what should you do if another photographer comes up after you have set up a photo and takes a picture you just set up?