In this article, you’re going to learn how to brighten a part of your image in Photoshop – so that you can selectively boost brightness whenever and wherever you need.
Specifically, I will show you how you can:
- Increase the brightness of a person’s face
- Increase the brightness of the sky
- Increase the brightness at the edges of the frame
- Realistically increase the brightness in any targeted portion of your photo
Tools to Brighten a Part of Your Image in Photoshop:
Brightening a Part of Your Image in Photoshop: The Basics
In Photoshop, you can brighten part of an image in two broad ways:
With a selection.
Or with a brush.
A selection-based brightening method works by selecting a portion of your image, then applying a brightness adjustment to just that area.
So, you’d select the area you want to brighten, apply the brightness adjustment, and watch as it gets lighter.
This is great for quickly increasing brightness, but if you’re looking for a bit more finesse, you might want to try the alternative:
A brush-based brightening method.
As you might expect, this involves brushing brightness onto your photo (in some form).
And while a brush isn’t an especially targeted tool, it’s a great way to produce subtle, realistic brightening effects.
(If you do decide to go with the brush-based method, I’d recommend working with a mouse over a trackpad, and a tablet over a mouse.)
Now let’s take a closer look at these different ways of brightening your photos in Photoshop.
Brightening a Part of Your Image With a Selection
Thankfully, Photoshop offers quite a few ways to select a part of your image.
There’s no one best selection tool because different tools are different for different jobs.
So ask yourself:
What area of my photo do I want to brighten?
And then follow the relevant guidelines below:
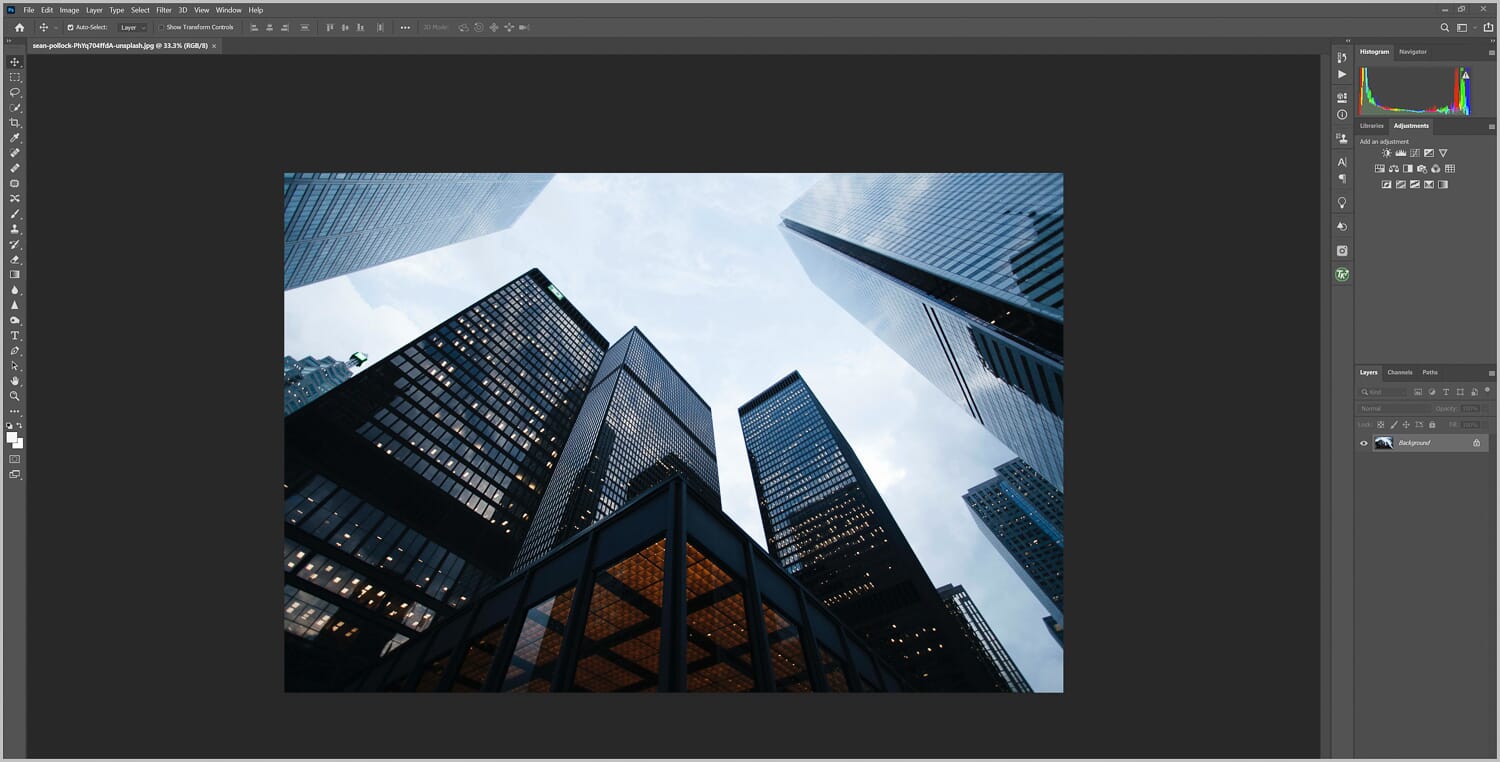
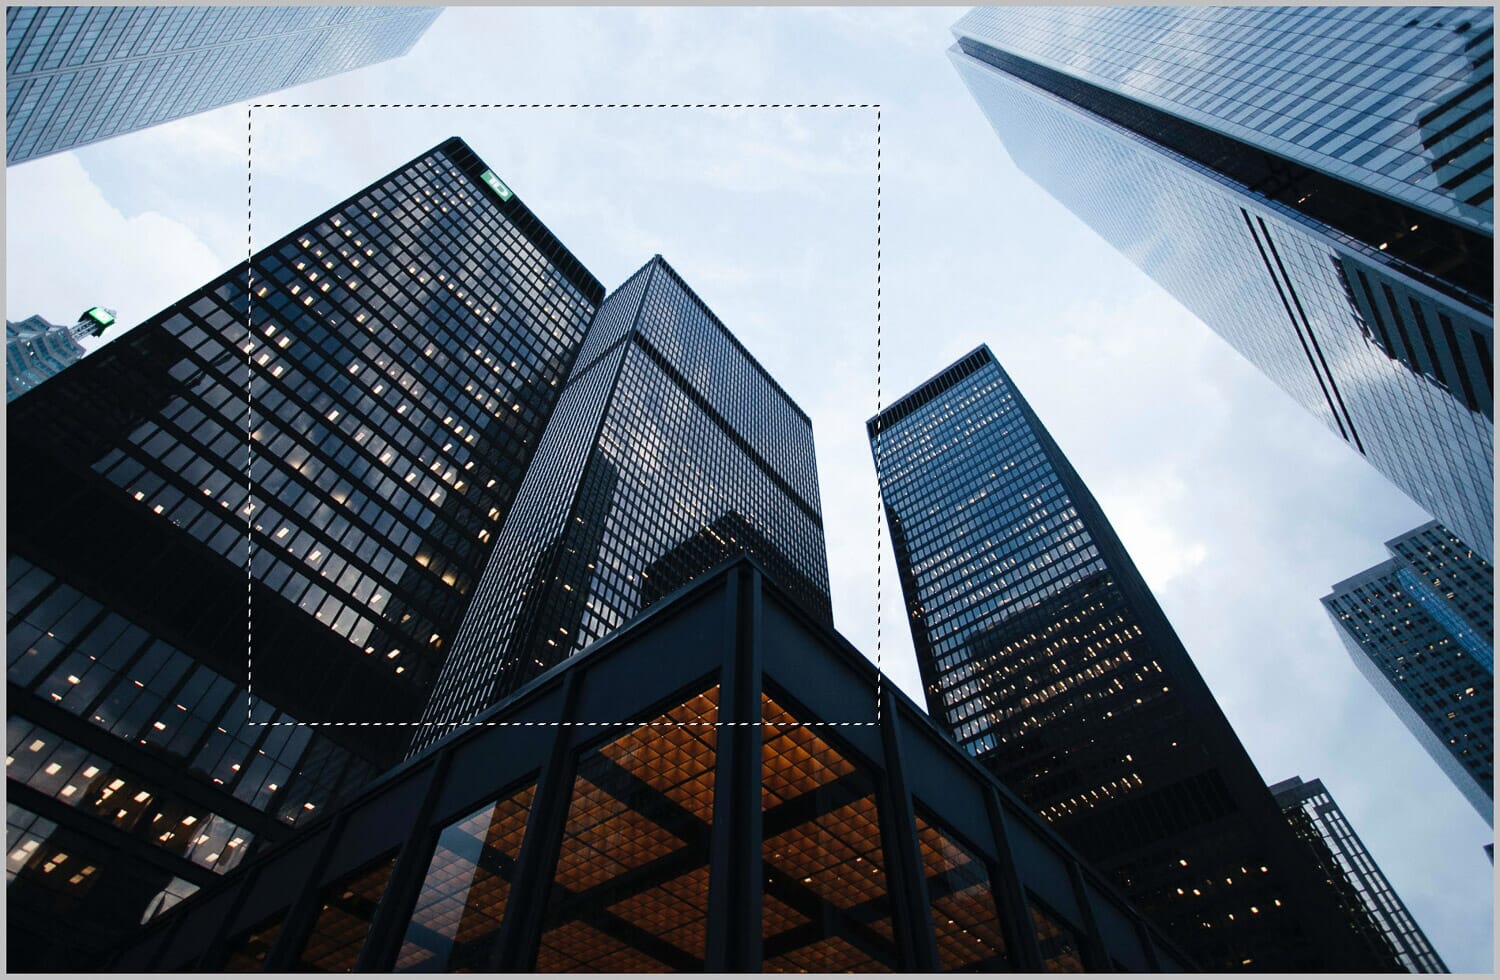
For Square/Rectangular Objects
If you’re aiming to brighten up a square or rectangular object, I’d recommend you use the Rectangular Marquee tool.
You’ll find it toward the top of the toolbar:
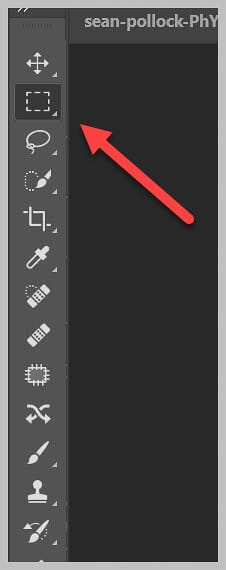
(You can also hit “M” on your keyboard.)
Then click and drag until your entire object is selected.
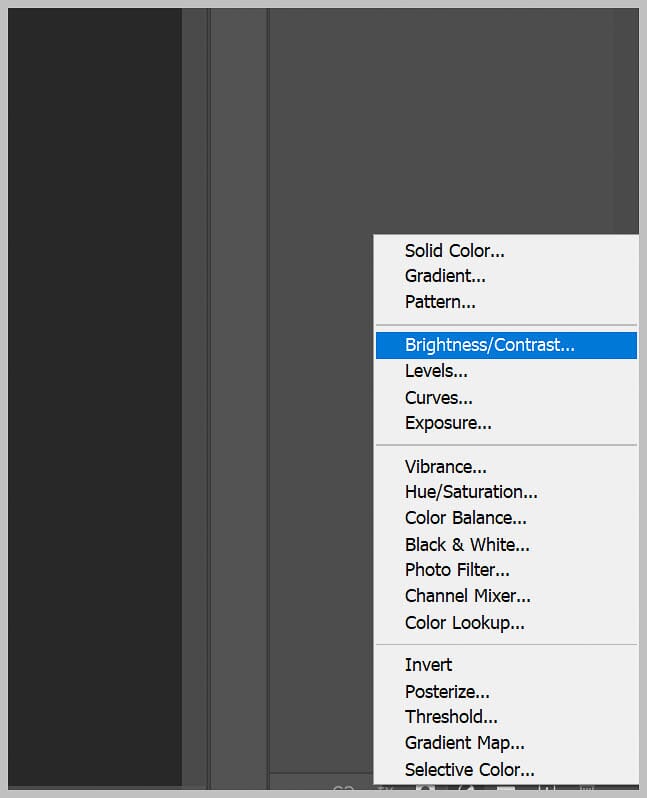
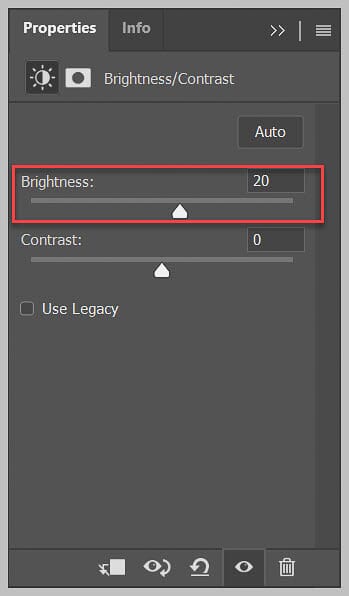
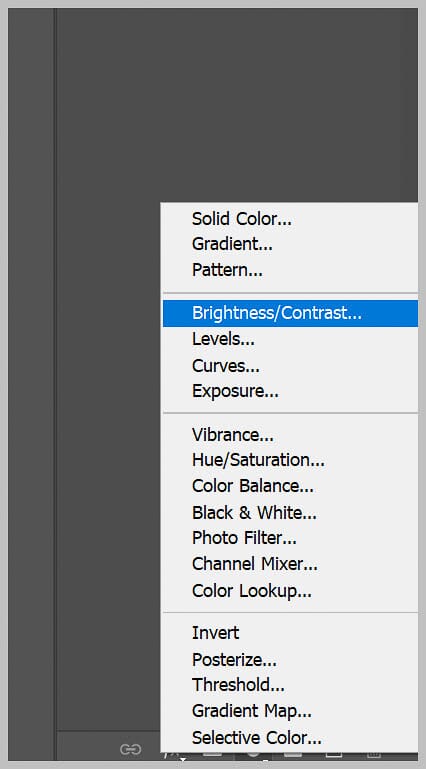
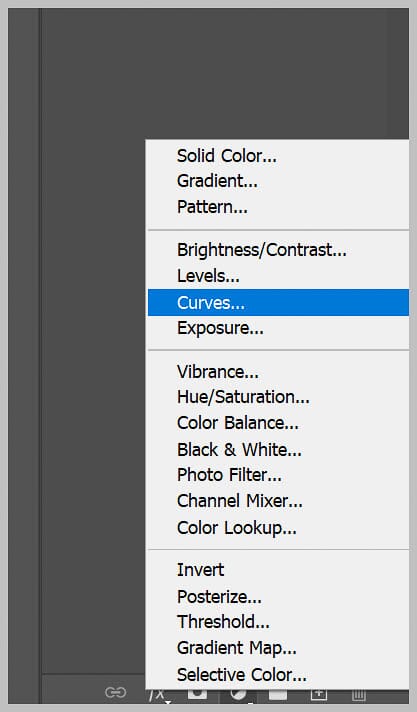
Next, select Image, then Adjustments>Brightness/Contrast:
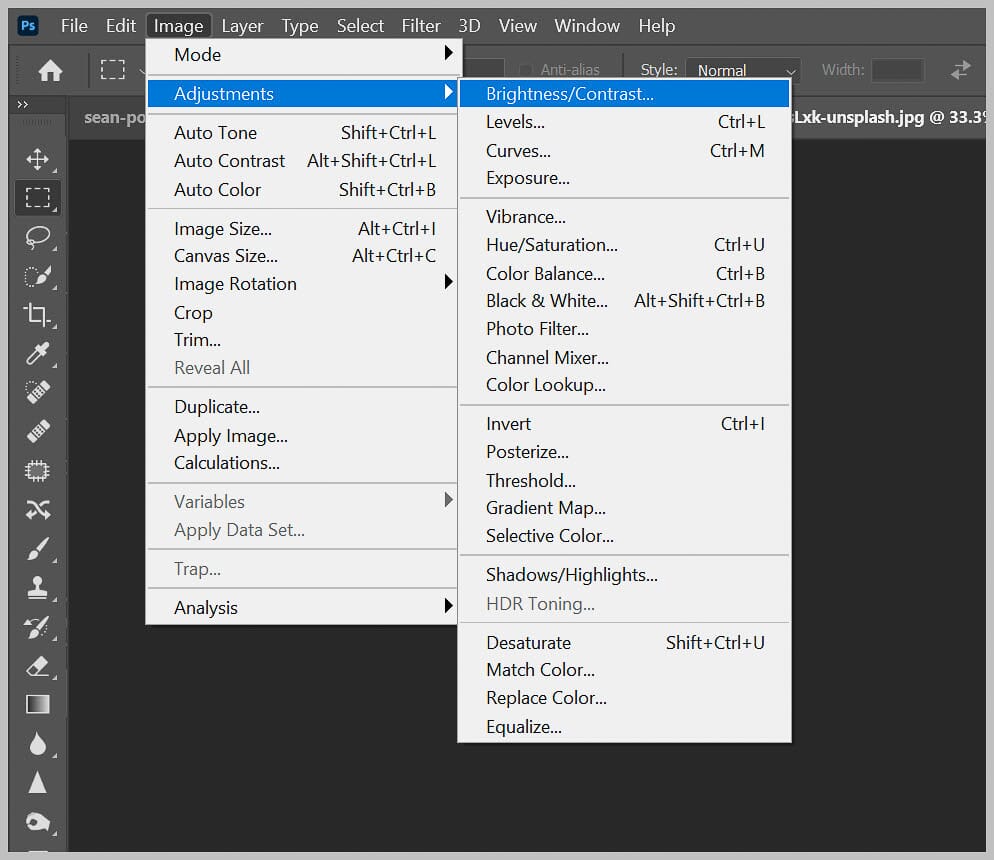
Then boost the brightness…

…and watch as the selected portion of your image lightens up!
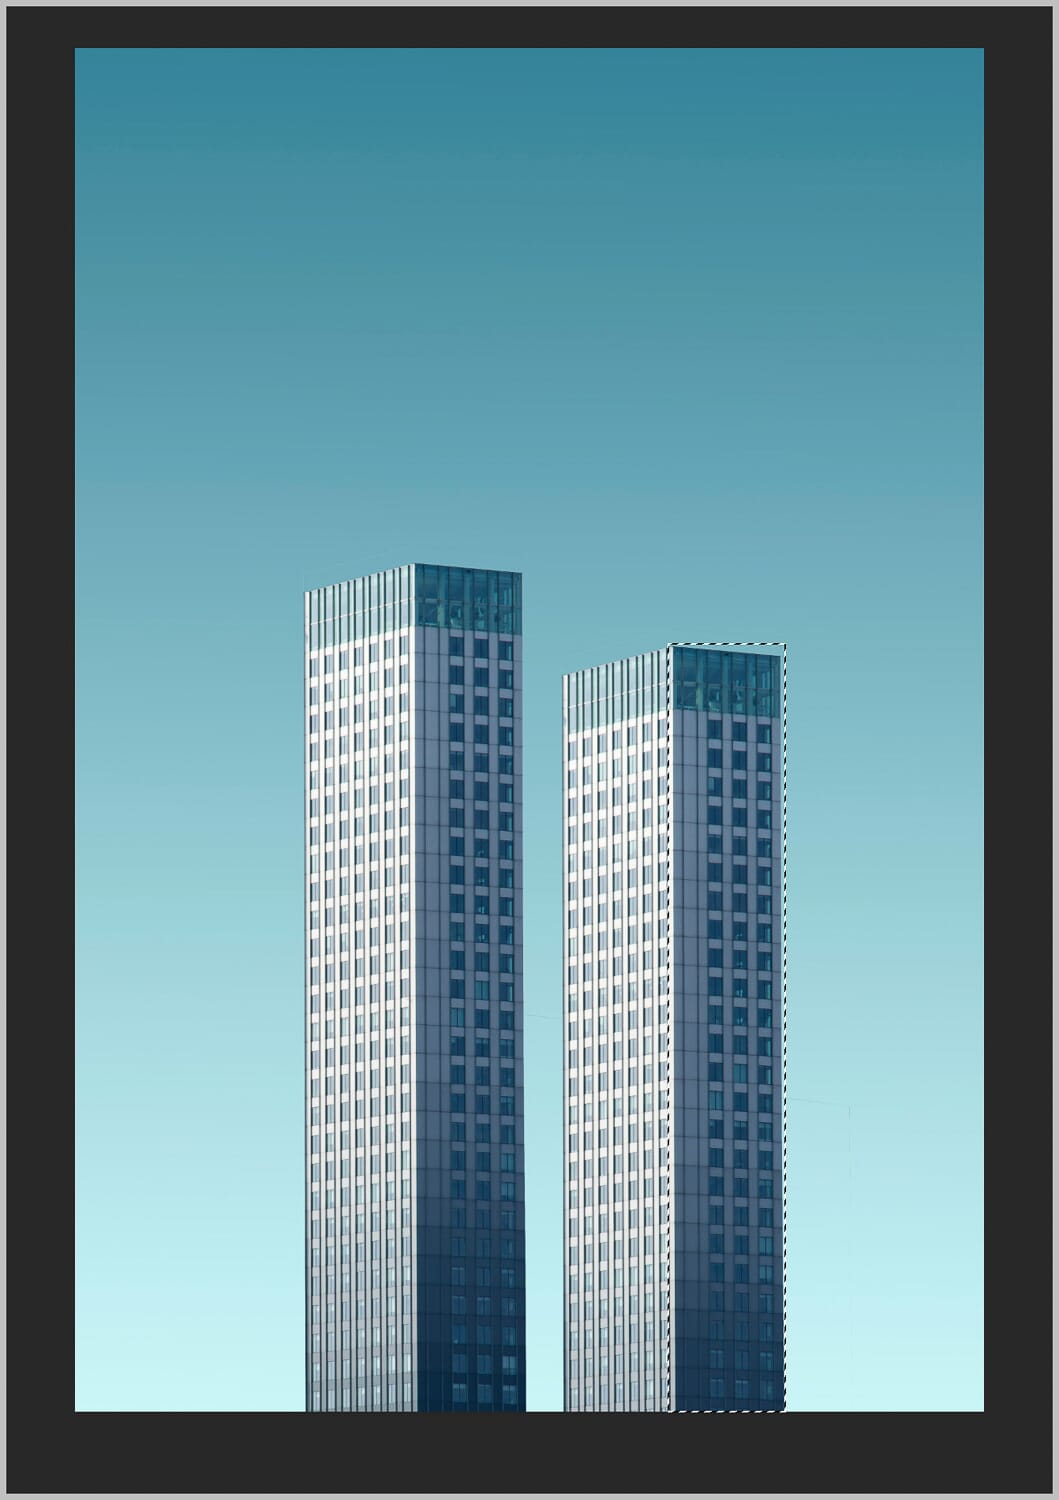
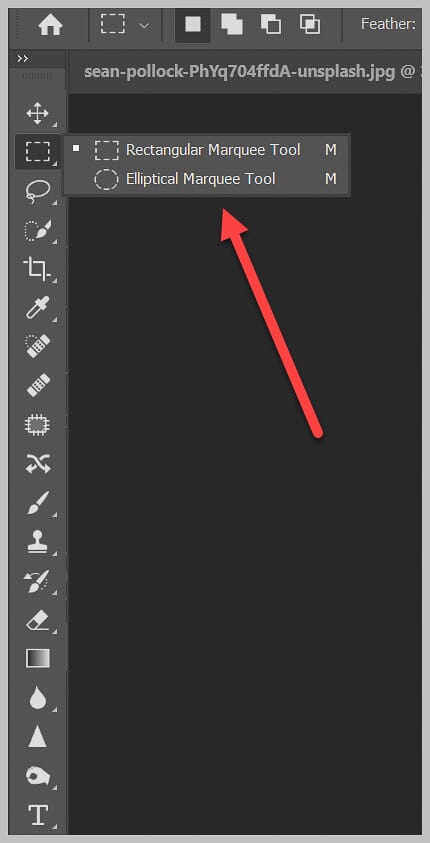
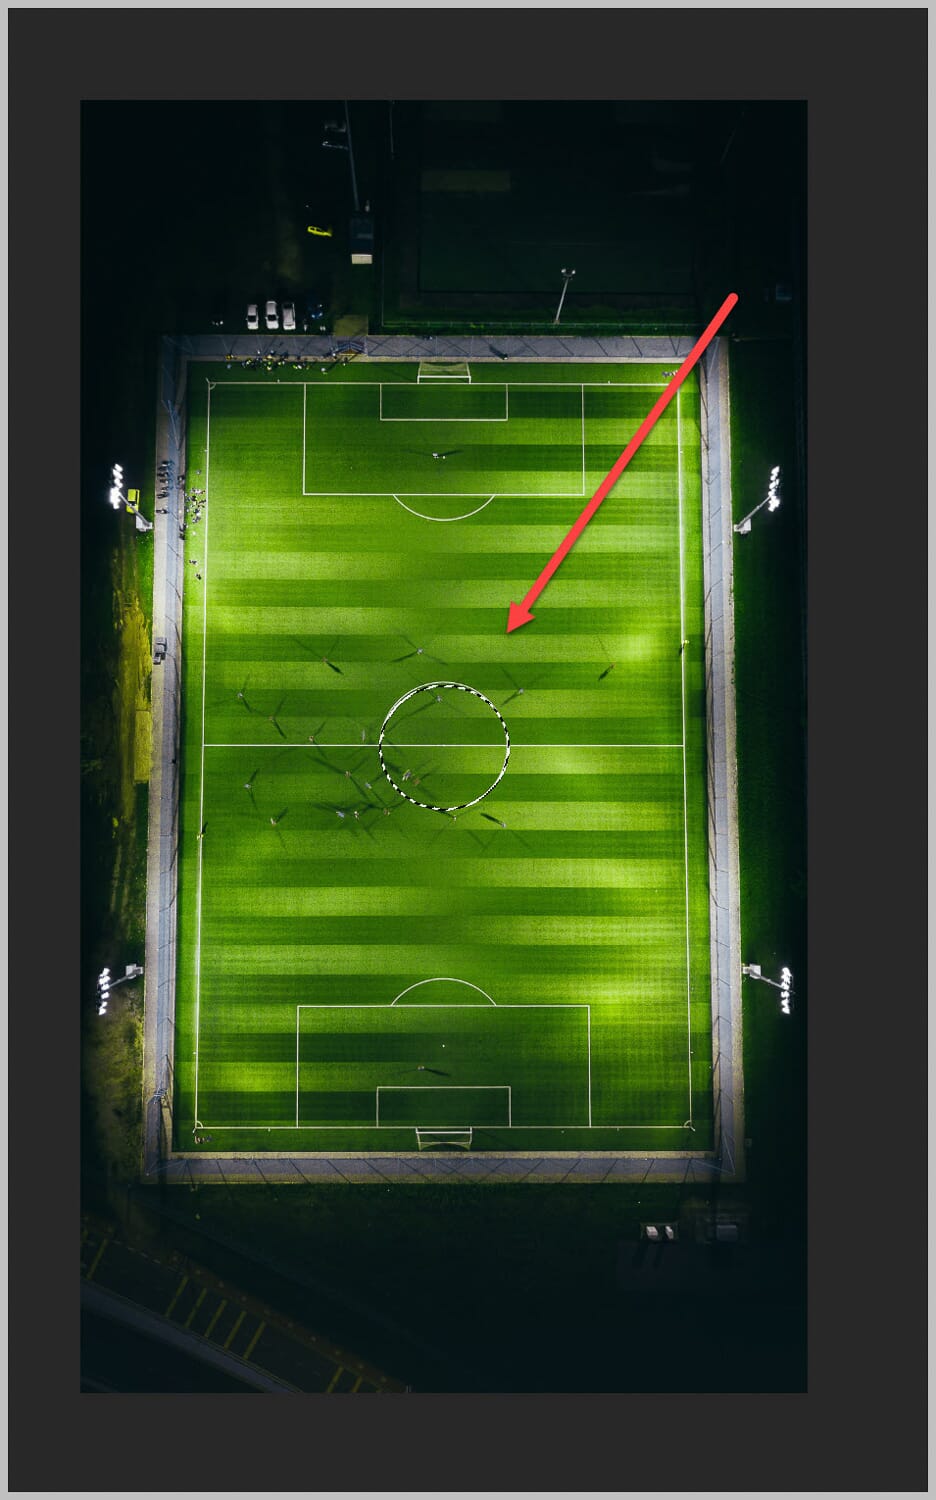
For Circular/Elliptical Objects
If you need to brighten up a circular or elliptical object, the Elliptical Marquee is the fastest tool for the job.
Just click on the Elliptical Marquee tool:
Select the portion of your image you want to brighten up:
And select Image>Adjustments>Brightness/Contrast.
Use the Brightness slider in the dialog box to boost the brightness…
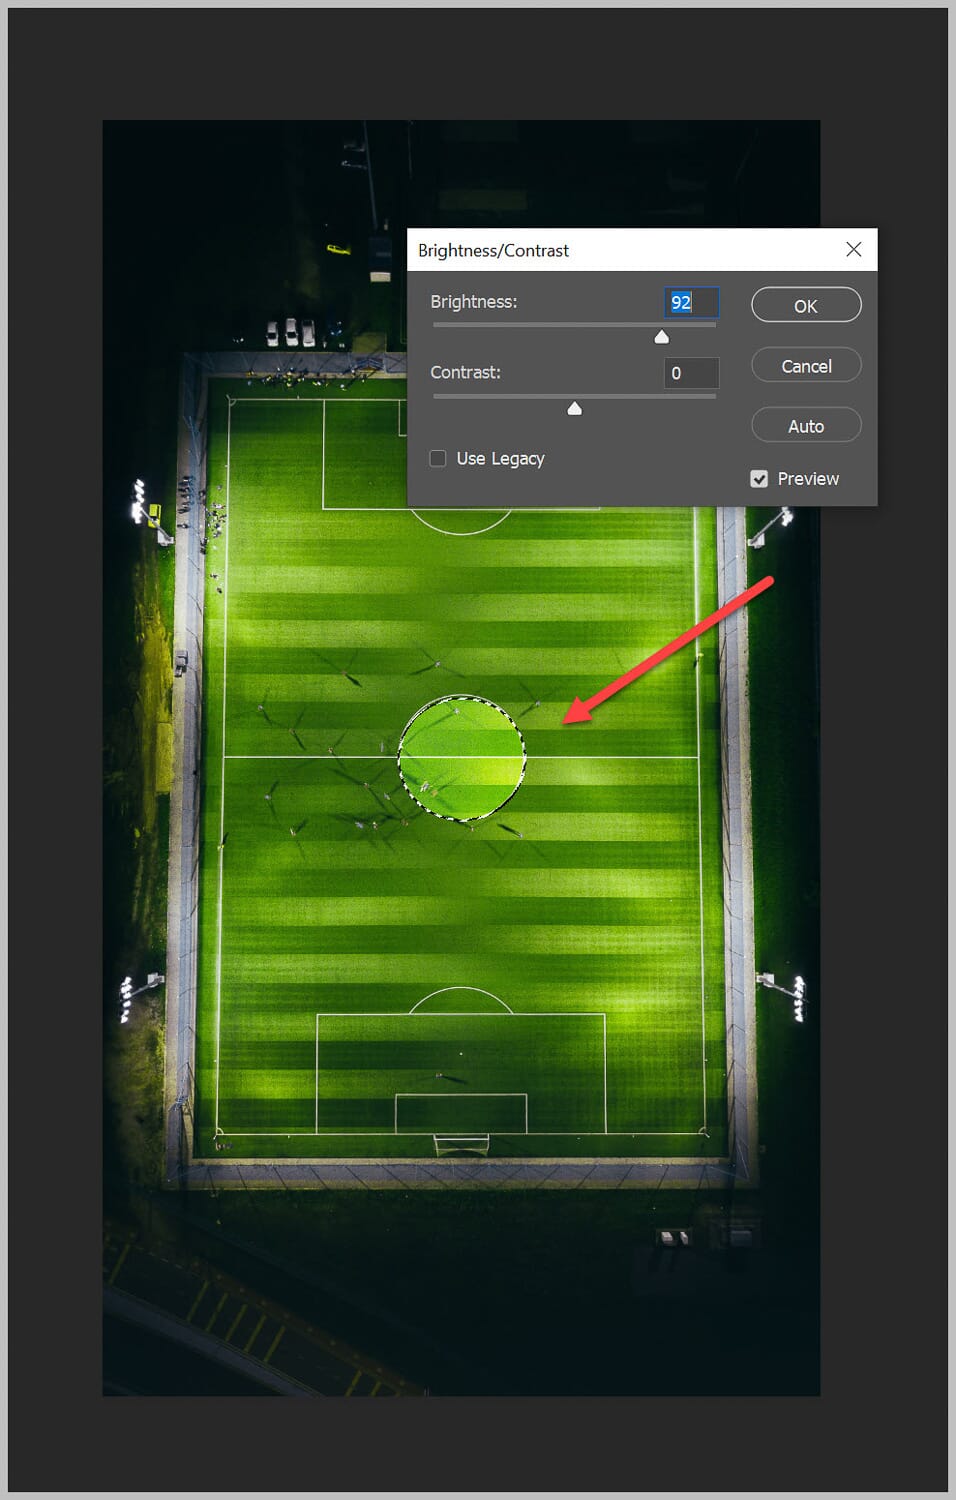
…until you get the results you’re after.
For Complex Objects (With a Well-Defined Shape)
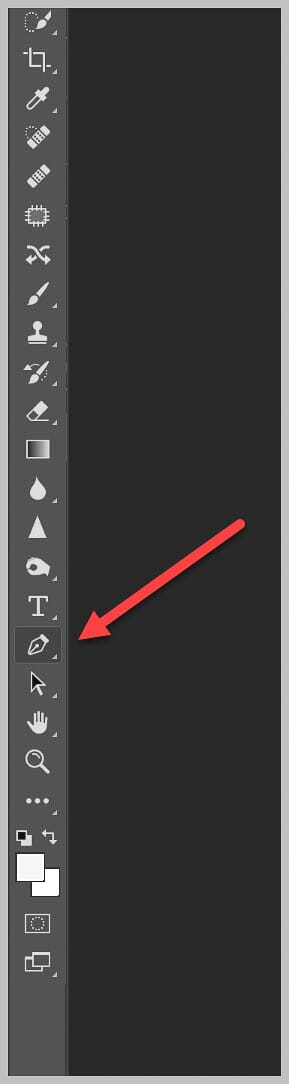
If you’d like to brighten up a complex object that has a clearly defined shape, such as a car, I’d recommend using the Pen tool.
You can find it in the left hand toolbar, or you can hit the “P” key on your keyboard.
Then simply click around your object, placing points at every corner:
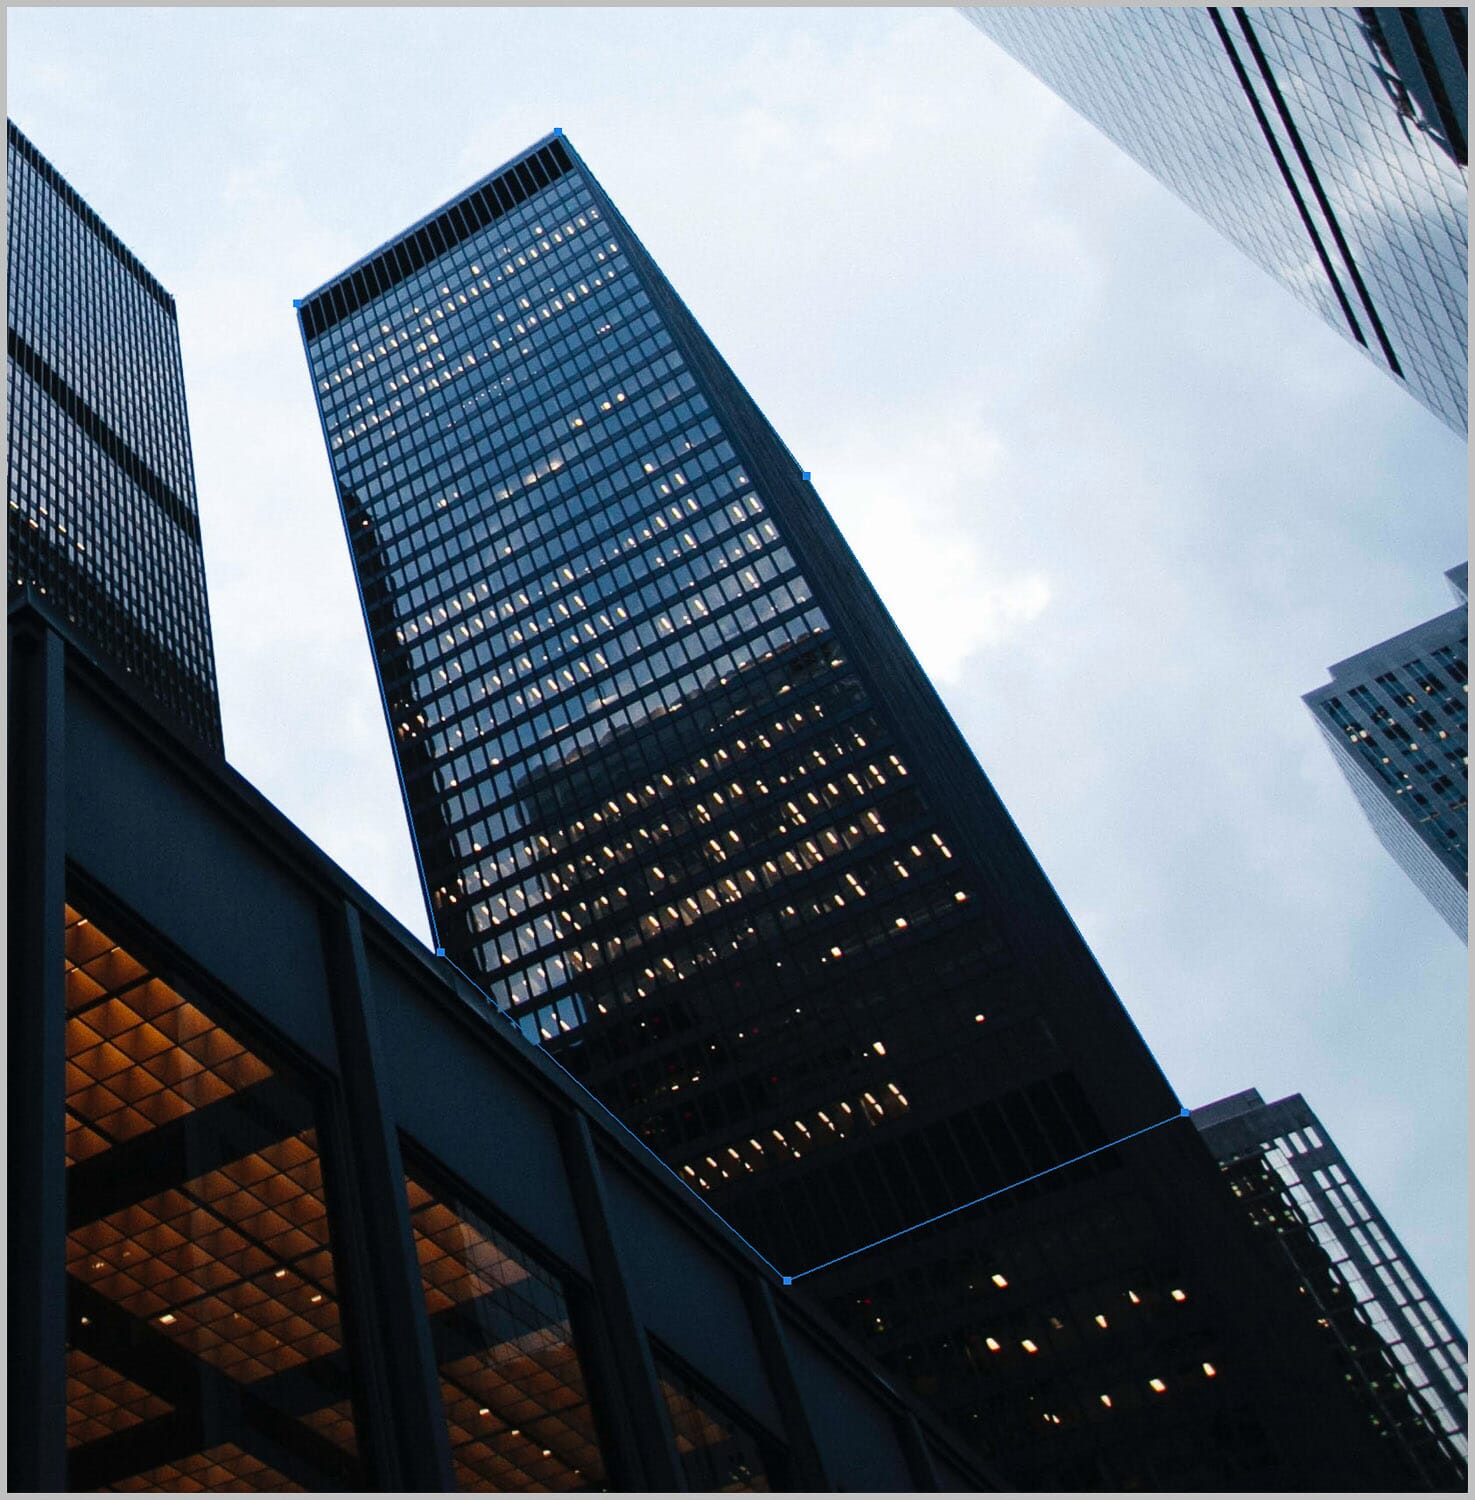
Note that you can always adjust the placement of points by tapping the Ctrl (or Cmd) key and dragging on the points.
And you can draw curves by clicking and dragging while placing points.
Once you’ve finished tracing the outline of your object, click on your very first point.
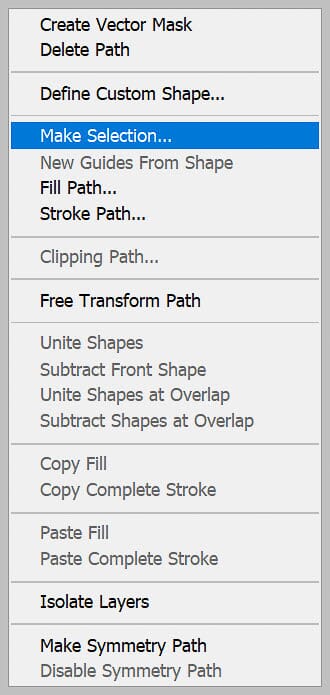
Then right-click and choose Make Selection:
I’d recommend setting the Feather Radius to 0. Leave Anti-aliased checked.
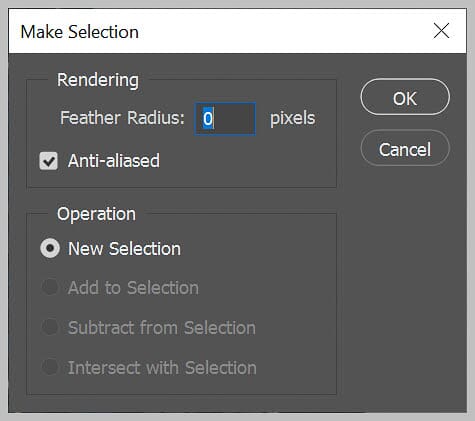
Finally, hit OK.
Part of your image should now be selected, so it’s time to add the brightness adjustment.
Go to Image>Adjustments>Brightness/Contrast, then boost the brightness until you’ve achieved the right look.
For Other Complex Objects
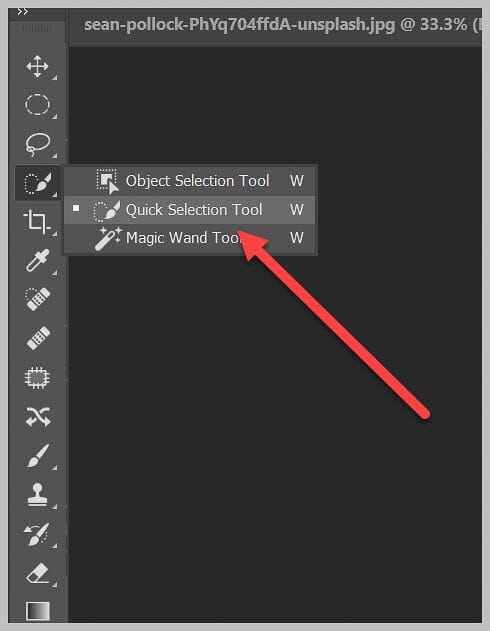
If you’re aiming to brighten up a complex object with detailed edges, such as a person (or a person’s face), you’ll want to use Photoshop’s most powerful selection tool:
Quick Selection.
You’ll find it at the top of the left hand toolbar:
With the Quick Selection tool activated, simply draw inside your subject…
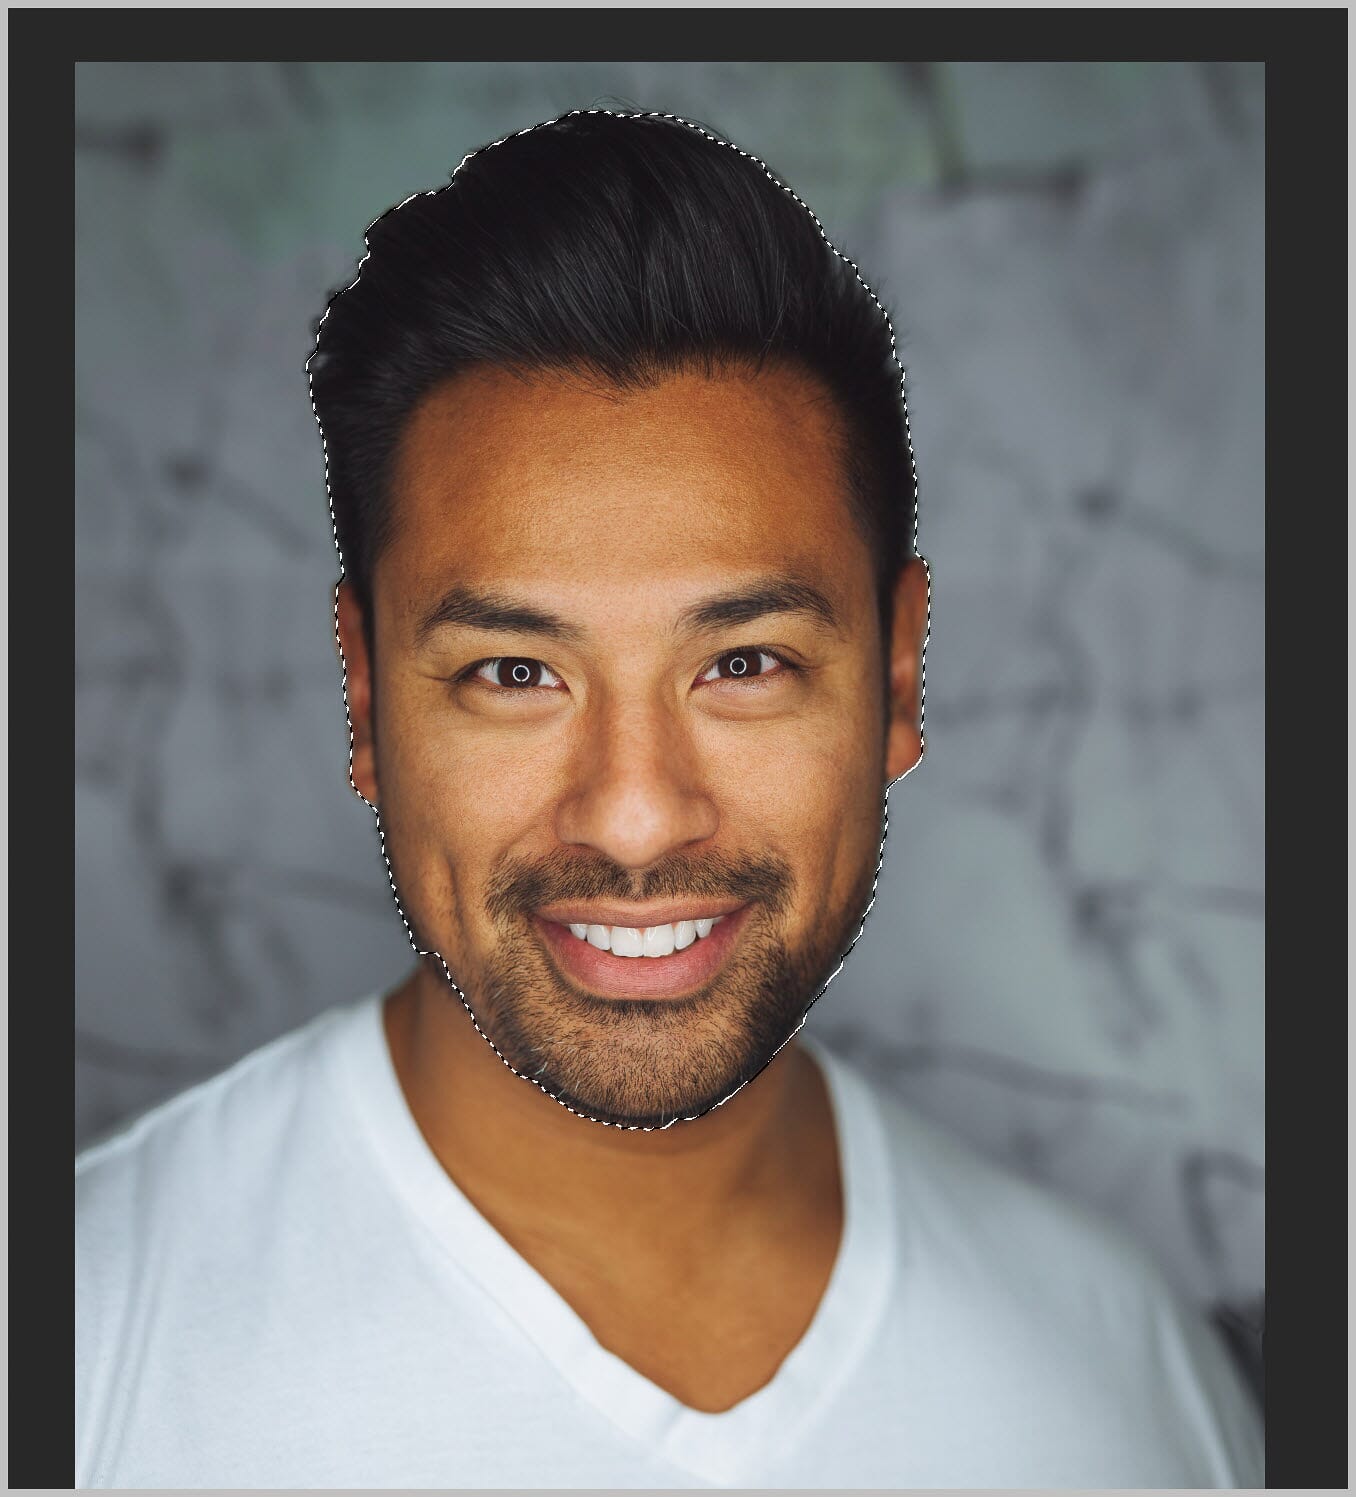
…and watch as it does an incredible job of selecting it from the background.
You can subtract from the selection by tapping Alt and drawing over previously selected areas.
And if you finish your selection and it’s still not perfect, you can always use the Select and Mask dialog to really refine your results:
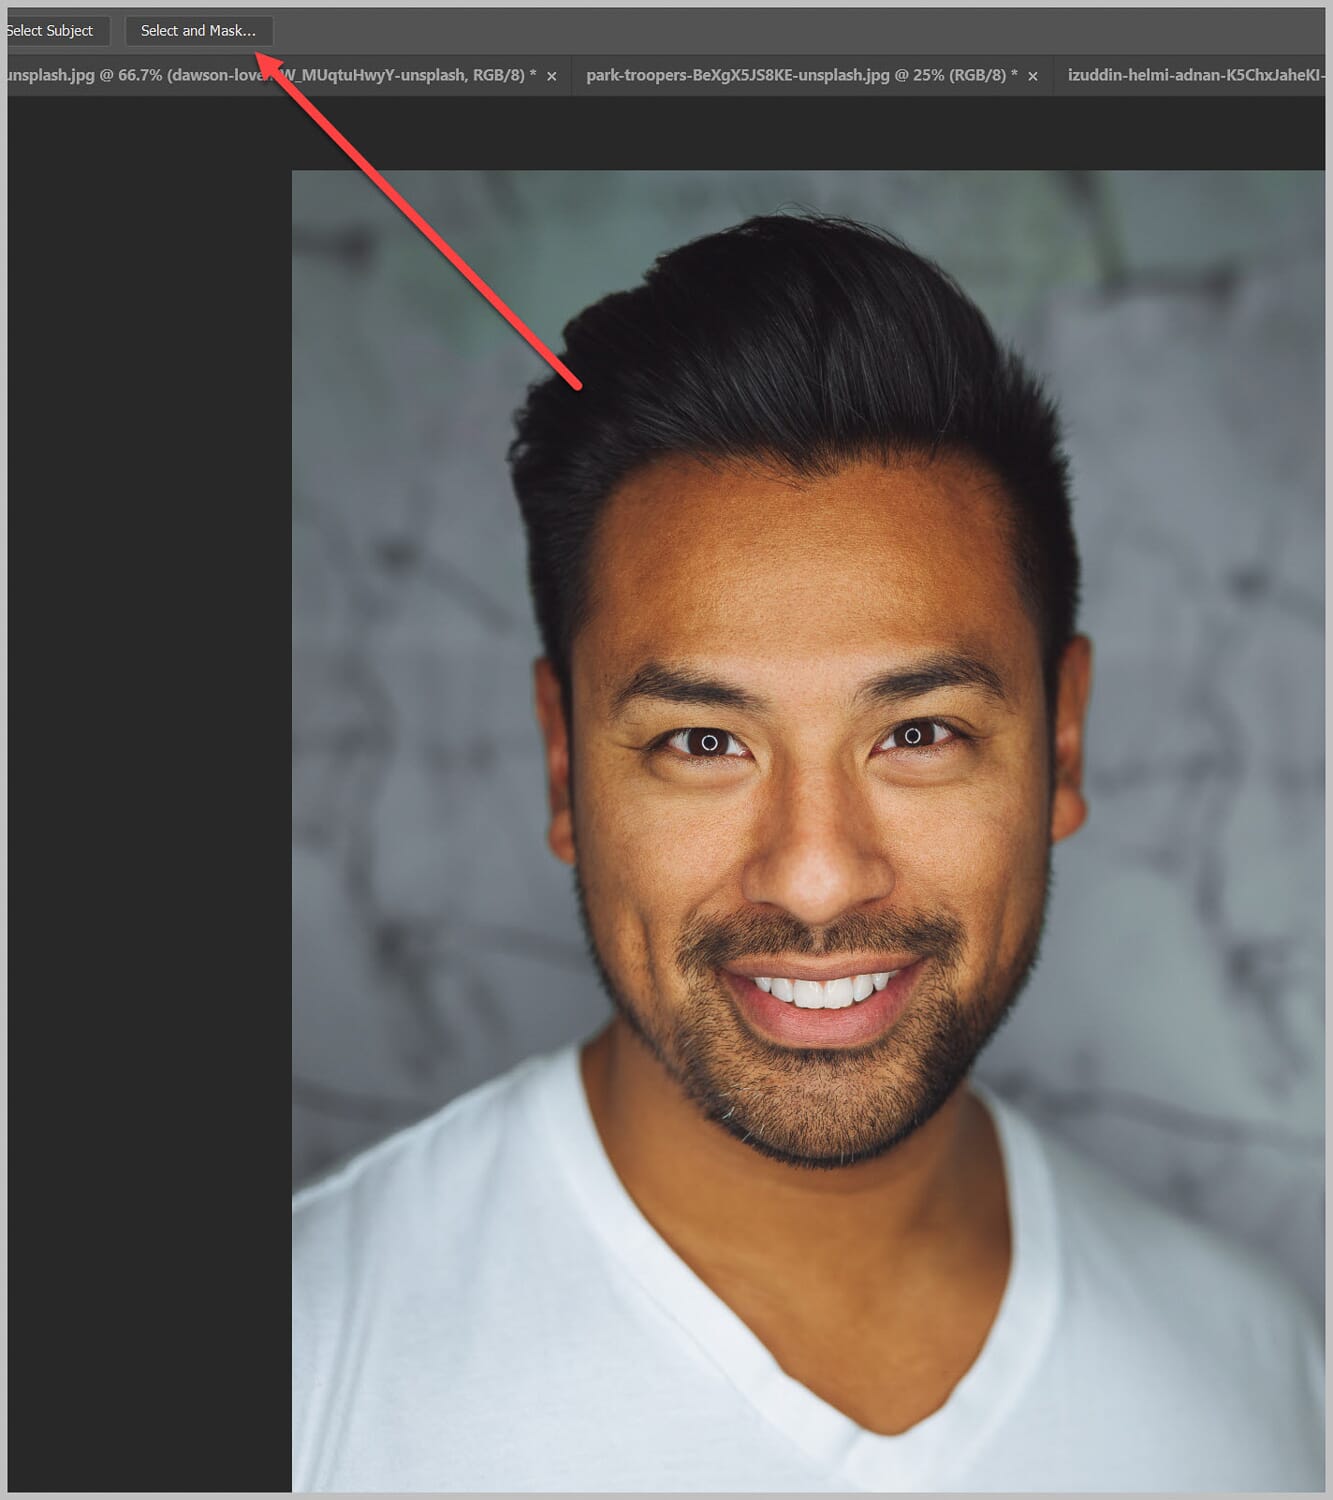
(It’s how professionals select ultra-complex edges, such as hair.)
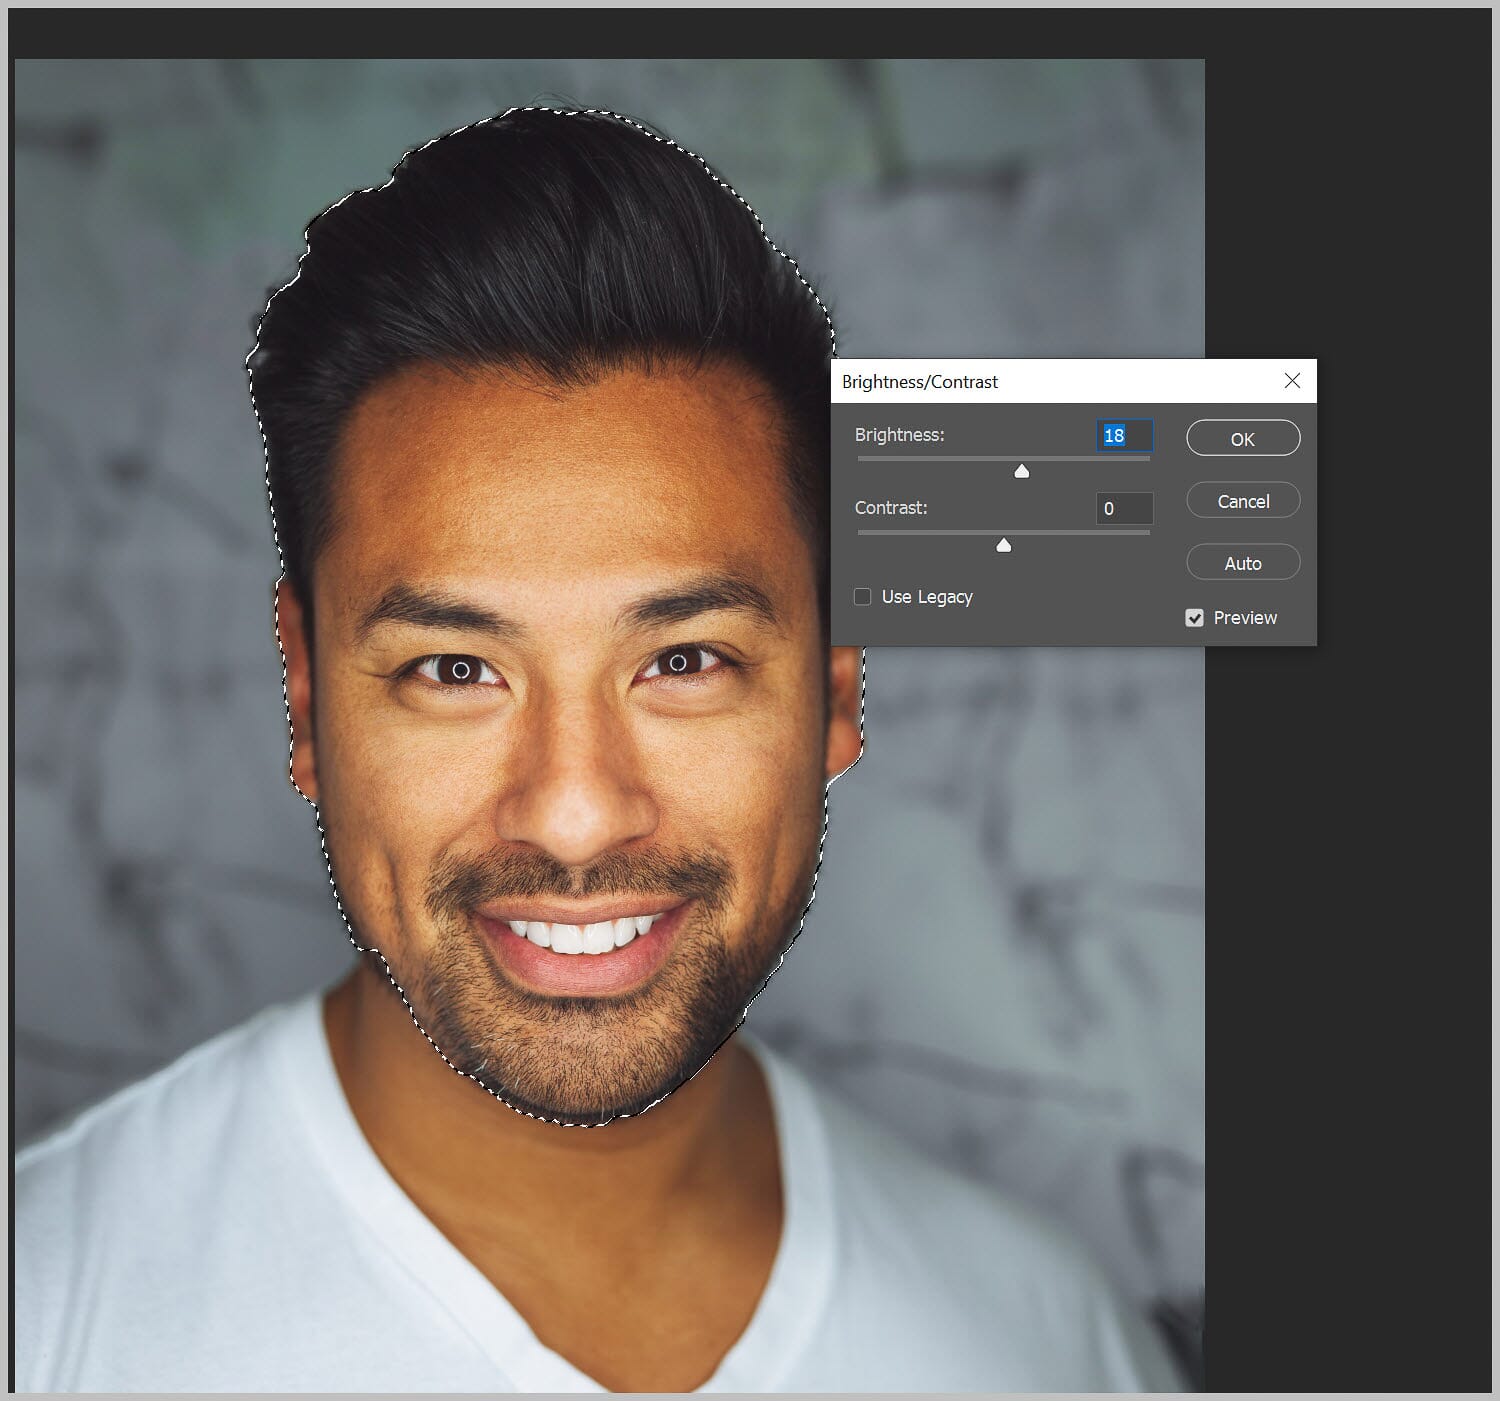
Once you’ve successfully selected your subject, simply hit Image>Adjustments>Brightness/Contrast.
Then raise the brightness until you’re satisfied with the result.
Related Posts
Modifying Your Selection
Say you do everything right.
You select your subject. You brighten it up.
But it’s still not as realistic as you’d like.
That’s when you’ll want to try a few additional tricks and techniques to keep things looking natural.
For instance, undo the image adjustment, and try selecting your subject again.
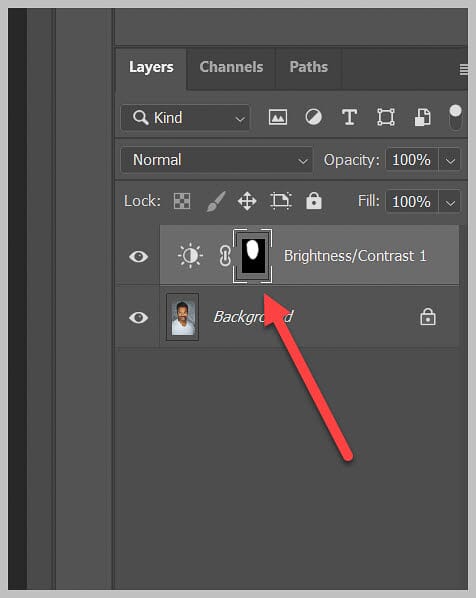
Then add a Brightness/Contrast layer:
Lighten up the selected portion of your shot:
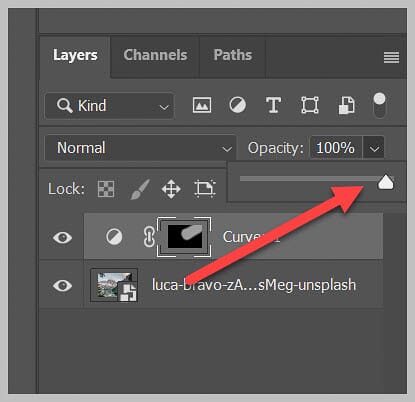
Next, click on the layer mask:
And experiment with different Feather values until you get one you like. Note that the larger the Feather, the more gradual the brightening effect will be.
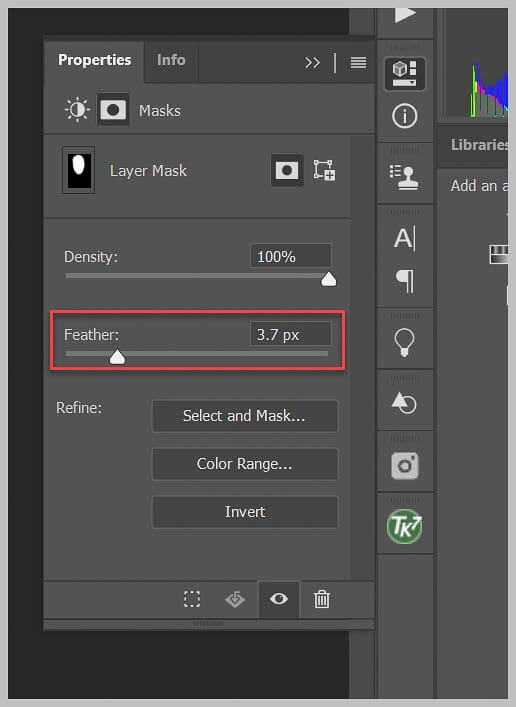
Finally, hit OK.
This will blur the edges of your brightness adjustment, so they’re more feathered (and ultimately more natural).
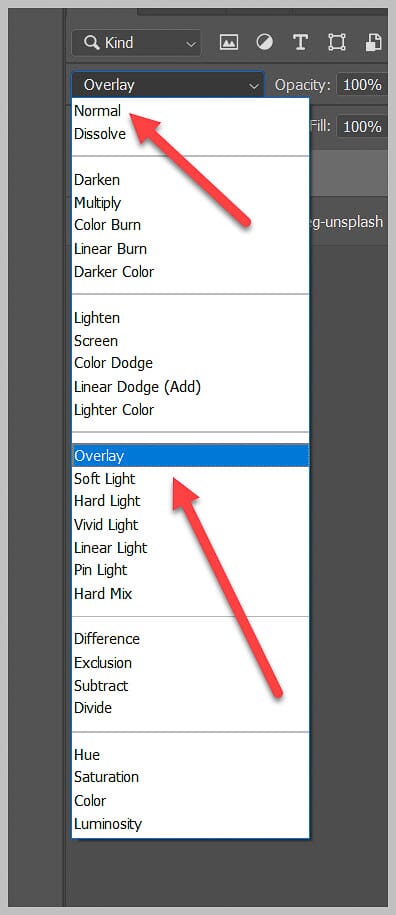
You can also try adding the Brightness/Contrast layer, as discussed above, then experimenting with different blend modes:
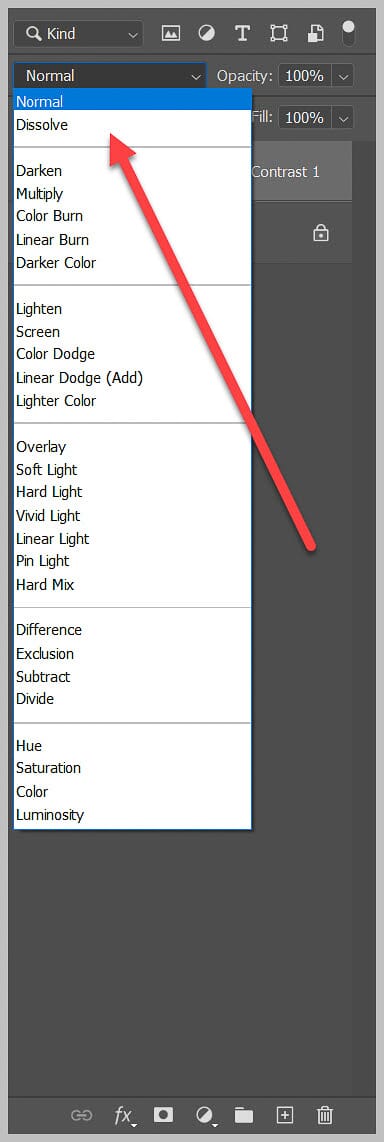
These will cause your brightness adjustment to affect the image in different ways. Just scroll through and see if any effects pop out at you!
Brightening a Part of Your Image With a Brush
If you’d like a more subtle, hands-on method of brightening your image, then I’d highly recommend you work with a brush.
Brushes let you literally paint brightness onto an image.
Here are three easy ways to do this (and note that they’ll all give you slightly different results, so feel free to test each one out):
Painting White
The simplest way to brighten up a portion of your photo is to simply paint white onto the targeted areas.
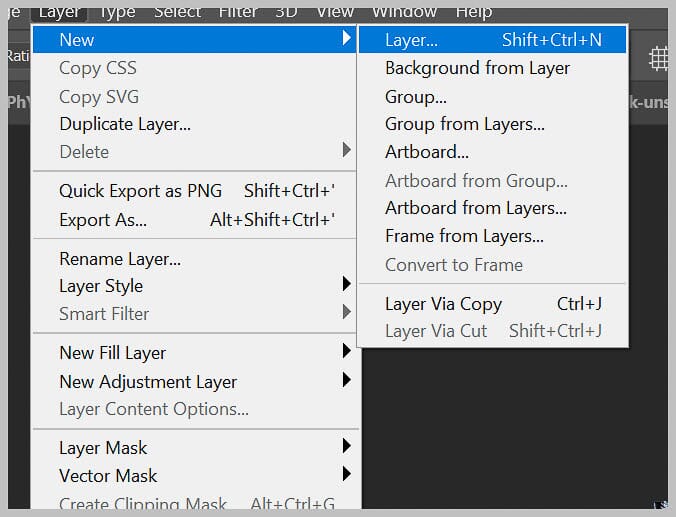
So create a new (blank) layer with Layer>New>Layer:
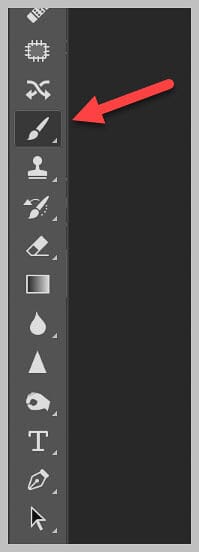
Grab a brush.
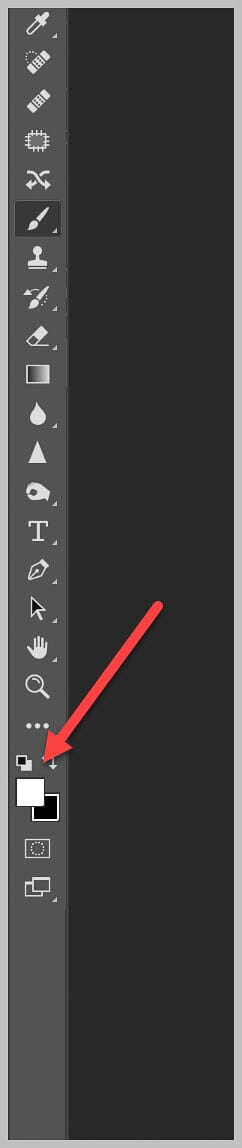
Set the foreground color to white:
And then paint over the area you want to brighten.
You’ll probably want to decrease the hardness of the brush for a softer effect.
And I’d also recommend you reduce the brush’s opacity significantly, so the effect doesn’t look ridiculous.
(I often use an opacity in the 5-20% range.)
If you’re patient, you can actually build up a very realistic, very painterly effect by carefully applying strokes of white to your image.
You can also adjust the effect with different blend modes. For instance, the Overlay blend mode will give you a bit more contrast, whereas the Normal blend mode will soften your scene.
Cool, right?
Using a Brightness/Contrast Adjustment Plus a Mask
If you’re after an effect that blends very naturally with your image and doesn’t require quite as much finesse as the painting method, this is a great way to brighten up part of your photo in Photoshop.
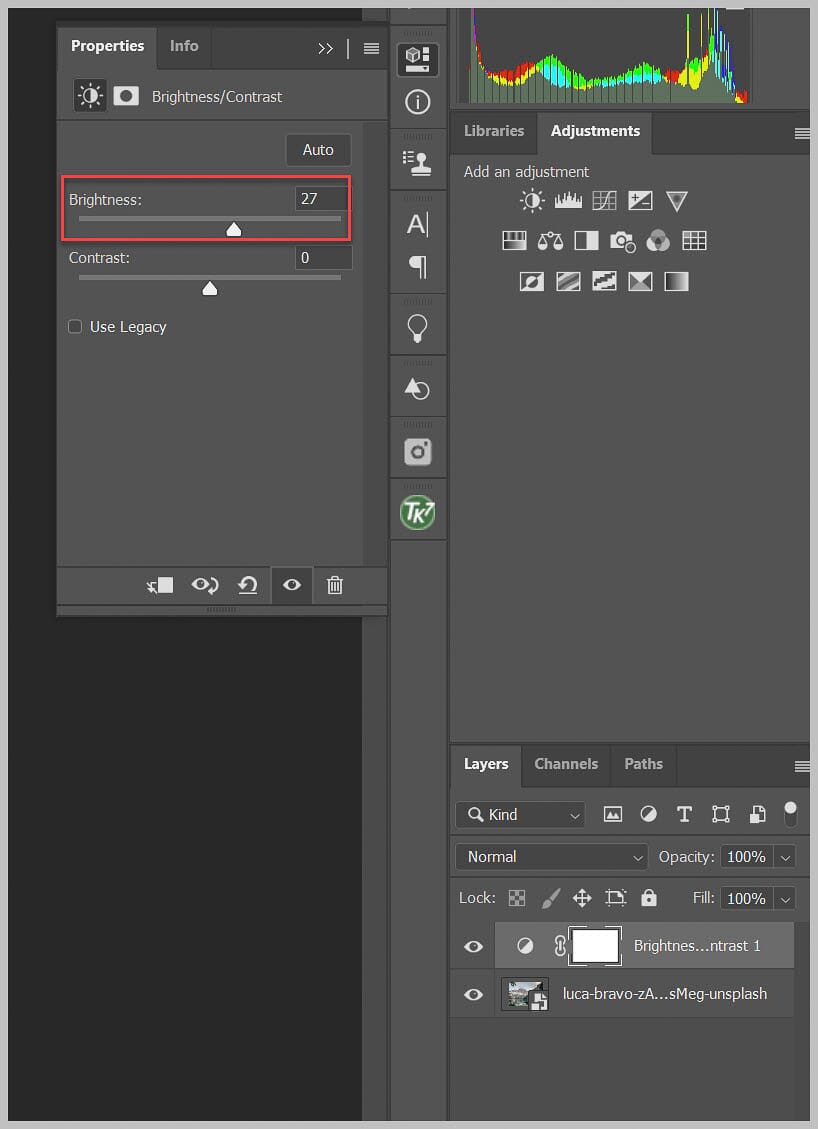
First, create a Brightness/Contrast layer:
And boost the brightness.
This will affect your entire image, but don’t worry – we’ll take care of that in a second!
Next, select your Brush tool and lower the Hardness.
Make sure the foreground color is set to White.
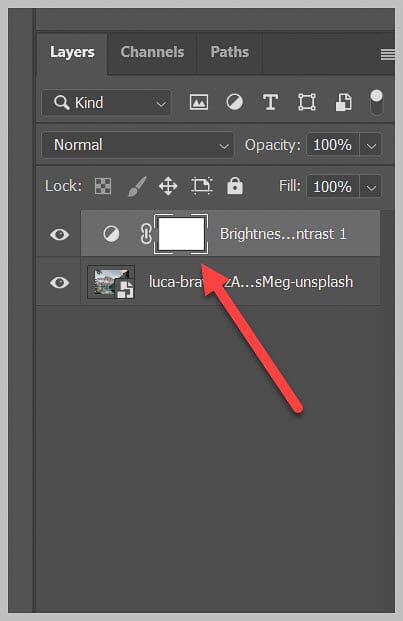
Then select the Mask (the white square next to your Brightness/Contrast adjustment):
Hit Ctrl/Cmd + i, which will cause your brightness adjustment to disappear.
And then carefully…
Paint back the brightness effect by adding black to the targeted parts of your image. But make sure your mask is selected the whole time!
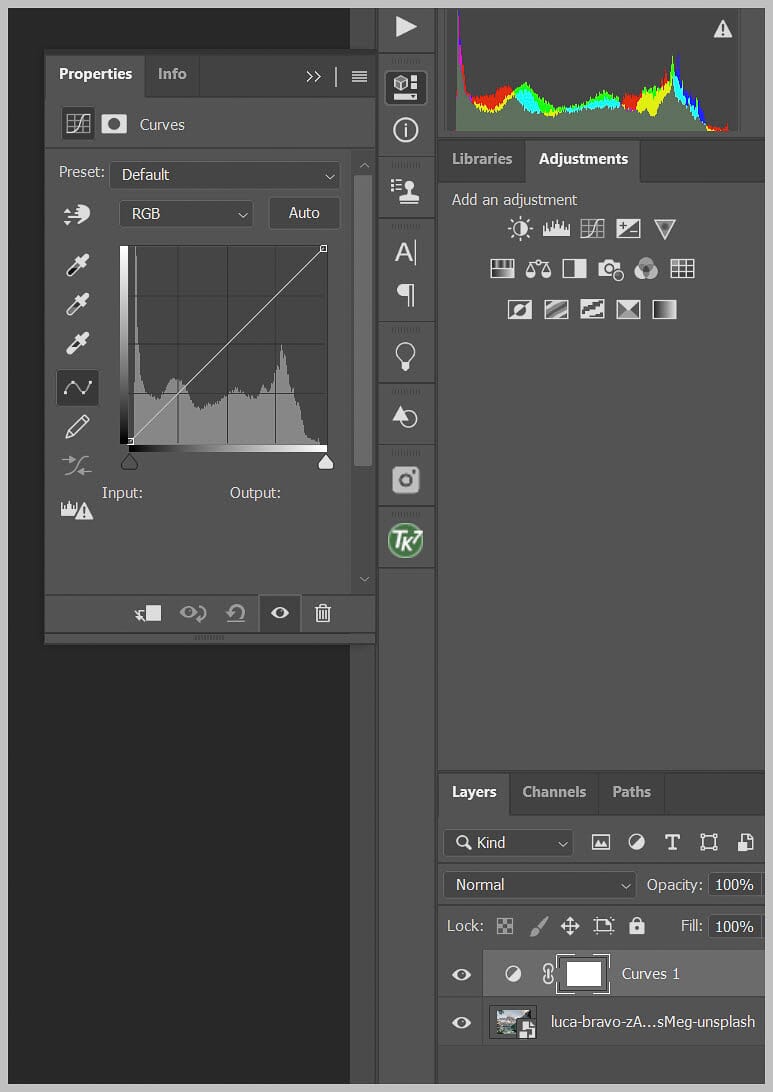
Using a Curves Adjustment Plus a Mask
This method is just like the previous one, except that it gives you more control over the tones you’re affecting in your image.
So start with a Curves adjustment layer:
Now, Curves gives you very fine control over the tones in your image.
The Curves window gives you a graphical representation of your photo’s tones (where the leftmost peaks represent the darkest parts of the image, and the rightmost peaks represent the lightest parts of the image).
Then, by dragging the curve upward, the areas underneath will be brightened.
So if you want to just brighten up the shadows, you’d find the shadowy areas of the curve (toward the left edge). And you’d drag that area of the curve upward while keeping the rest of the curve flat:

And if you wanted to just brighten up the highlights, you’d find the brighter areas of the curve (toward the right edge), and you’d drag that area of the curve upward:
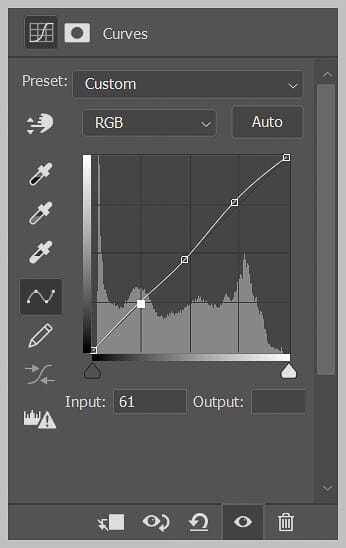
You can do the same with the midtones by dragging up from the center of the curve.
Make sense?
So, here’s what I want you to do:
Identify the areas of your image that you want to brighten up.
Then determine the type of brightness adjustment you would like to add. For instance, do you want to adjust the shadows? This will create a softer look. Do you want to adjust the highlights? This will create a higher-contrast look.
Next, select your Mask, then invert it with Ctrl/Cmd + i.
Grab your brush tool and drop the hardness.
Set the foreground color to White.
And paint the brightness adjustment onto the relevant portion of your image.
Tips for Using the Brush Method to Brighten Your Photos
Brushes are a great way to dive in and brighten very specific parts of your images.
But if you’re still not achieving the look you’re after, I’d recommend you make a few modifications.
First, make sure you’re adjusting the size of your brush to fit your subject. If your brush is too big, you’ll struggle to successfully brighten any detailed edges because the effect will bleed like crazy.
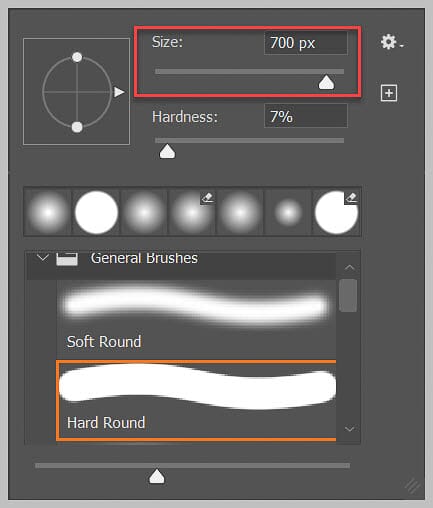
Second, try lowering your brush opacity:

And your layer opacity:
This will create a more gradual effect, one that you can build up over time with many brush strokes or multiple layers.
Third, don’t be afraid to test out different blend modes. The Normal blend mode is Photoshop’s default, and it works well – but plenty of other modes create very cool effects.
So, experiment and have fun!
Related Posts
A Bonus Brightening Method: the Gradient Tool
Here’s one more way to brighten up a part of your image in Photoshop:
The Gradient tool.
The effect isn’t quite like any of the other options I’ve covered.
You see, the Gradient tool gradually changes your photo. For instance, you can use it to create a seamless transition from blue to green or black to white or dark to light.
It’s not so great if you’re trying to brighten up a specific, hard-edged object in a photo. But if you want to brighten up just the sky, or just the foreground…
…well, it can be pretty magical!
Here’s what you do:
First, create a new layer, then select the Gradient tool from the left hand toolbar:

Make sure your Photoshop foreground color is White.
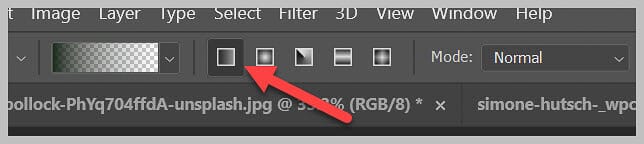
Click on the Linear Gradient icon:
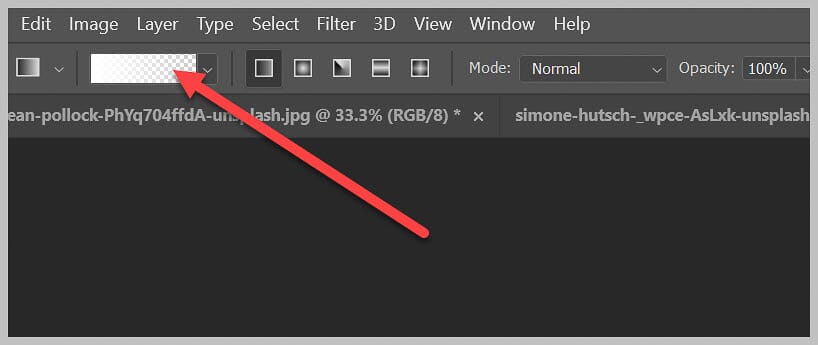
Then click on the Gradient Editor:
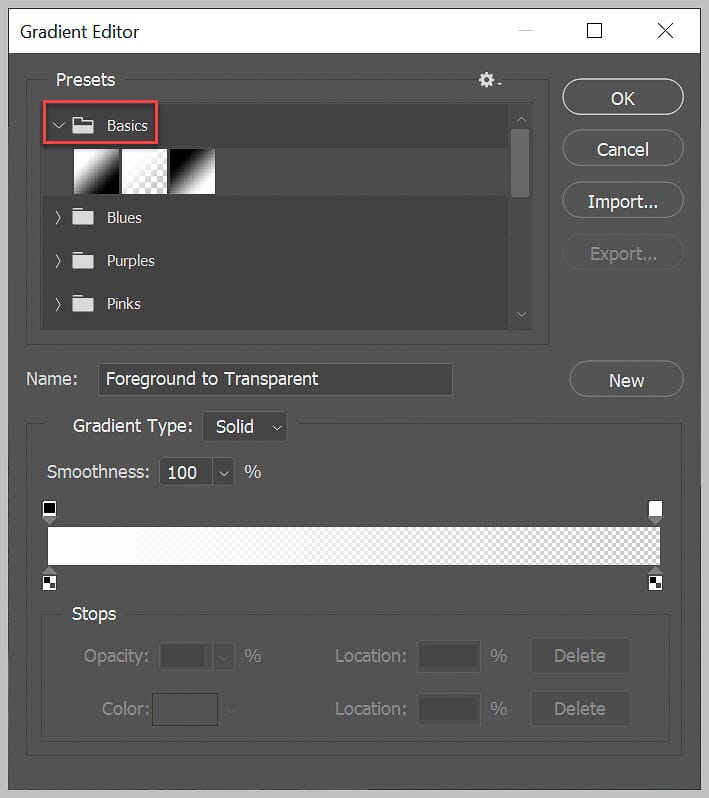
And make sure the Gradient goes from Foreground to Transparent.
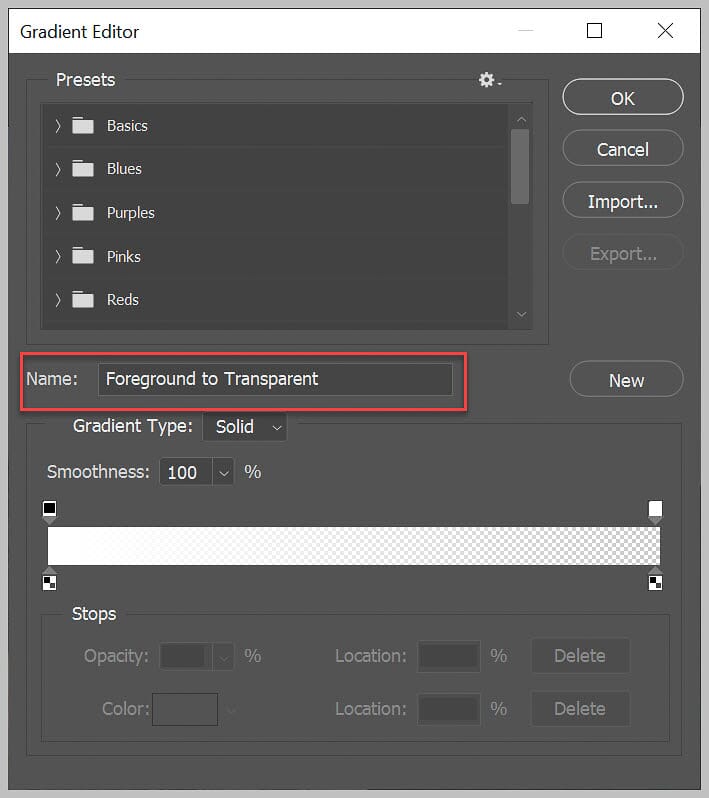
This is a default gradient, so if it’s not automatically applied, you’ll find it in the Basics folder of the Gradient Editor presets:
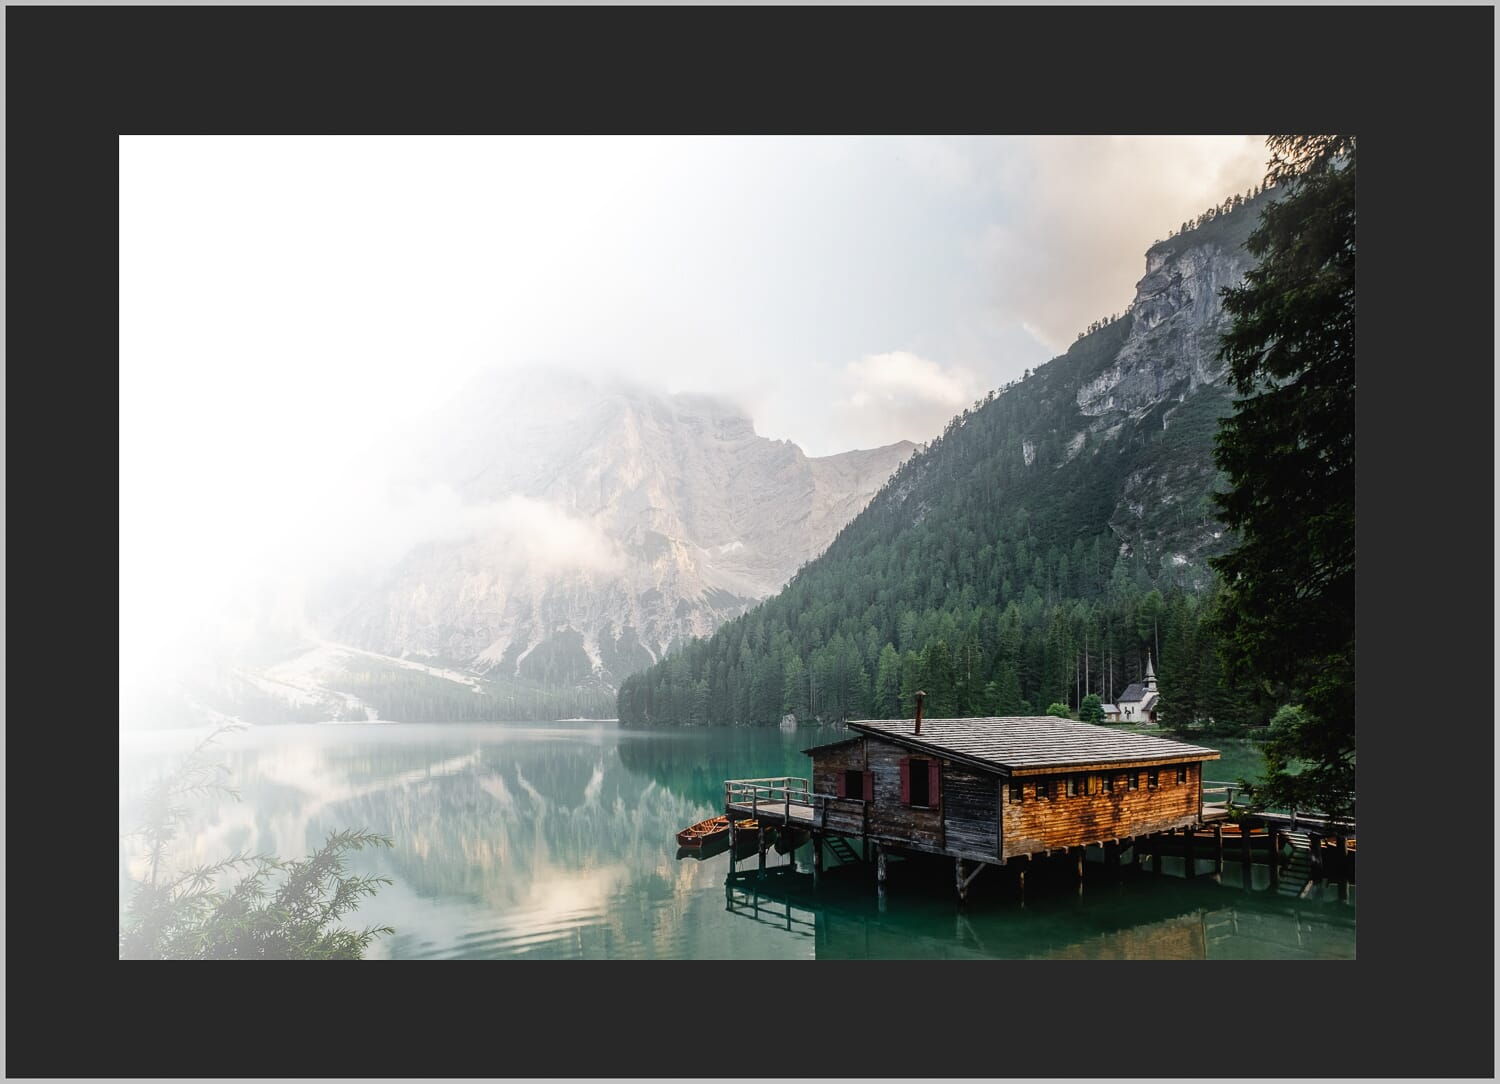
Finally, drag the gradient across the part of your image you’d like to brighten.
It’ll create a hazy effect as the white color fades into your subject, like this:
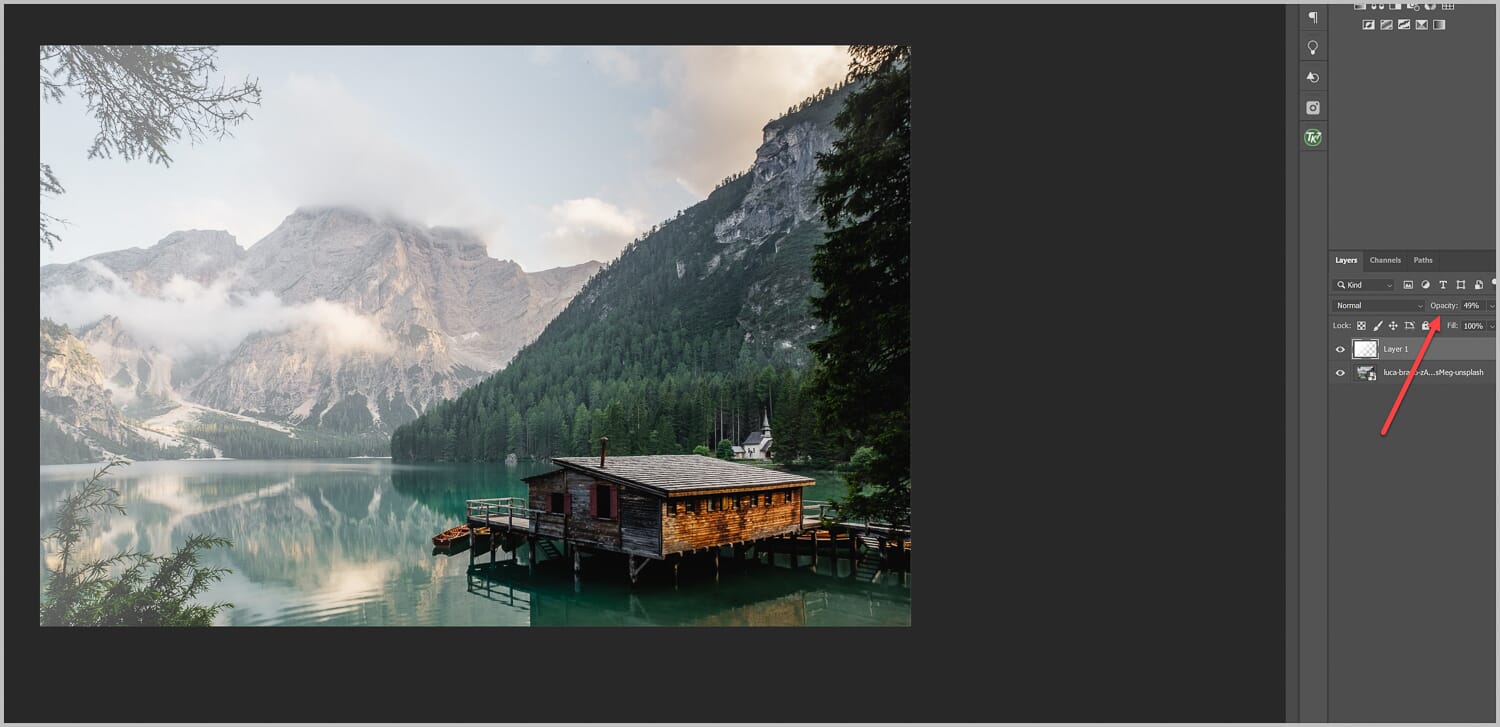
But you can always drop the layer Opacity:
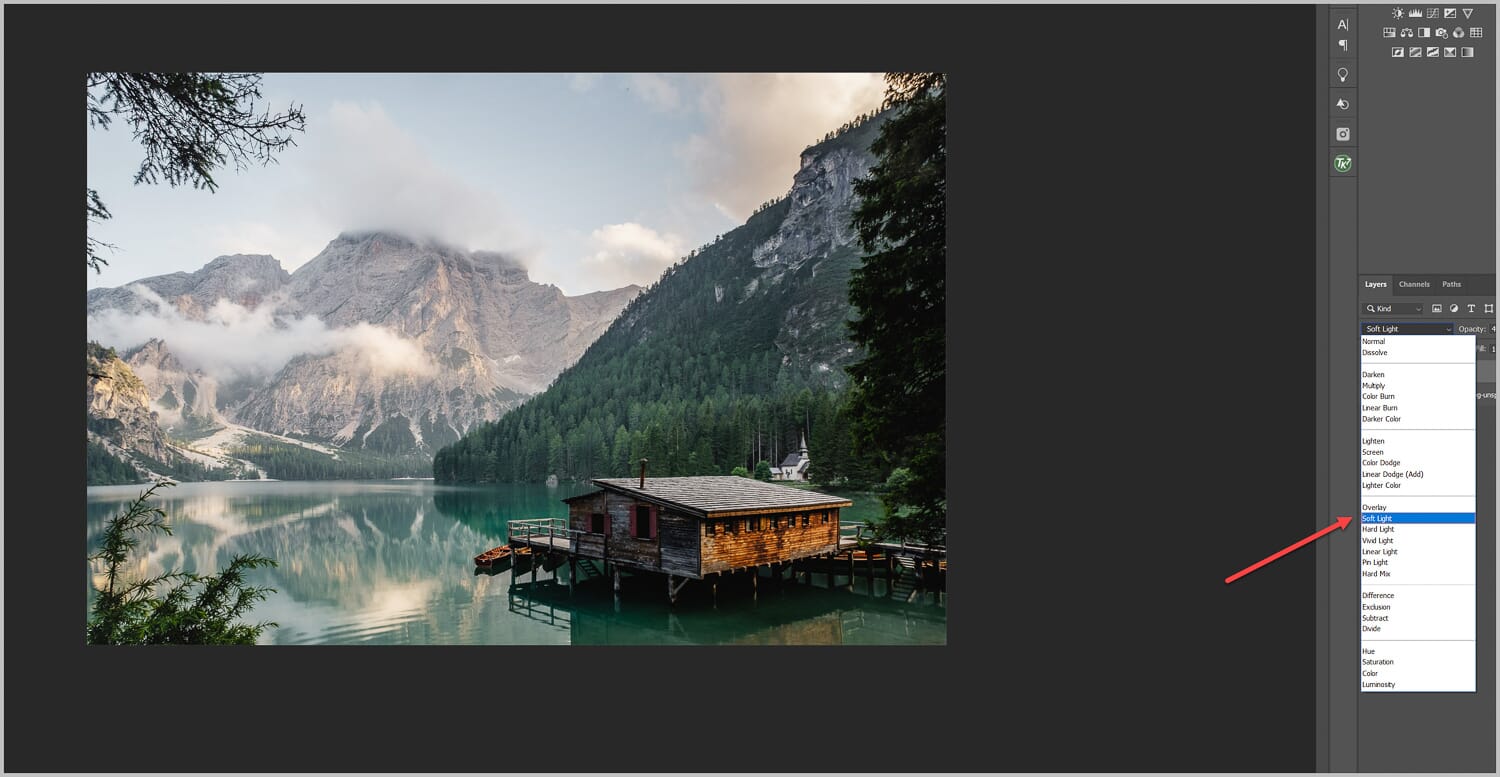
And you can also change the blend mode:
Got it?
How to Brighten a Part of Your Image in Photoshop: Conclusion
Now that you’ve finished this article, you should be able to expertly brighten up a portion of your image in Photoshop.
It doesn’t matter whether you’d like to brighten a specific object or just a specific area – these instructions will have you covered.
So go ahead – brighten up your photo.
And have fun!
Thank you for giving so generously your time and expertise Jaymes. You really helped me as a beginner Mom trying to chronicle my children ‘s life. The step by step instructions and explanations were very thoughtful . Sending you love and light always
. Kira