What is a light meter? And do you need one for your photography?
That’s what this article is all about.
I’m going to share with you everything you need to know about light meters–so that you can use one, quickly and easily, for the best possible exposures.
Are you ready to learn all about light meters?
Let’s get started.
How to Use a Light Meter:
What Is a Light Meter?
A light meter measures the amount of light in a scene–so that you can determine the settings you need for a well-exposed image.
What do I mean by this?
Well, a nicely exposed image shows all the shadow and highlight detail in a scene. So when you get the best possible exposure, you end up with an image like this one:

As opposed to a bright, overexposed image like this one:

Or a dark, underexposed image like this one:

And light meters allow you to achieve a good exposure without lots of trial and error.
You see, by measuring the light levels of a scene, a light meter can tell you how fast your shutter speed should be, how wide your aperture should be, and how high your ISO should be.
The most advanced light meters will spit out all this information at you (or, in the case of an in-camera meter, communicate it to the camera), so you can get a beautiful final image.
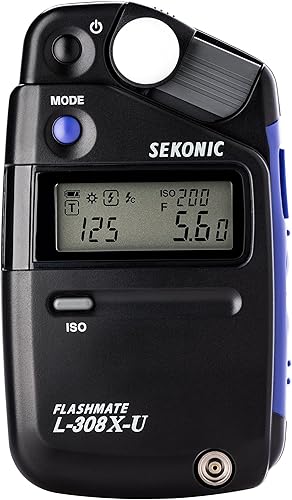
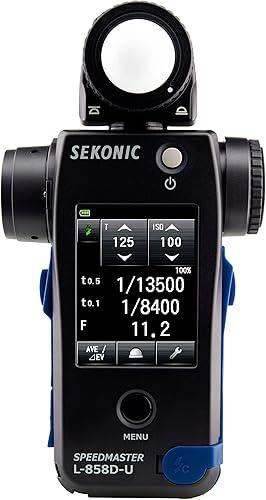
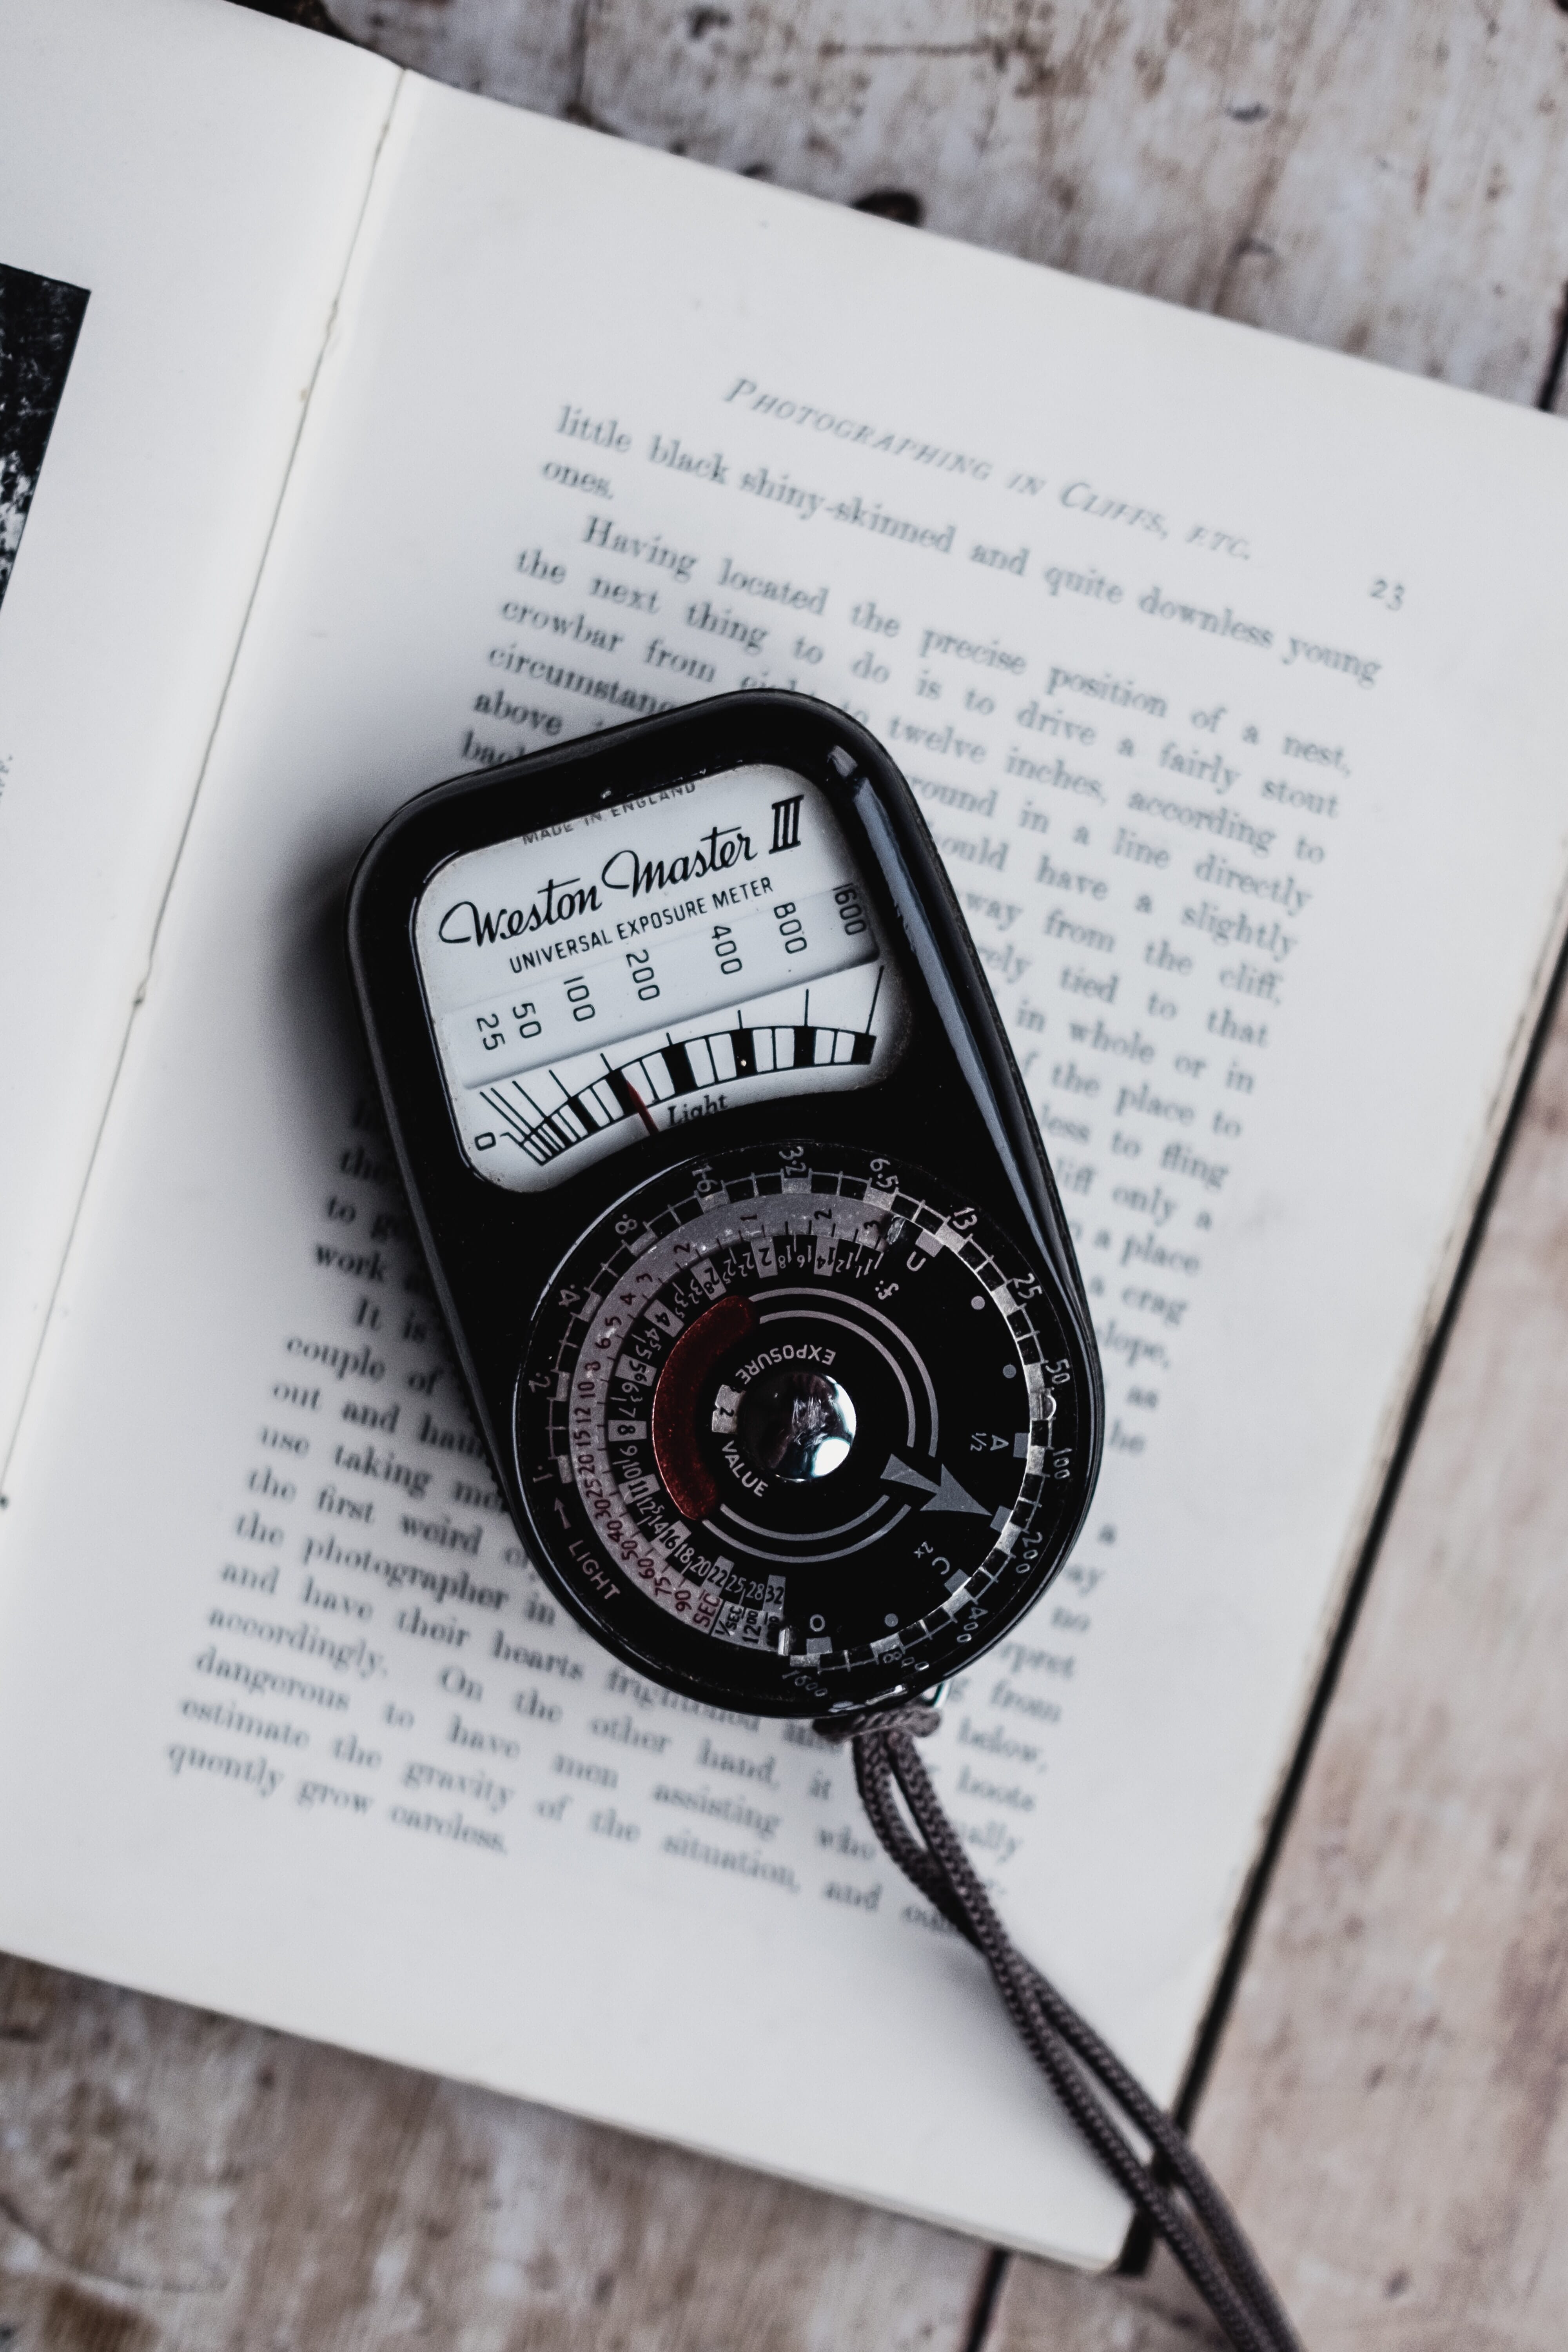
By the way, you can purchase handheld light meters, which are very precise and look like this:
Or you can use an in-camera light meter; pretty much every modern-day camera has one, and this will allow you to meter the scene while communicating settings to the camera. Alternatively, you can also use a smartphone light meter app.
Make sense?
Types of Light Meters: Incident Vs Reflective
Broadly speaking, there are two types of light meters:
- Incident light meters, which take in light directly.
- And reflective light meters, which measure light reflected off objects.
Let me explain further:
Say that you’re going to take a photo of a flower.
Light beams from the sun to the flower.
And then much of that light reflects off the flower and around the scene.
Now, an incident light meter allows you to measure the light as it’s coming in, before it hits the flower. And it calculates your camera settings based on that.
Whereas a reflective light meter measures the light after it’s bounced off the flower. And it calculates your settings based on that.
There are some pros and cons to each option, so let me take a moment to address them:
Incident Light Meters
Incident light meters are more accurate than reflective light meters. And here’s why:
When the light comes in from the sun, it hasn’t yet been affected by naturally present tones in the scene–such as a dark leaf or a bright water droplet.
So you’re measuring a pure, unadulterated version of the light, exactly as it’ll be when it hits your subject.
But reflective light meters only measure the light after it’s bounced off your subject.
And different portions of the scenes will bounce light off at different rates.
Dark areas bounce off very little light. So a dark leaf will give lower meter reading.
And bright areas bounce off lots of light. So a bright water droplet will give a higher meter reading.
In scenes that are fairly midrange in terms of their tones, this is fine. The reflective light meter will have no problem measuring the light and spitting out the correct settings.
But if you meter off an entire scene that’s primarily light or primarily dark, or you meter off a light or dark portion of a scene, you’ll end up with an issue.
Specifically, the meter will try to compensate for the lightness or darkness.
And it’ll go too far in the other direction.
So if you’re photographing white snow, a reflective light meter will try to make the shot a neutral gray, and give you a very underexposed image.
And if you’re photographing black sand, a reflective light meter will try to make the shot a neutral gray, and give you a very overexposed image.
The key takeaway is this:
Reflective meters are less accurate, because they’re measuring light after it’s been reflected, not before. So while a reflective light meter will give you a good result 80% of the time, that other 20% can be a problem.
That’s why, if you prize accuracy, an incident light meter is probably the way to go.
But most photographers actually don’t use incident light meters–they use reflective light meters.
Why is this?
That’s what I’ll explain in the next section:
Reflective Light Meters
Most photographers use reflective light meters for two related reasons.
Reason 1: Reflective light meters are built into pretty much every camera. And carrying around a handheld incident light meter can be annoying, not to mention pricey.
Reason 2: Reflective light meters can be used at a distance, which is why they’re used by camera manufacturers.
Remember how I said that reflective light meters measure light that’s already bounced off your scene?
Well, while that does result in accuracy problems, it helps in one key way:
It lets you meter off a scene at a great distance.
So if you’re trying to photograph a mountain peak that’s bathed in light, you can use a reflective light meter to zero in on that well-lit peak, meter straight off of it, and get a relatively good exposure.
Whereas an incident light meter wouldn’t work well at all, because if you’re standing in shade at the base of the mountain, you have no way to measure the incoming light rays (only the light rays that are reflected off of the mountain).
So if you’re frequently standing in light that’s different from the light on the subject you’re photographing, a reflective light meter is pretty much your only option.
How to Use a Light Meter: In-Camera Options
As I explained above, using a meter is essential; without it, you’ll end up with overexposed and underexposed shots all the time.
But how do you get great results with an in-camera meter?
Well, most cameras offer at least three main light meter settings:
Matrix metering, which allows you to meter off the entire scene (though the algorithm differs from camera to camera and manufacturer to manufacturer).
Center-weighted metering, which allows you to meter off the entire scene but prioritizes the center.
And spot metering, which allows you to meter off a small portion (a spot!) of the scene.
I’d generally recommend you leave your camera on matrix metering, which tends to be very good. Then occasionally check your exposure, especially if you’re working with a new subject in new light, and make any necessary settings adjustments in response.
You can also use spot metering for situations where there’s an obvious neutral portion of your scene; you can use the spot meter to zero in on that neutral area, and meter directly off it.
How to Use a Handheld Light Meter
Handheld light meters can be cumbersome, but they’re also more flexible and accurate compared to in-built camera meters.
To use an incident handheld light meter, simply place the meter in front of your subject, and take a reading off the incoming light.
To use a reflective handheld light meter, I recommend taking three readings:
One off the highlights, one off the shadows, and one off the midtones. Then use the meter to average them for a great result.
Should You Purchase a Handheld Light Meter?
That depends.
If you’re a portrait photographer, then a handheld light meter can often help you quickly determine exposure values very quickly and precisely. They’re especially useful if you’re working in a studio and know that your lighting won’t change.
The same is true of product photographers and still life photographers. A handheld light meter can give you a perfect exposure to work with, right off the bat. Plus, in portrait, product, and still life photography, you can use an incident light meter, positioned directly in front of your subject, without too much difficulty.
On the other hand, fast-paced genres such as sports, wildlife, and street photography often won’t play well with handheld light meters. By the time you’ve dialed in the suggested settings, the shot will have often disappeared. And you won’t be able to get close enough for an incident reading.
Ultimately, whether you purchase a handheld light meter is up to you, but recognize that it’s not a solution in all situations–so make sure you really want one before you buy!
How to Use a Light Meter: Conclusion
Now that you’ve finished this article, you should know all about how to use a light meter for the best results.
And you should feel much more confident when taking photos.
Remember:
It can pay to have a handheld light meter. But, in a pinch, you can always rely on your camera’s meter, which will do a good job (most of the time!).
Should I get a handheld light meter?
Handheld light meters are useful, but they’re another piece of equipment to add to your camera bag, and they take time to use. So I’d get one if you feel like you really need to nail your exposures, such as if you’re photographing products or commercial photos (and you can’t have a do-over!), or if you’re okay with a very slow, deliberate photographic process.
What’s the difference between reflective and incident light meters?
Reflective light meters measure light reflected off your scene, whereas incident light meters measure the light coming in to hit your subject. Reflective light meters are less accurate, but are more convenient, especially when you’re dealing with distant scenery.
Does my camera include a light meter?
Yes! Pretty much all cameras include an in-built reflective light meter, one that’s relatively accurate and gives decent results. If you want more precision, however, you’ll want to use a handheld light meter.