Are you looking to understand photography lighting patterns? Do you want to know how you can create gorgeous lighting setups, consistently?
You’ve come to the right place.
In this article, I’m going to explain everything you need to know about lighting patterns. And by the time you finish, you’ll be able to achieve stunning lighting at will.
Light Patterns in Photography:
What Are Lighting Patterns?
Lighting patterns refer to styles and techniques for illuminating your subject.
The most common lighting patterns involve portrait subjects, but they’re also used to light still life subjects, product photos, and event photos.
In other words:
These lighting patterns are very versatile, and will help you in a whole host of photography applications.
Generally speaking, lighting patterns have to do with the angle of the lights in relation to your subject.
So one lighting pattern might require a light positioned at 90 degrees from your subject and slightly above their head, while another might require a light positioned behind the subject, and so on and so forth.
Note that lighting patterns generally don’t consider the angle the photographer uses to create the photo. That is, once the lighting pattern is set, the photographer can move all around the subject, snapping photos from different sides and angles–and the lighting pattern remains the same.
However, there are two types of lighting “patterns”–though they’re really more composition patterns–that depend on both the light and the photographer’s angle relative to the subject, and I’ll talk about these later on in this article.
Sound good?
Why Should You Use Lighting Patterns?
Lighting patterns are absolutely essential for any photographer looking to create gorgeous portraits, product photos, or still life images.
As you know, lighting patterns are just methods of arranging your artificial light sources – which means that, technically speaking, every image uses a lighting pattern (whether you set up that lighting pattern yourself).
But it pays to create deliberate lighting patterns, because different patterns will help you achieve different moods in your images, while also highlighting different aspects of the subject.
For instance, some lighting patterns create a brighter subject with flatter light; others create moodier, more three-dimensional images; still others attack the viewer with intense levels of drama.
Now, you’re always free to create your own lighting patterns.
But common lighting patterns are an important starting point, and it pays to familiarize yourself with them.
For one, they’re popular for a reason. There are around a half-dozen common lighting patterns, each of which is good for a particular type of shot, and for this reason, photographers of all stripes (no matter how experienced) use them over and over and over again.
Second, common lighting patterns give you a baseline understanding of the type of shot you’ll achieve. If you have an effect in mind (e.g., moody), you can start with a particular lighting pattern that gets you in the ballpark, then tweak the light sources until you get the exact shot that you’re after.
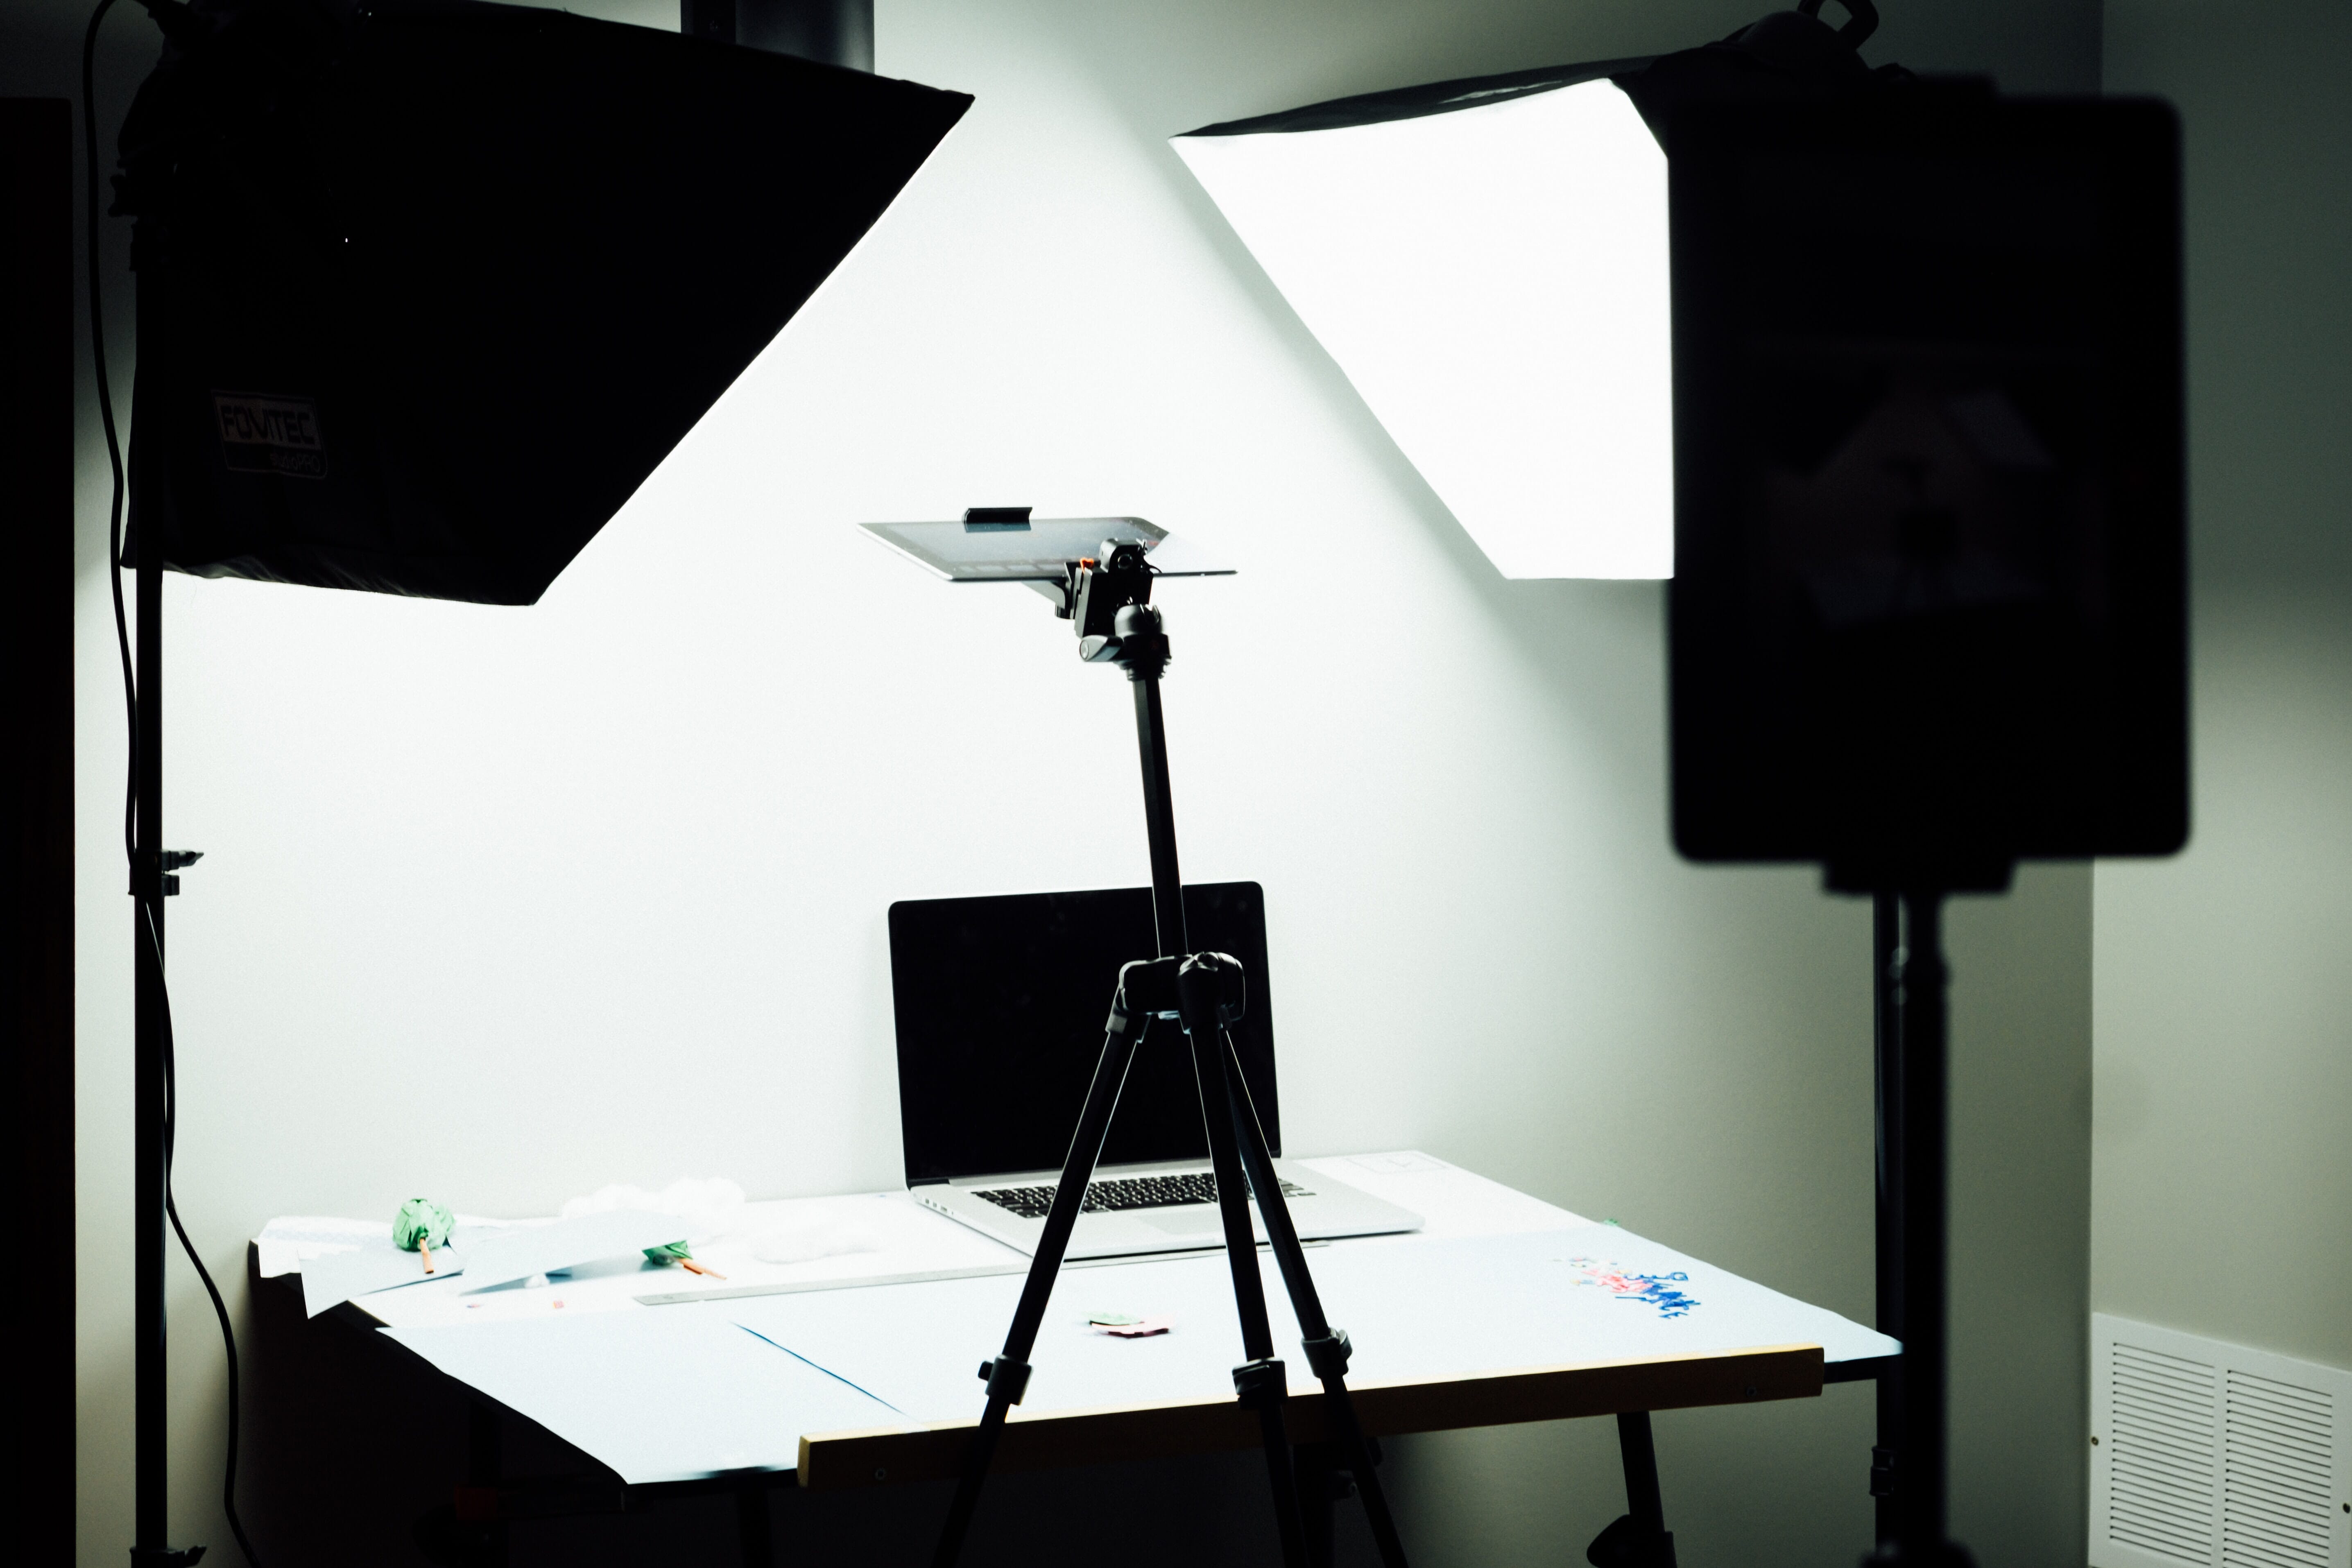
Equipment for Lighting Patterns
Creating beautiful lighting patterns starts with the right equipment.
But what does this mean? What do you need for stunning results?
Well, it’s possible to start with no equipment at all, working purely with natural light. If you shoot when the sun is low in the sky, you can control the result by carefully shifting your subject to achieve the lighting angle you’re after.
You can do the same with window light, though you’ll want to pick a window that’s relatively high up (or ask your subject to drop to their knees) in order to pull off the most flattering lighting patterns.
That said, I really do recommend grabbing at least one artificial light source and one reflector. External flashes are my personal favorite, because they’re lightweight, easy to work with, and can give you pro-level results.
For more complex lighting patterns you can get a second flash, and even a third; this will give you extreme amounts of flexibility, and will allow you to create sophisticated setups that are bound to impress.
If you do choose to use an artificial light source such as a flash, you’ll need a light stand (so that you can mount the flash off to the side of your subject without having to hold it in place).
You’ll also want to grab at least one flash modifier, which will soften and direct the light for the best results. Modifiers include umbrellas, softboxes, diffusers, beauty dishes, and more, though I’d recommend starting out with a nice softbox. These offer a good amount of control over the lighting direction, while also producing wonderfully soft and flattering light.
Common Lighting Patterns Every Photographer Should Know
Now it’s time to get into the nitty-gritty:
The seven lighting patterns every photographer should know.
These are tried-and-tested patterns that are used consistently by professionals and are essentially guaranteed to give you great results.
Starting with:
Butterfly Lighting
Butterfly lighting produces images like this:
The name comes from the shadow under the subject’s nose, which looks slightly like a butterfly.
Butterfly lighting has also been known as “Paramount” lighting and “Hollywood” lighting because it has been frequently used to light movie stars. It’s a form of lighting that’s very glamorous and tends to slim down the face (thanks to the heavy shadow under the subject’s chin). So you’ll often find it used in fashion portraits and on professional glamour shoots.
I recommend using butterfly lighting only on subjects that want that intense result, one that highlights cheekbones and emphasizes angles. For this reason, butterfly lighting is great when working with professional models, but less good for family portraits, corporate headshots, and the like.
Here’s how you achieve a nice butterfly lighting setup:
Place a light above and in front of the subject, pointed downward so that it lights the face from above. A good starting point is a 45-degree downward angle (though you can experiment with different options, and get different results depending on your subject’s facial features).
If you’d like to make the setup slightly more refined, you can place a reflector or a low-powered second light under the subject, pointing upward. This will punch up the shadowy areas, but you have to be careful not to dispel them completely; if you lose the shadows, then you’ll get much flatter and less dramatic results.
Clamshell Lighting
Clamshell lighting is very similar to butterfly lighting, with one key adjustment.
It produces images like this:
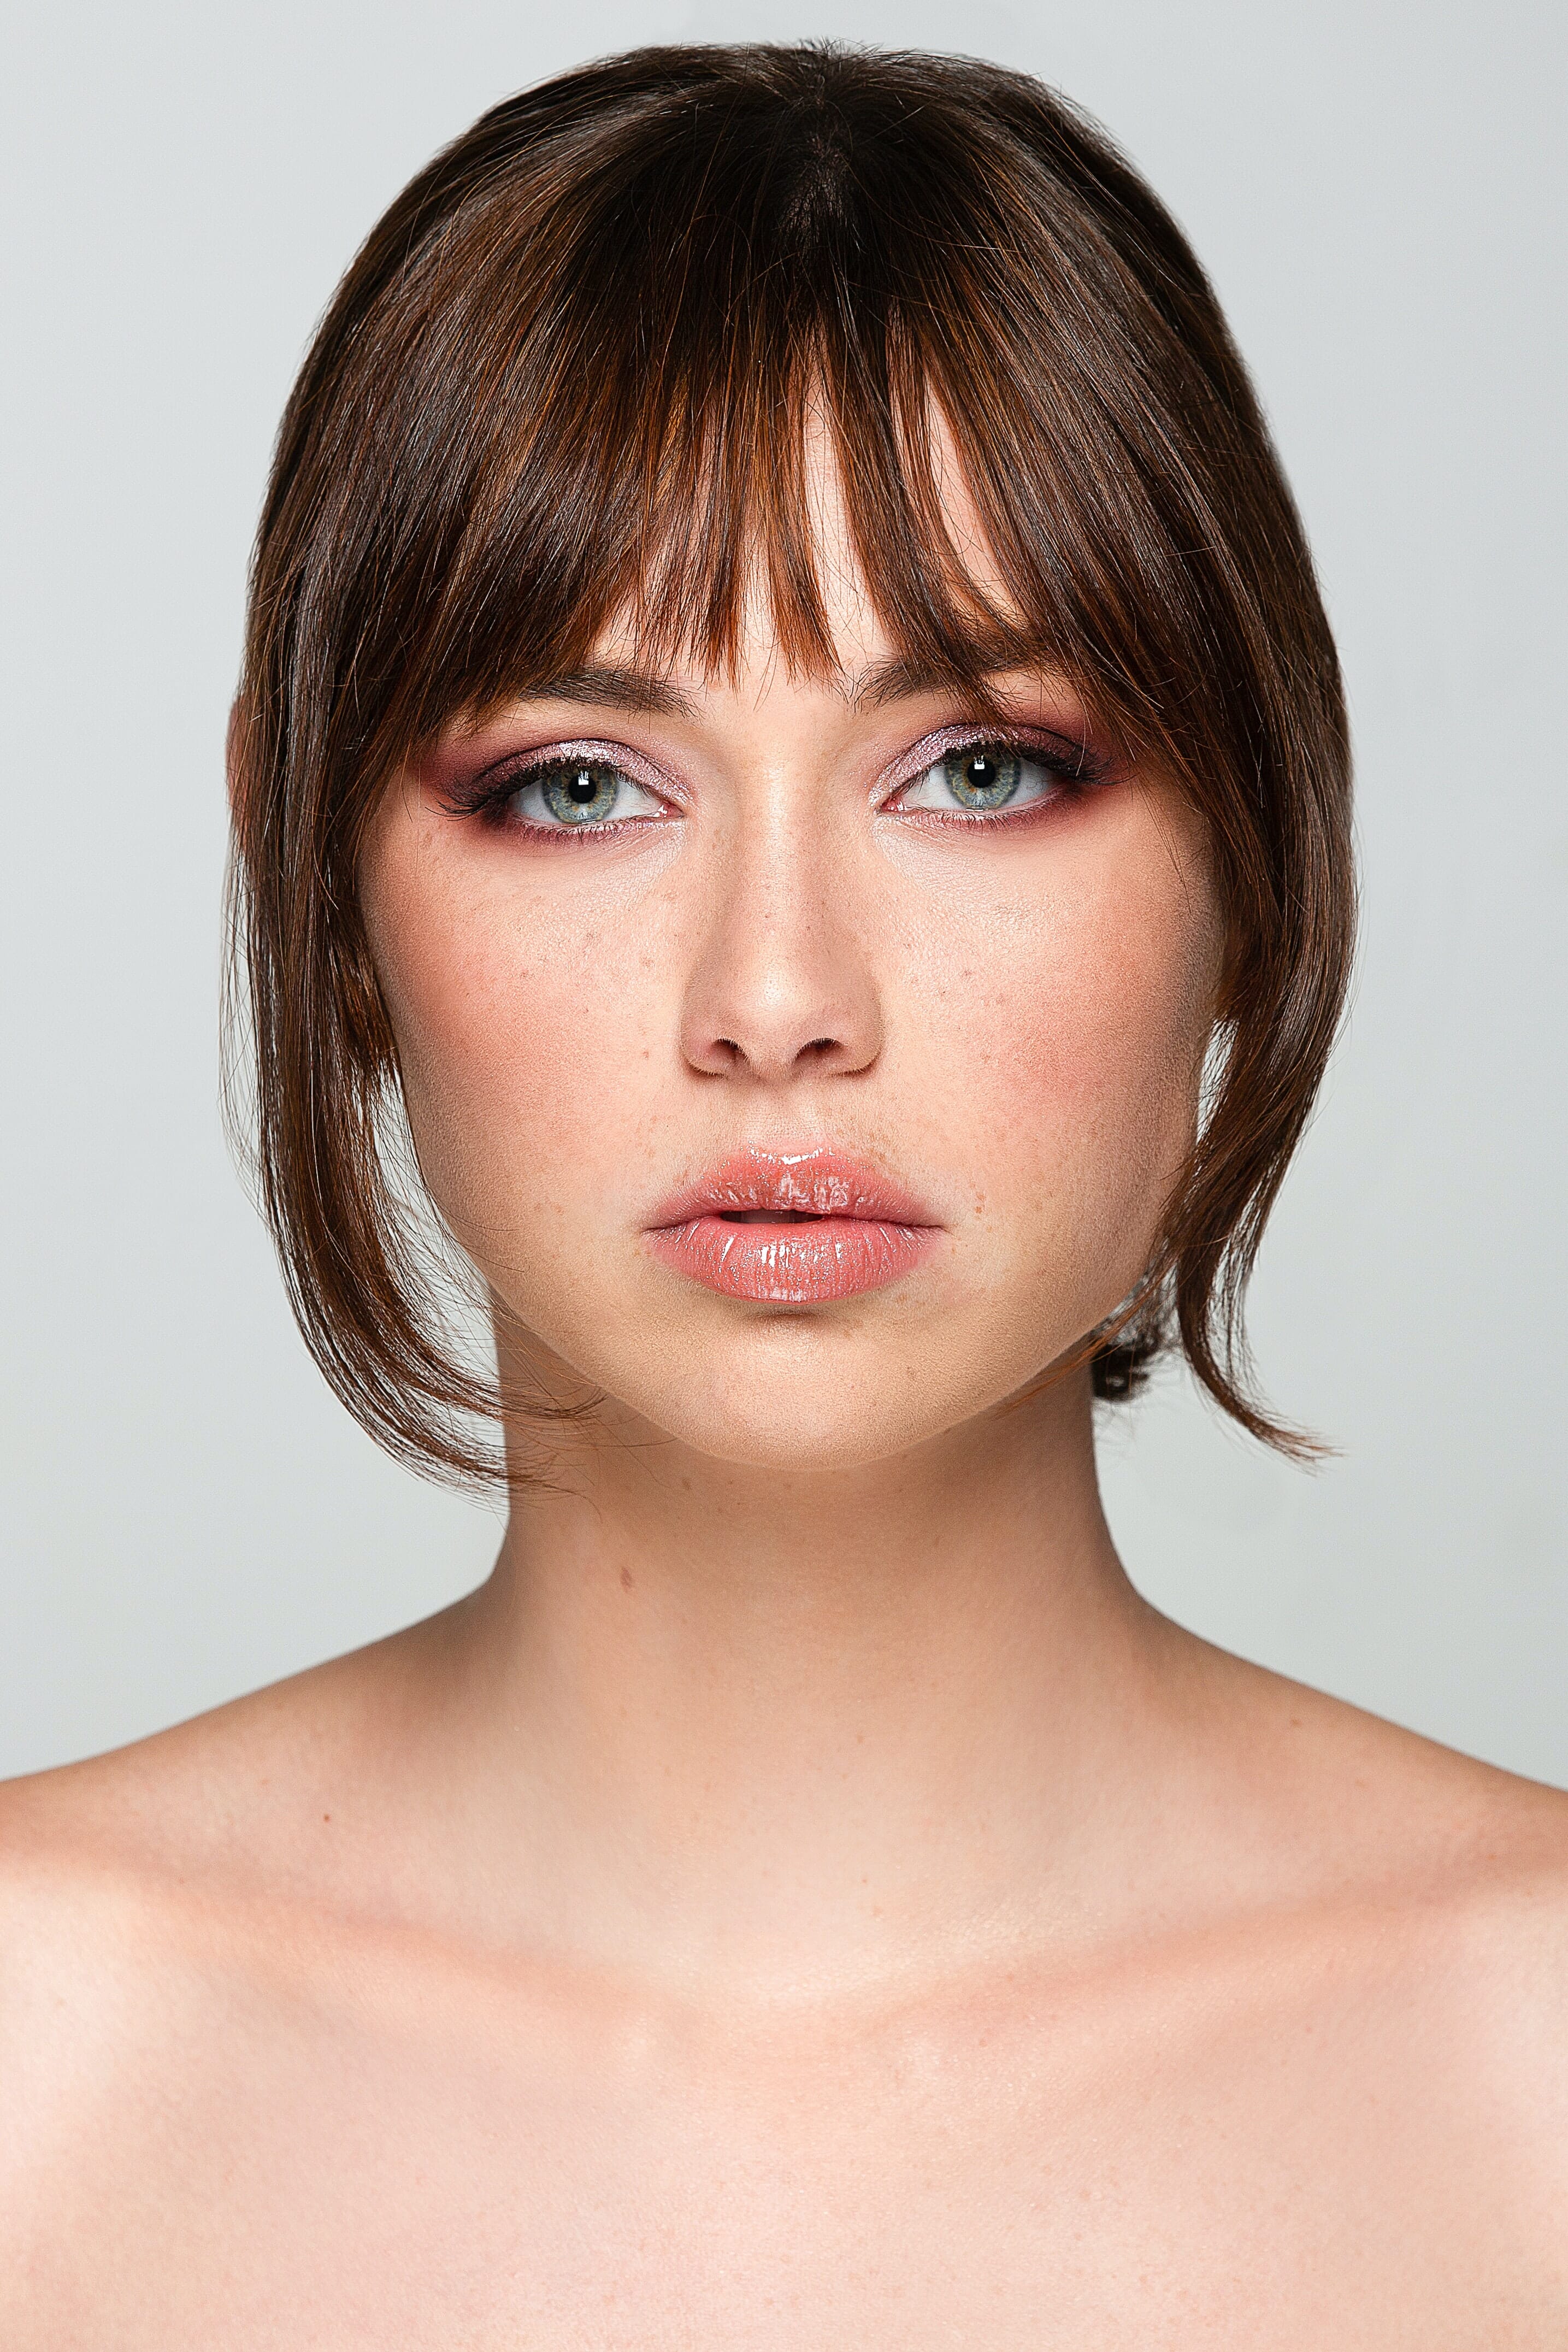
Because clamshell lighting is bright and relatively flat (that is, it produces very little in the way of shadows), it’s a great way to light most subjects on very standard, non-moody, non-dramatic photoshoots.
You can use clamshell lighting for basic portraits, for corporate headshots, and more; really, you could let it become your go-to lighting method, because it just looks really good.
Here’s how it works:
Start with a main light placed in front of and above your subject, pointing downward at a 45-degree angle.
This should create a butterfly-like shadow under the subject’s nose as if you’re going for a butterfly lighting setup.
Next, put a second light low down, pointing upward at a 45-degree angle. But instead of putting it on an ultra-low power, make sure that it overpowers most of the shadow under the subject’s nose and chin.
This is the key difference between butterfly lighting and clamshell lighting. With a butterfly lighting setup, you should see the butterfly under the subject’s nose; with a clamshell lighting setup, the bottom light should banish most of the shadow.
That said, you have to be careful not to push the shadows in the opposite direction (upward on the subject’s face). Because this will create a nightmarish, ghoulish look, which is exactly what you don’t want.
So I recommend putting the lower light on a setting close to, but not quite the same as, the top light. Let it fill in the shadows without creating shadows of its own.
By the way, one guideline for positioning your two lights in this “clamshell” manner:
Look at the catchlights in your subject’s eyes.
Clamshell lighting should produce two beautiful catchlights, one on the top of the eye, and one on the bottom. This helps inject life into a portrait, which is why it’s essential that the catchlights remain present. So look for the catchlights; if they’re no longer there, it’s because you’ve shifted your lights too high and too low.
Loop Lighting
Loop lighting is one of the most popular lighting patterns out there, and one that looks great on pretty much anyone.
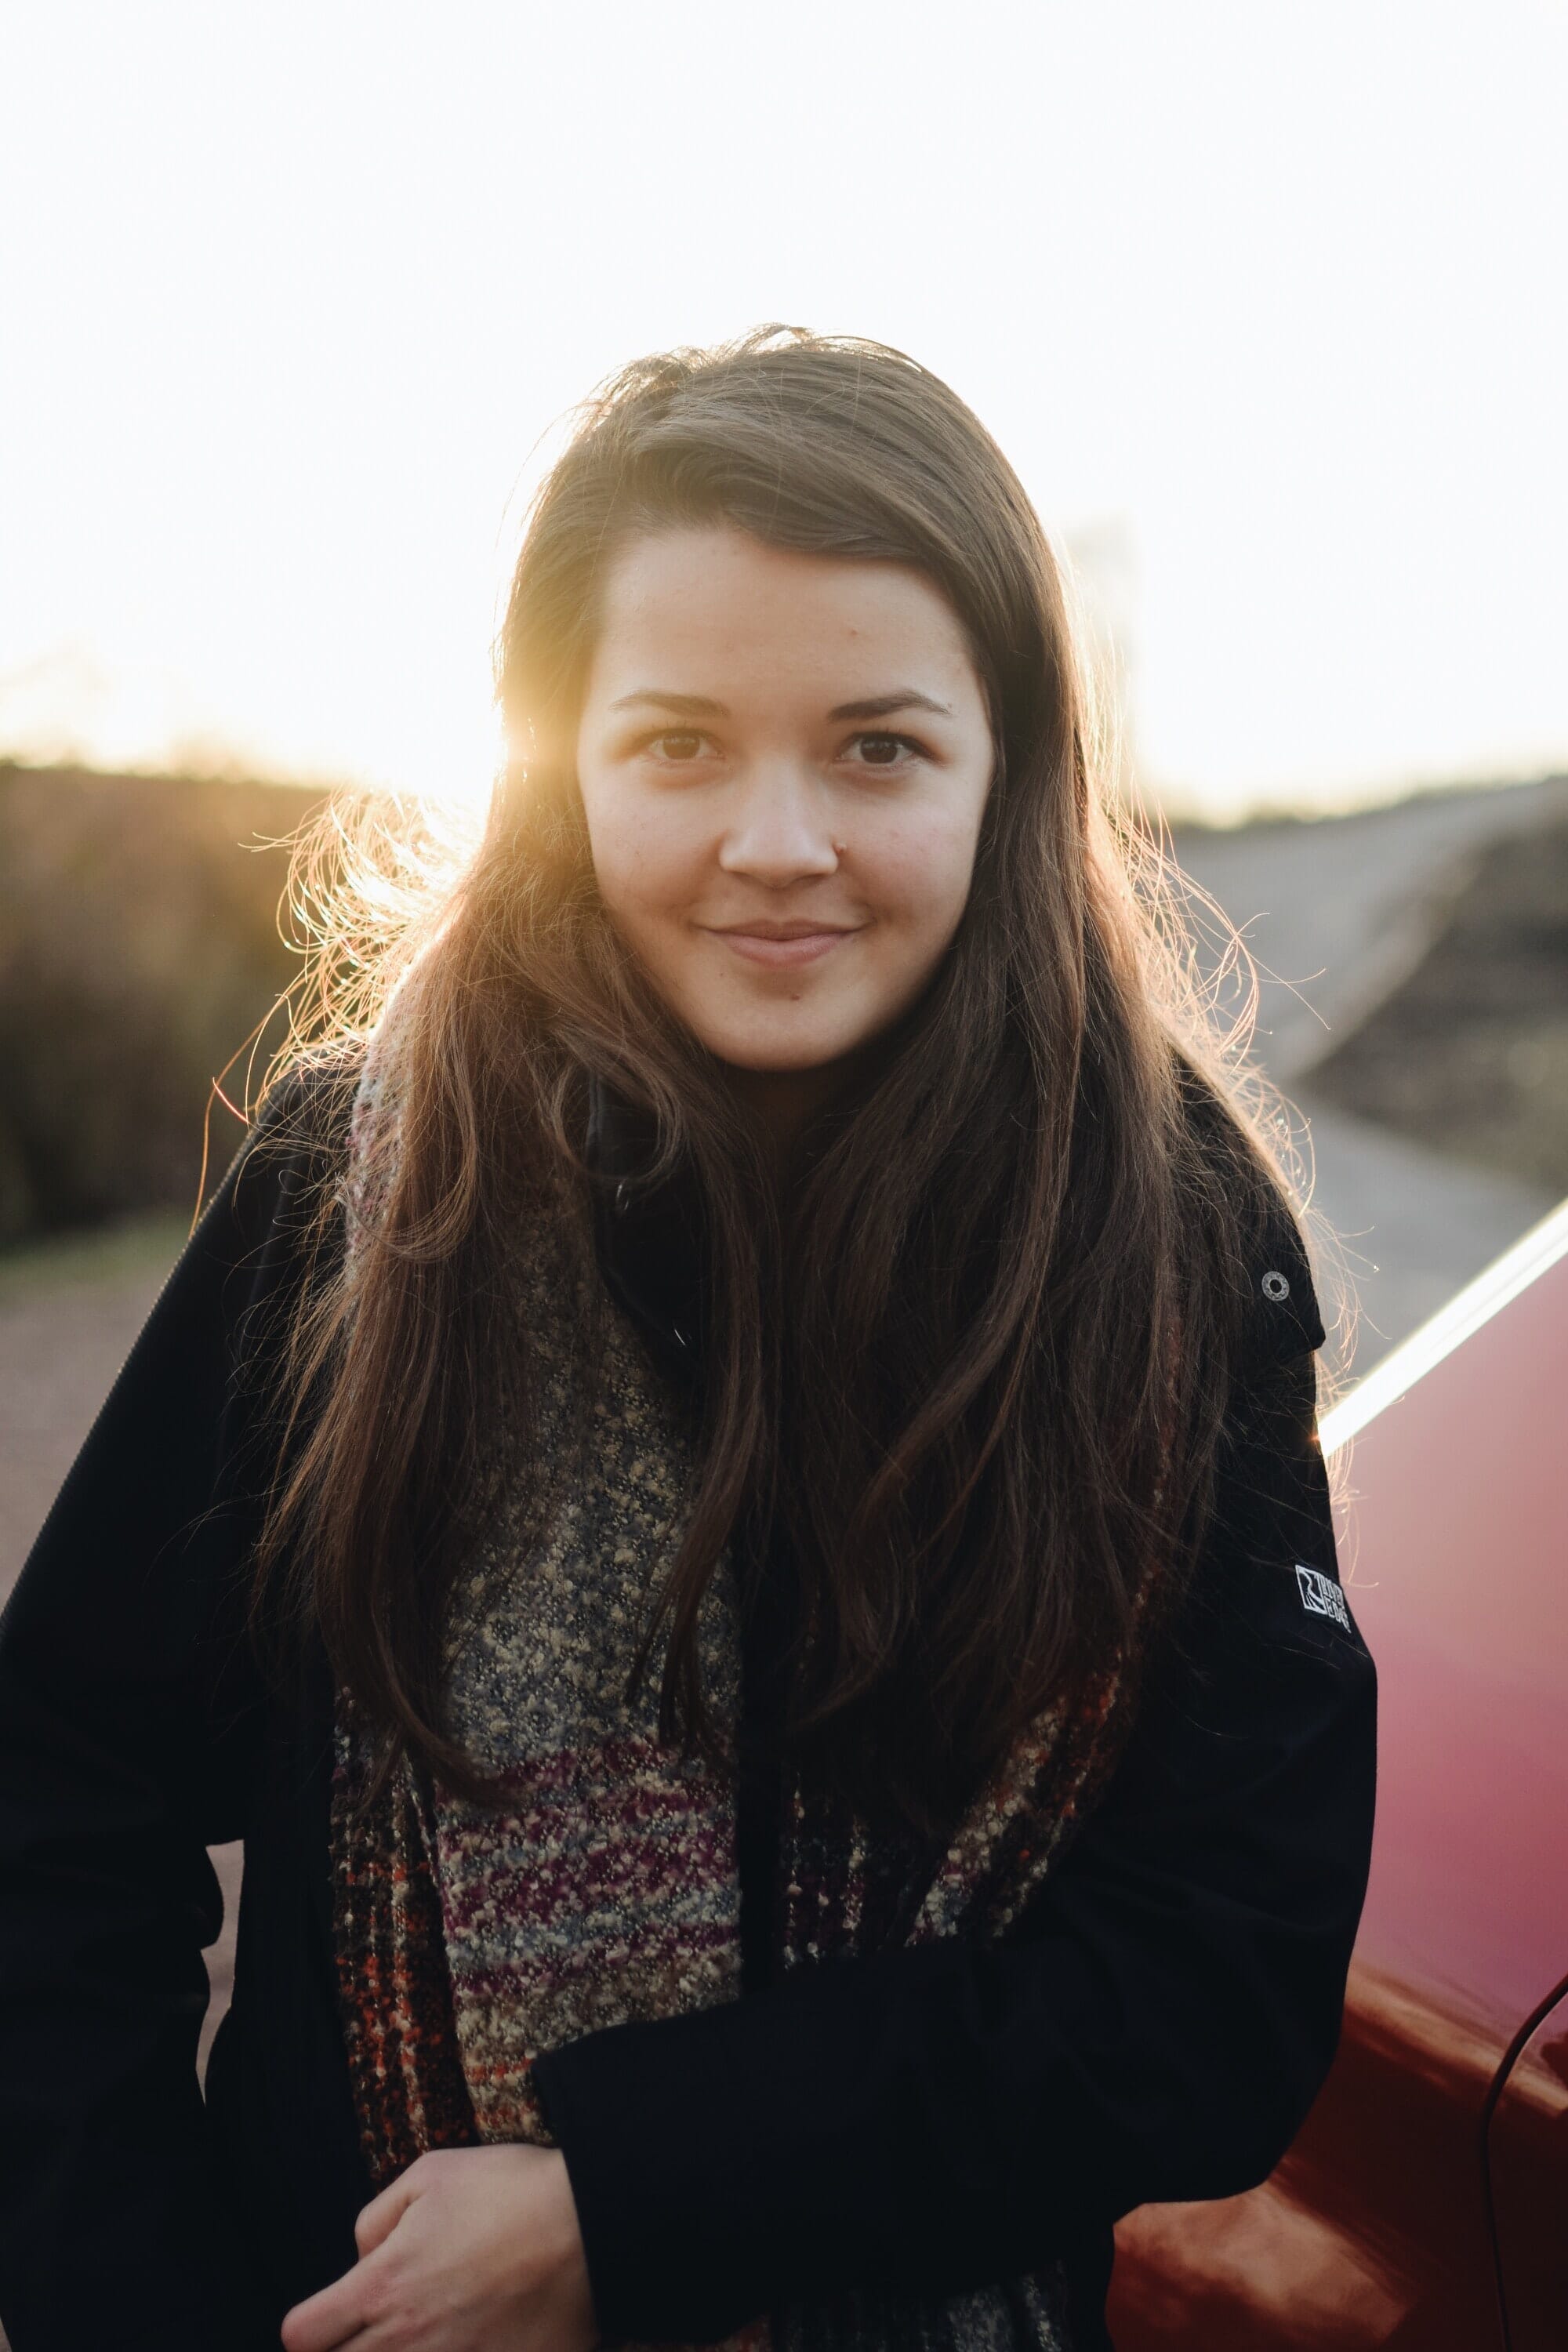
Here’s what loop lighting looks like in action:
Do you see the slight shadow of the subject’s nose? That’s the distinguishing feature of loop lighting. You should see a shadow that falls across the face, without creating a true triangle of light on the subject’s cheek (more about that in the next section!).
As you can see, loop lighting creates some shadows–but not especially strong shadows. This is what makes loop lighting so all-around useful, because it adds depth to the shot without creating dark, moody, dramatic shadows. So you can use it in pretty much any scenario, and it’ll get you flattering results every time.
To create loop lighting, you’ll want to take your main light and place it out in front of the subject and off to the side slightly (at about 20 to 35 degrees from straight ahead). You’ll also want to put the light up slightly, so that it’s pointing downward at the subject.
(You’ll need to play around with these angles, because it will depend on your subject’s face.)
Once you’ve achieved the basic loop lighting look that you’re after, you’re free to add a second light on the opposite side of your subject, in order to boost the light on the opposite side of your subject’s face. Note that this will give you a slightly flatter, less dramatic result, which works just fine (as long as this is what you’re after).
However, if you’d prefer a very dramatic look, more dramatic than even the most intense loop lighting can provide, I recommend trying out Rembrandt lighting:
Rembrandt Lighting
Rembrandt lighting is named after the Dutch painter Rembrandt, thanks to his frequent use of this particular lighting pattern for moody, three-dimensional portraits.
It results in images like this:

Do you see the triangle under the subject’s eye? That’s the distinguishing feature of Rembrandt lighting (and it’s what distinguishes Rembrandt lighting from loop lighting, above).
Rembrandt lighting is great for really sculpting out your subject’s features and achieving a dramatic look, while also keeping things detailed and relatively well-lit.
Here’s how it works:
First, place your main light around 45 degrees out and 45 degrees down (it should be above your subject’s eyeline).
Play with these angles a bit, because you need to make sure you have the triangle on your subject’s cheek.
If you’re after a dramatic look, you can leave things as they are and start taking photos.
But if you’re looking to soften the level of contrast, then add a second (lower-powered) light on the other side of the subject. You’ll want to play with the positioning and strength, because you don’t want to overpower the shadows; instead, you want to keep them in place while lessening their effect somewhat.
Personally, Rembrandt lighting is a favorite of mine. It’s slightly moody, yes, but it also creates wonderfully three-dimensional images. So I recommend testing out Rembrandt lighting whenever you get the chance!
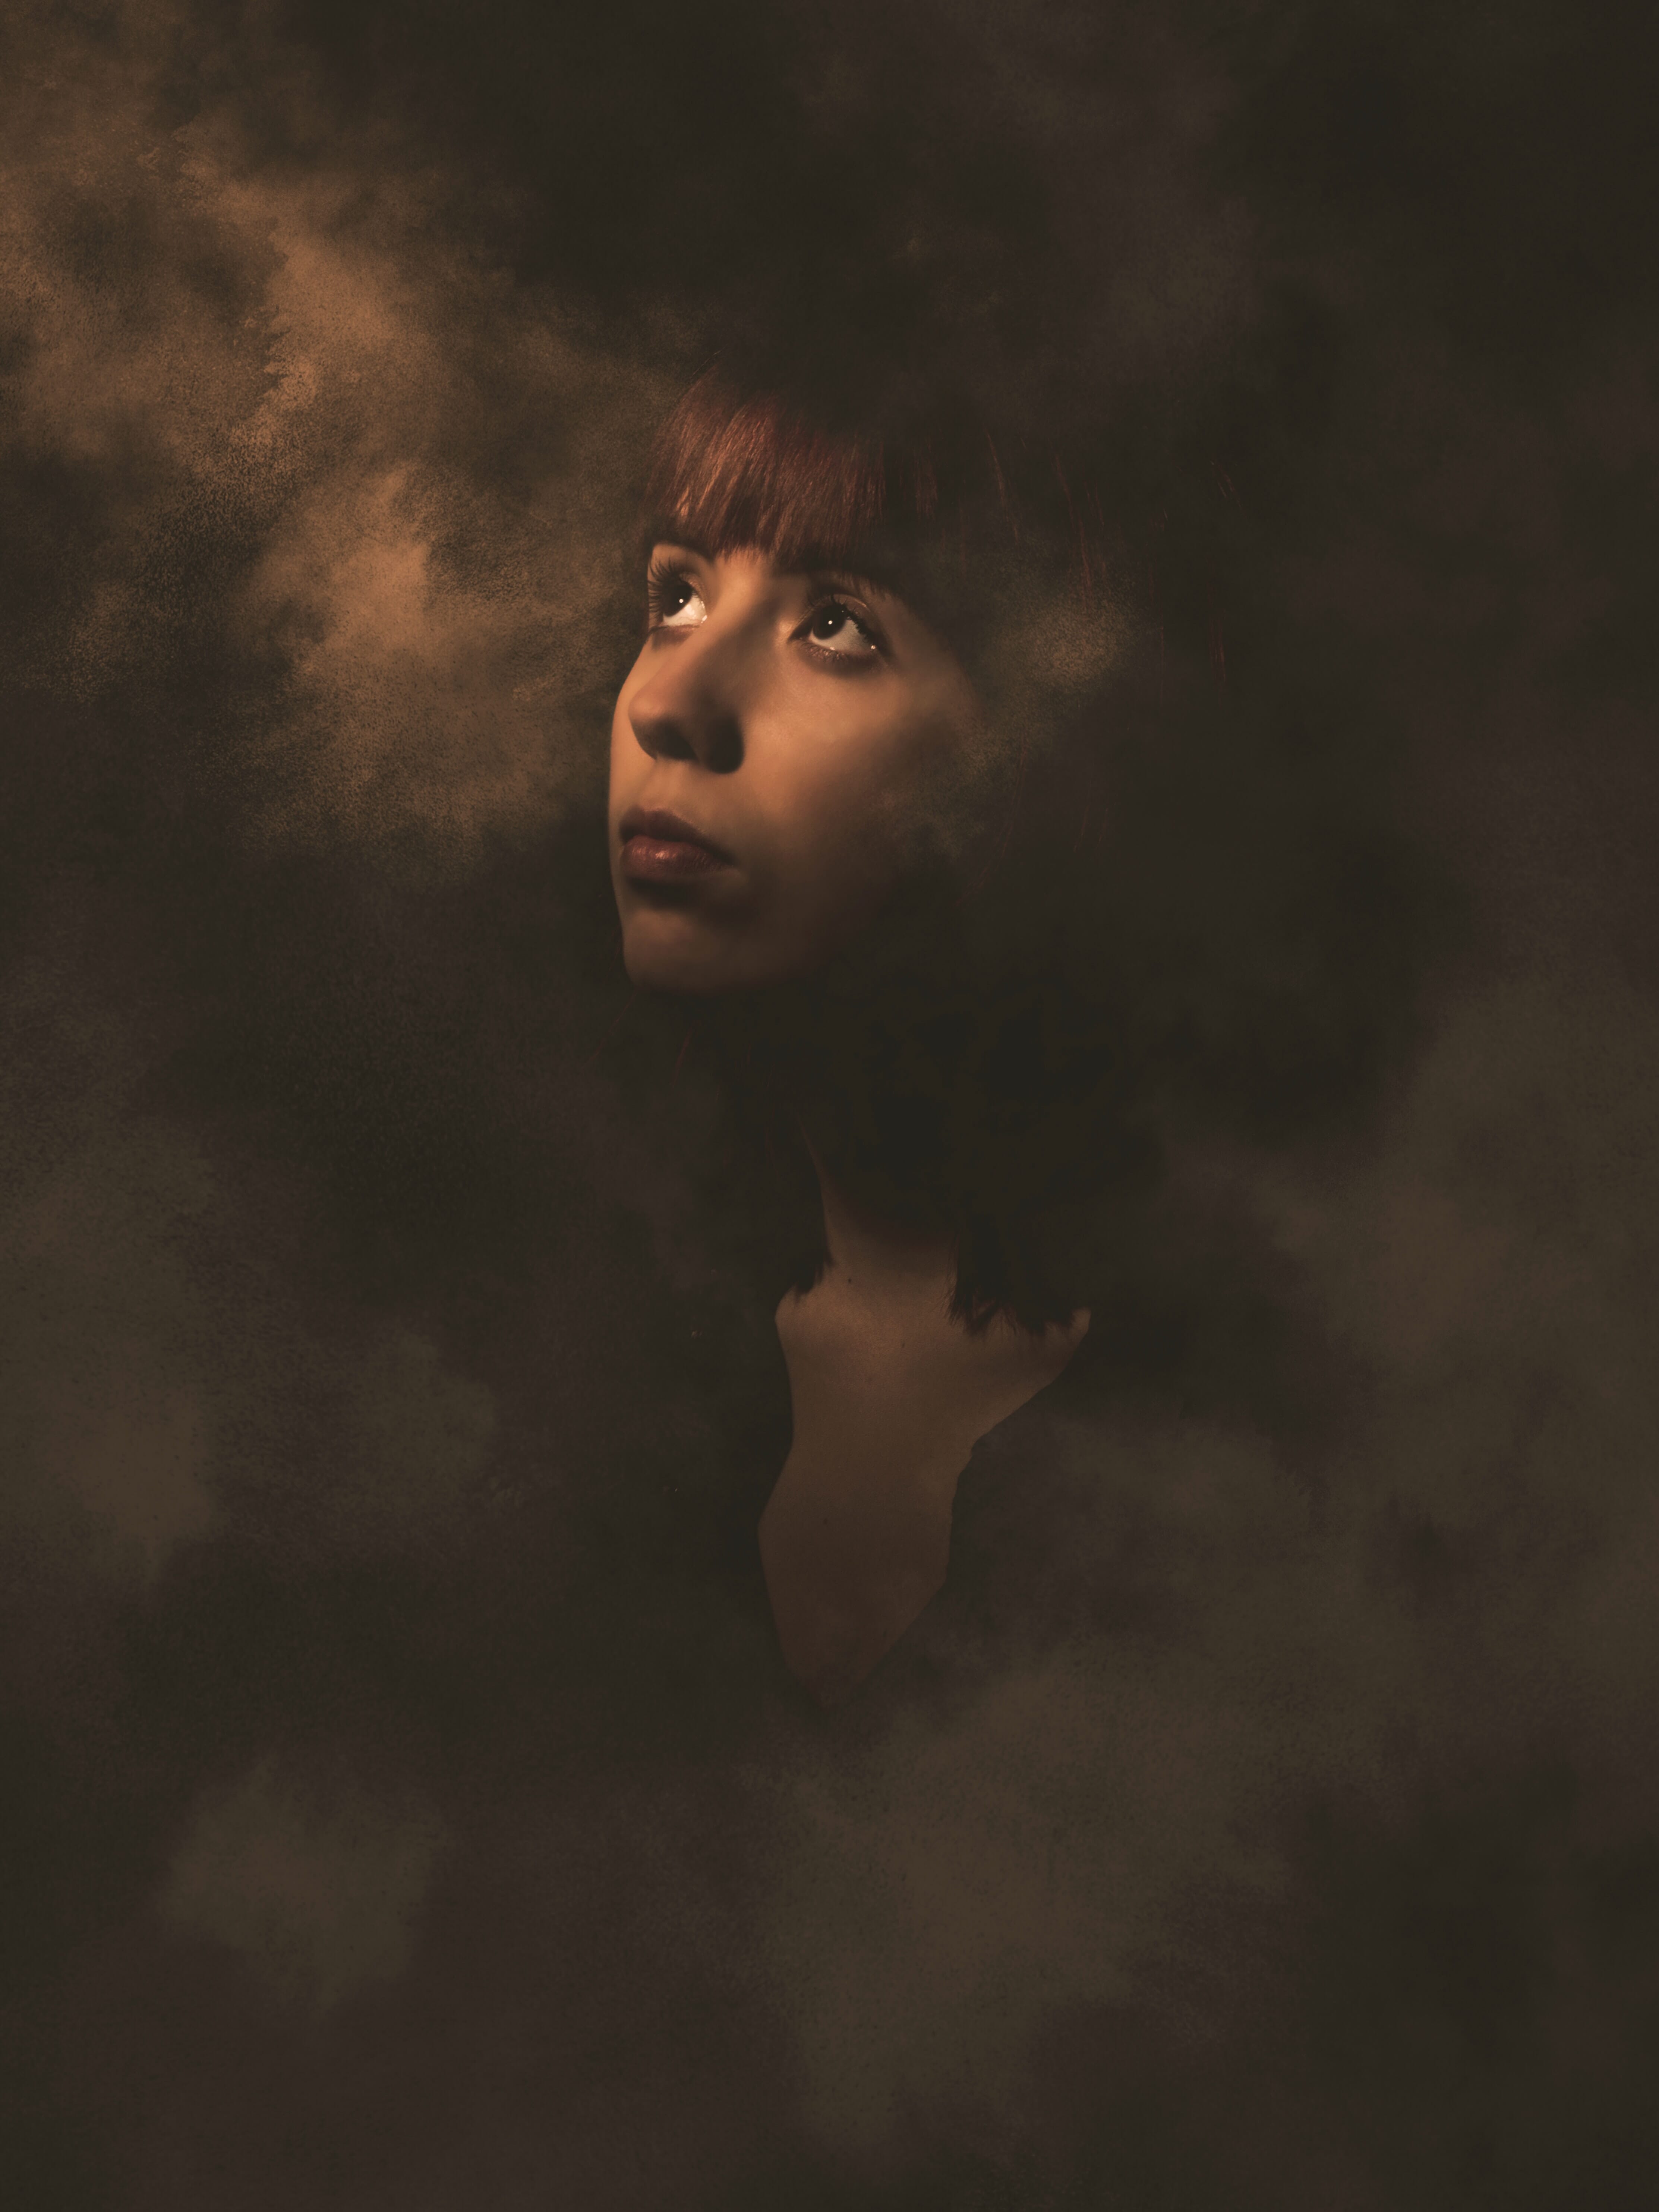
Split Lighting
Split lighting isn’t the most popular lighting pattern out there, but it’s very useful when you’re looking for powerful, ultra-dramatic results.
It looks like this:
As you may have guessed, it’s so named because of how it splits the subject’s face in two halves: a light half and a dark half.
Now, split lighting is very easy to create:
Just put the light source off to the side of the subject (at a 90 degree angle from their line of sight), and have them look straight ahead.
You’ll get a perfect split, where half the face is dark and half is light.
Obviously this isn’t ideal for standard portraits–but if you’re doing glamour photography, or you’re attempting to convey a very dramatic feel, split lighting can work well.
Note that you can always tone down the drama by placing a reflector or a second light on the opposite side of your subject (to reduce the strength of the shadows).
But, as with any fill light, you have to exercise caution. Too much, and you’ll lose the beautiful effect you were after in the first place.
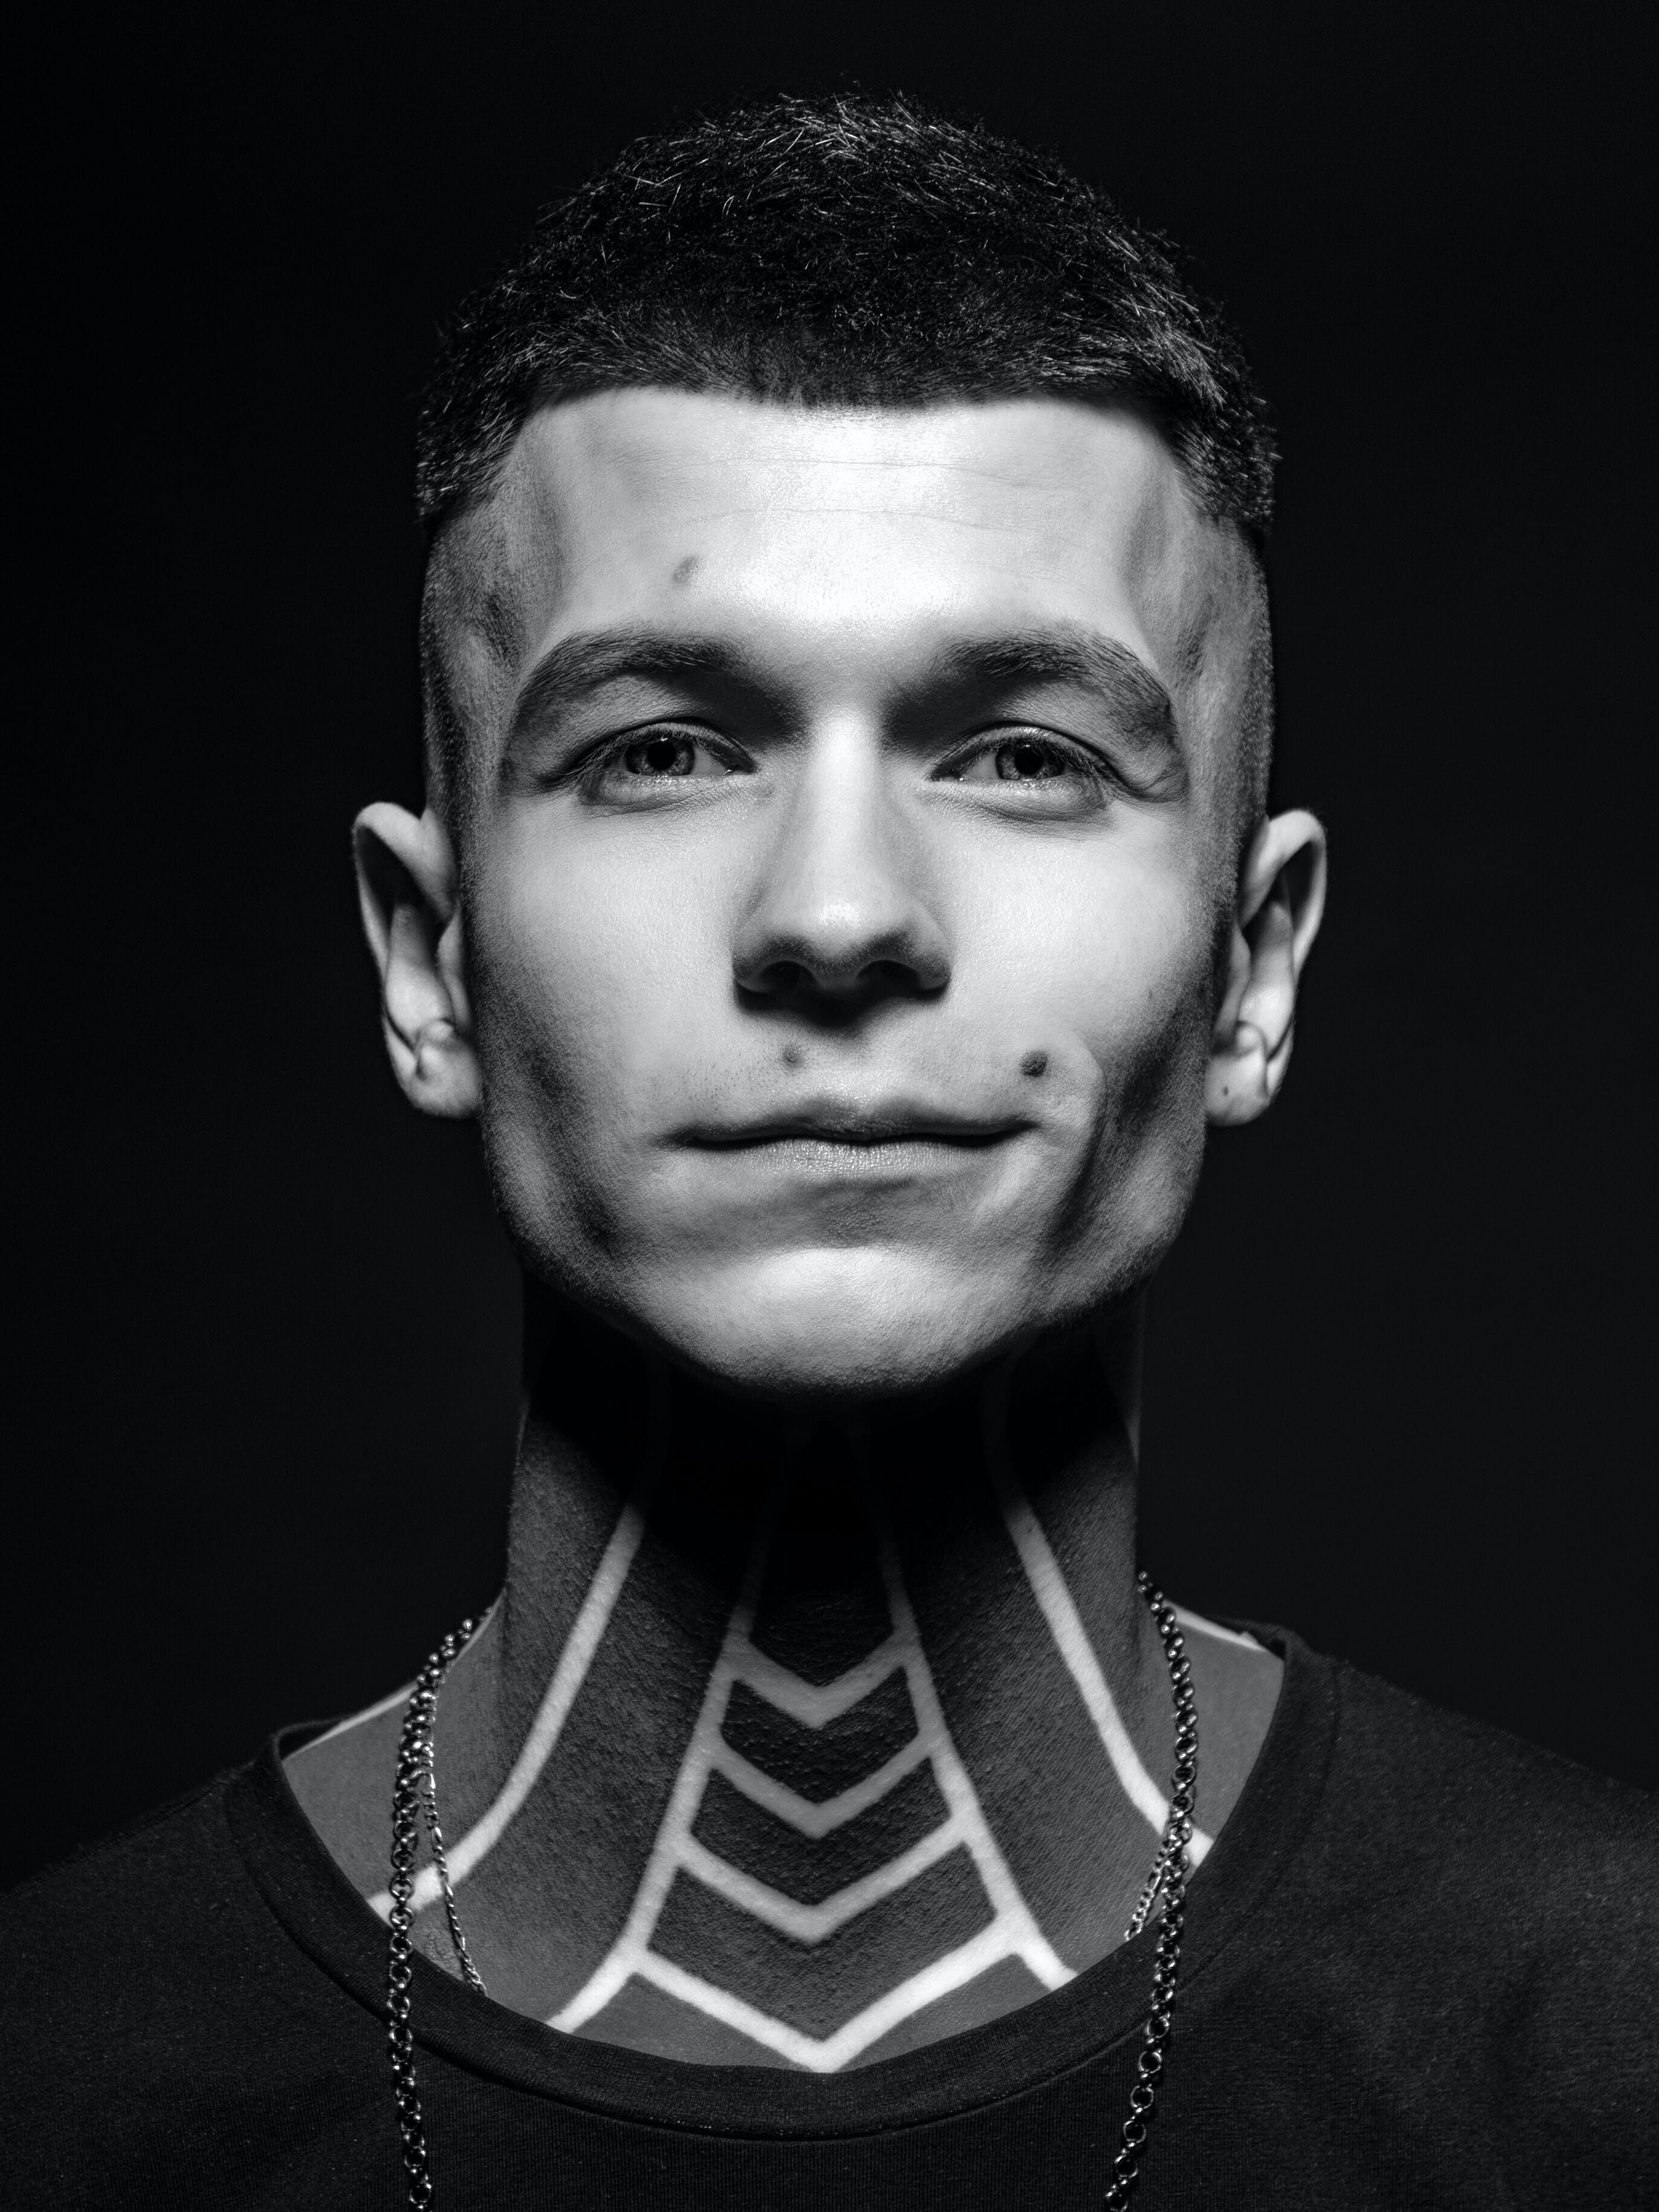
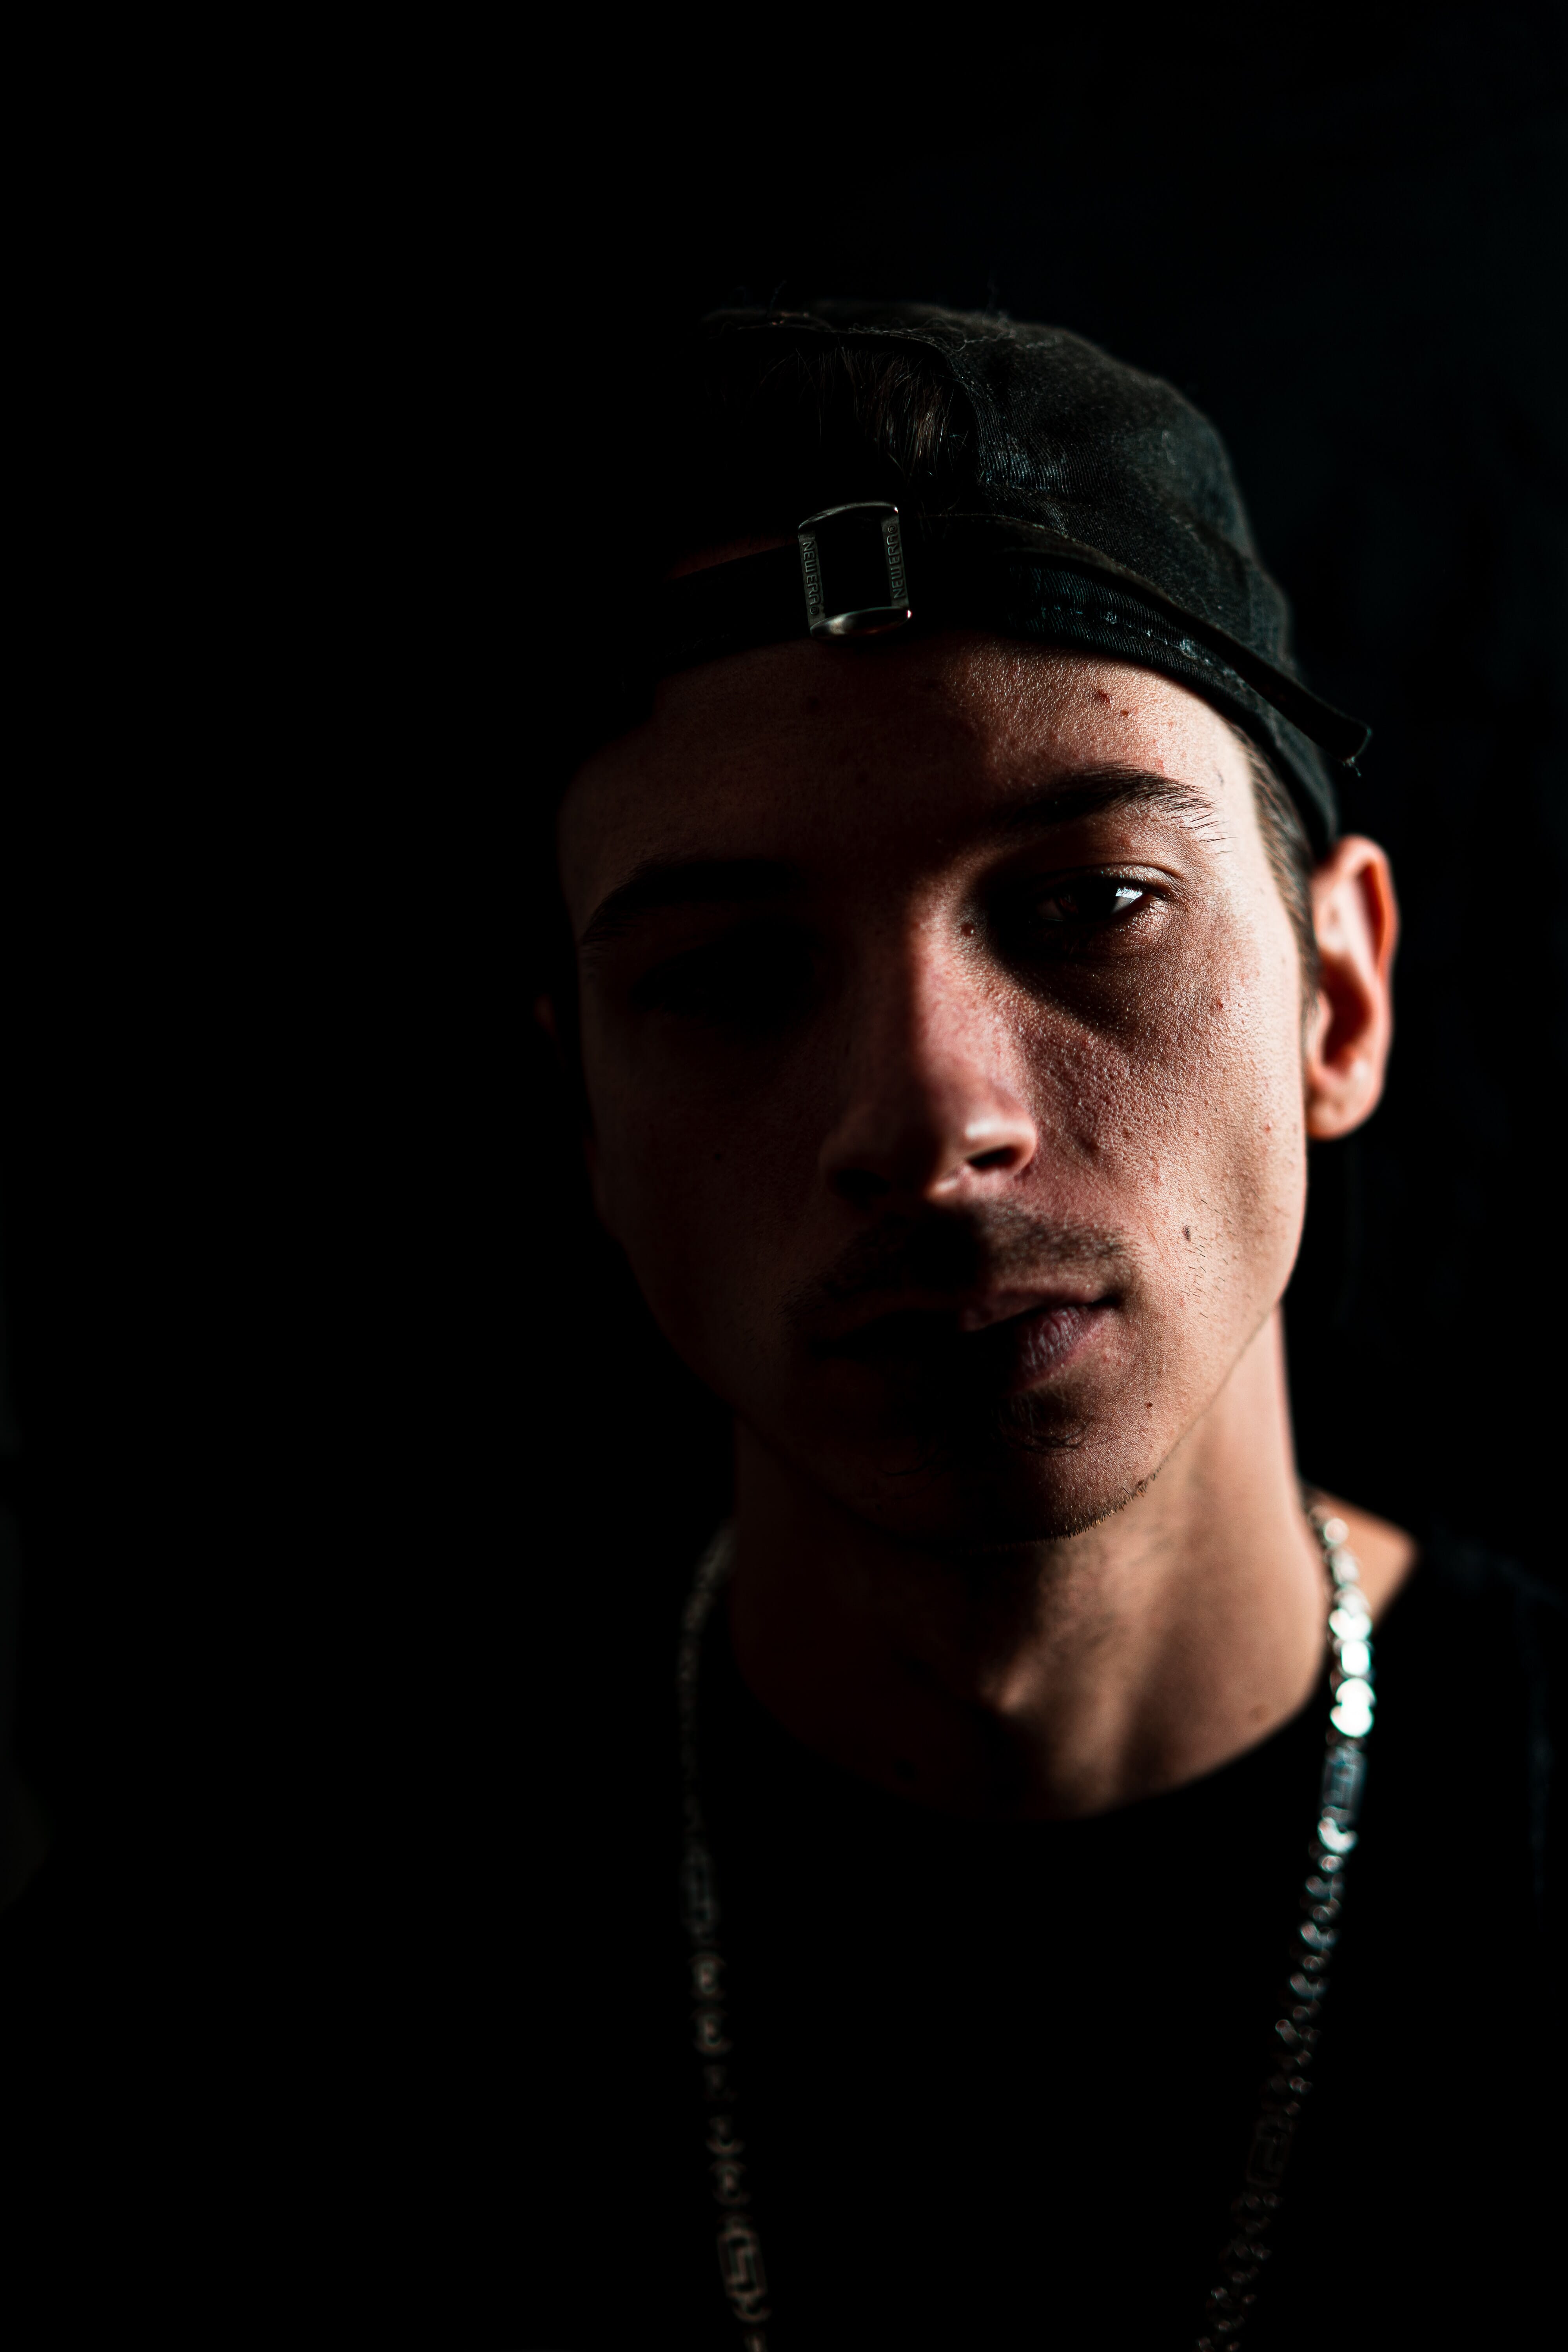
Short Lighting
Remember how I said some so-called “lighting patterns” are really more “compositional patterns”?
Short lighting is one of those.
You see, short lighting has less to do with the lighting pattern you use, and more to do with the angle of the subject relative to your camera.
Let me explain:
Short lighting is when you photograph the subject with the darker side of their face angled toward the camera.
Like this:
As you can see, the lighter portion of the face is angled away, and the shadowy portion of the face is pointed toward the camera.
That’s short lighting.
Now, short lighting does depend somewhat on lighting patterns, because you can really only use it with a sidelit pattern such as Rembrandt lighting, loop lighting, or split lighting.
(Otherwise, you won’t have a good amount of shadow area to work with, and without shadows there’s no way to distinguish between the well-lit and shaded portions of the face.)
So to use short lighting, simply set up the way you would when doing Rembrandt lighting, loop lighting, or split lighting.
Then position yourself (the photographer) on the side of the subject opposite the light, and take some photos!
As you’ve likely noticed, short lighting is very dramatic (because it offers up heavy, very noticeable shadows.) It also has a slimming effect, because the shadows make the face appear narrower, which is why it’s good for photographing subjects with wider faces.
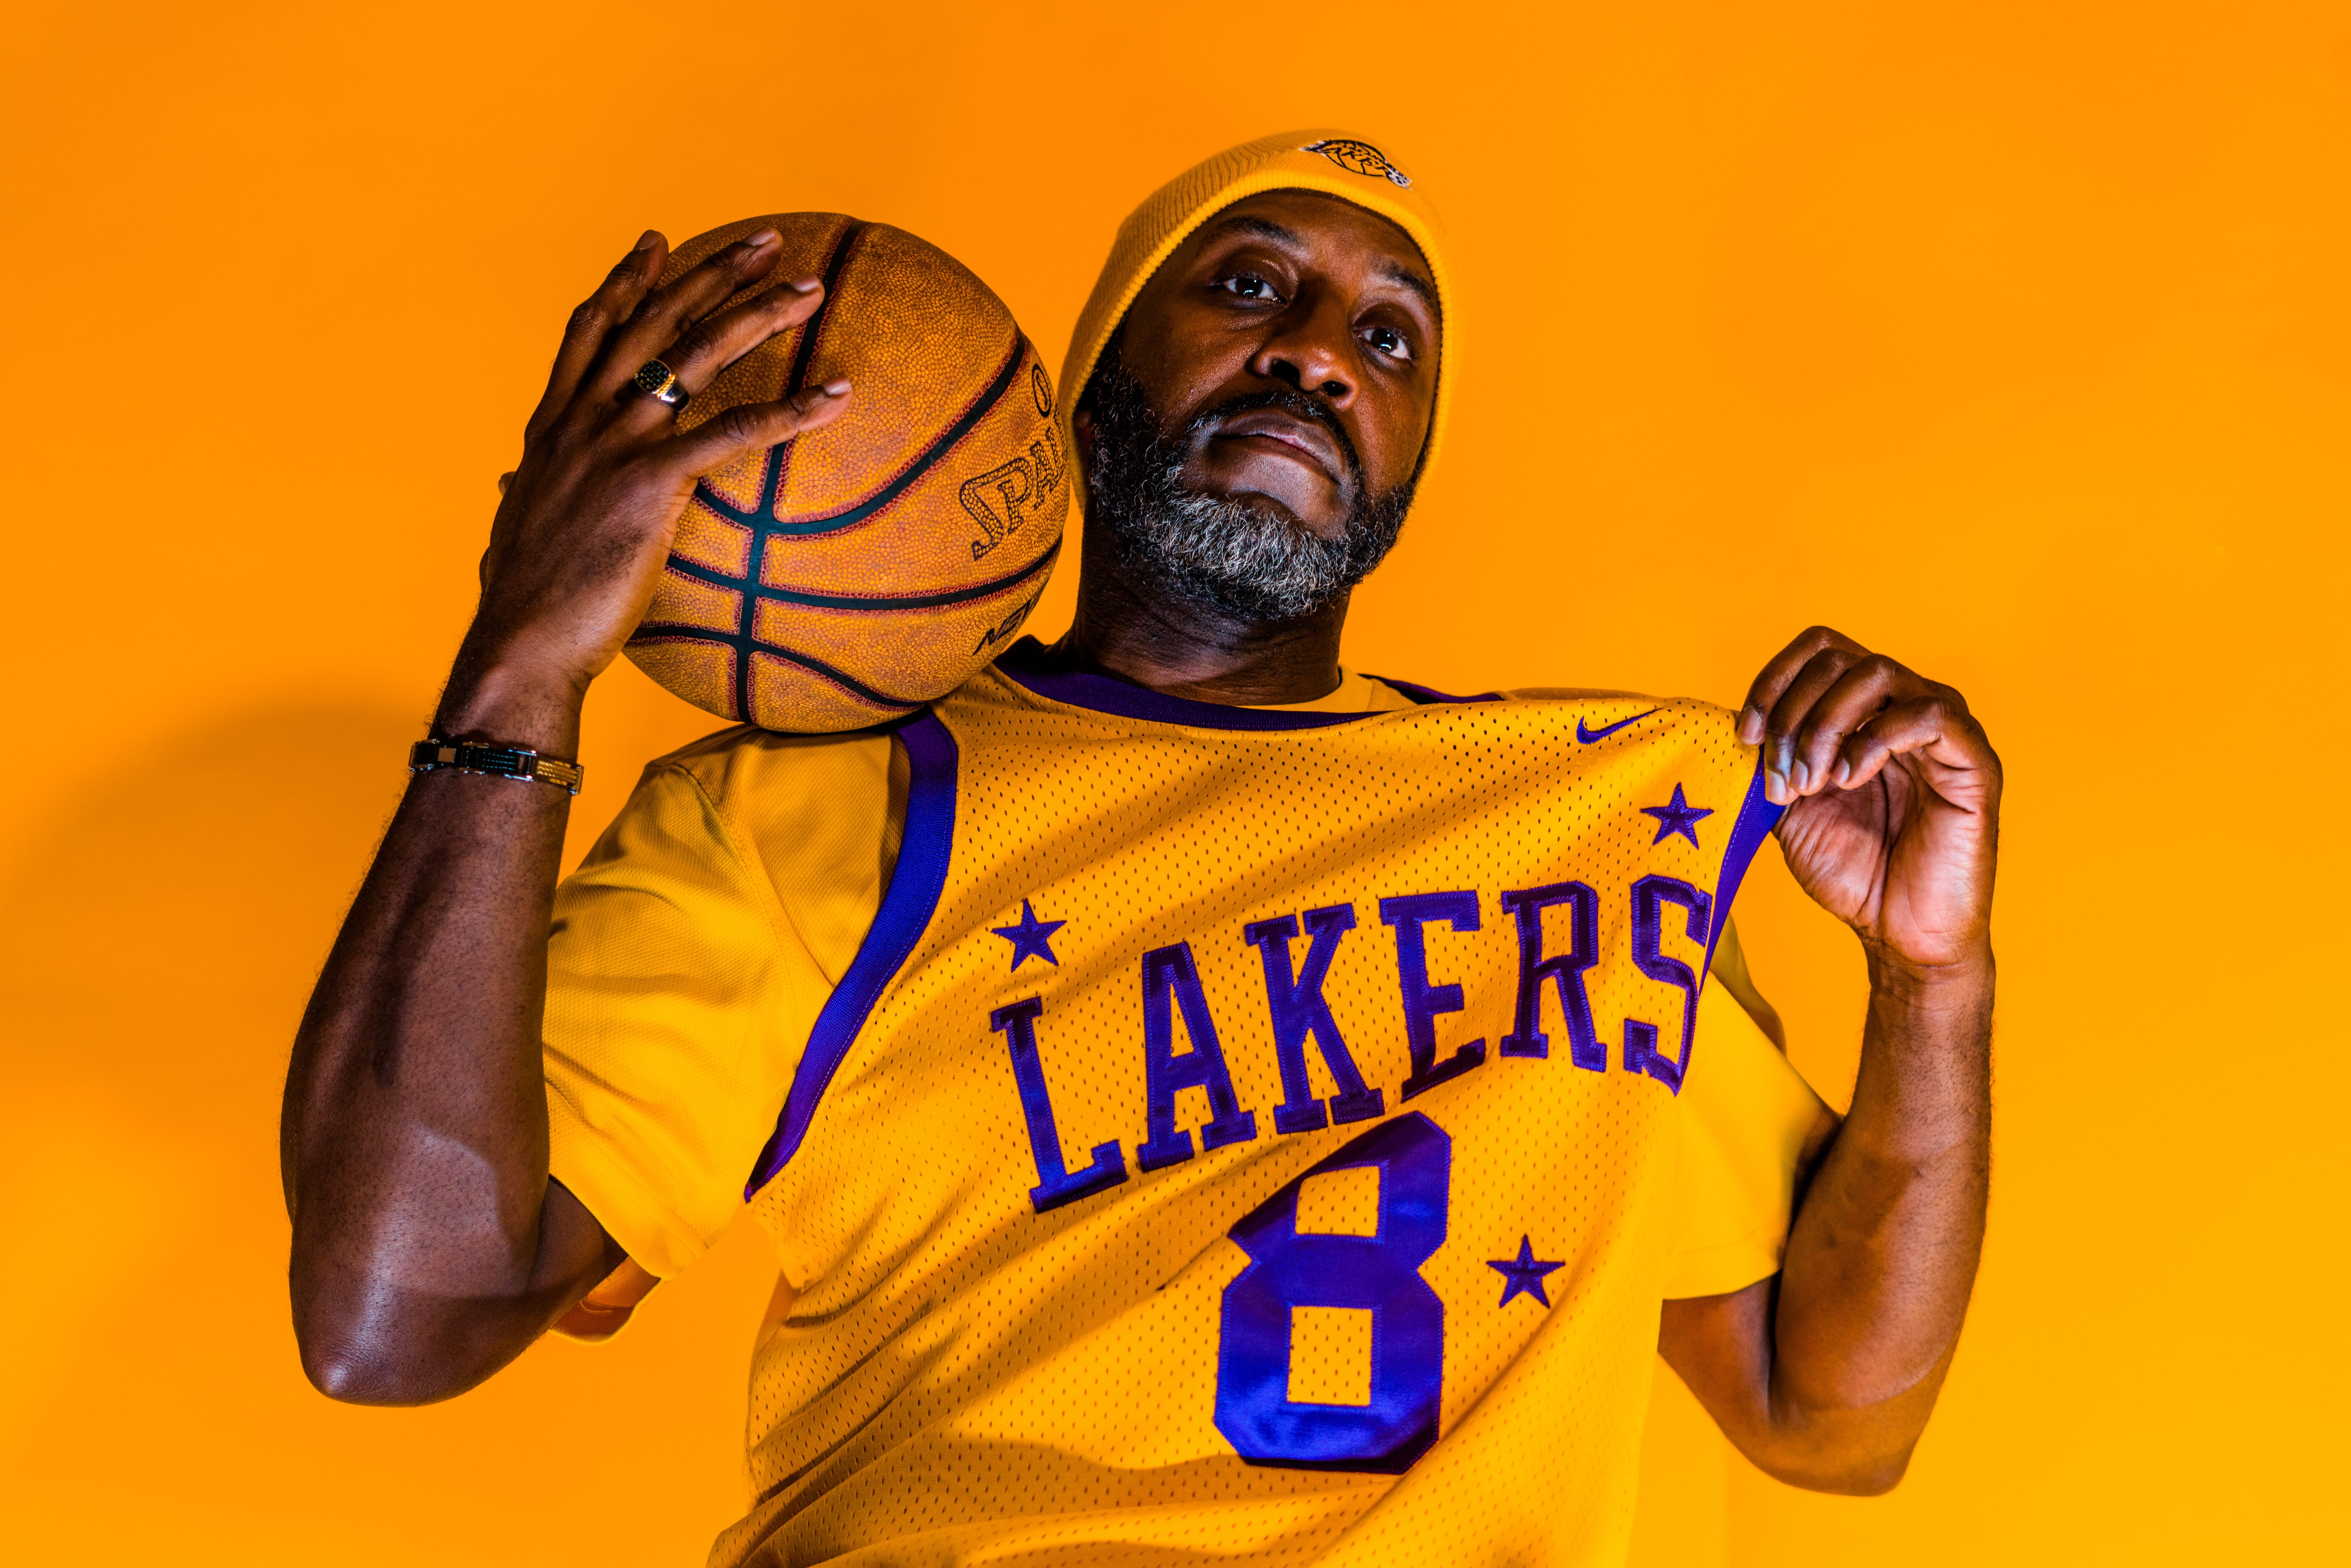
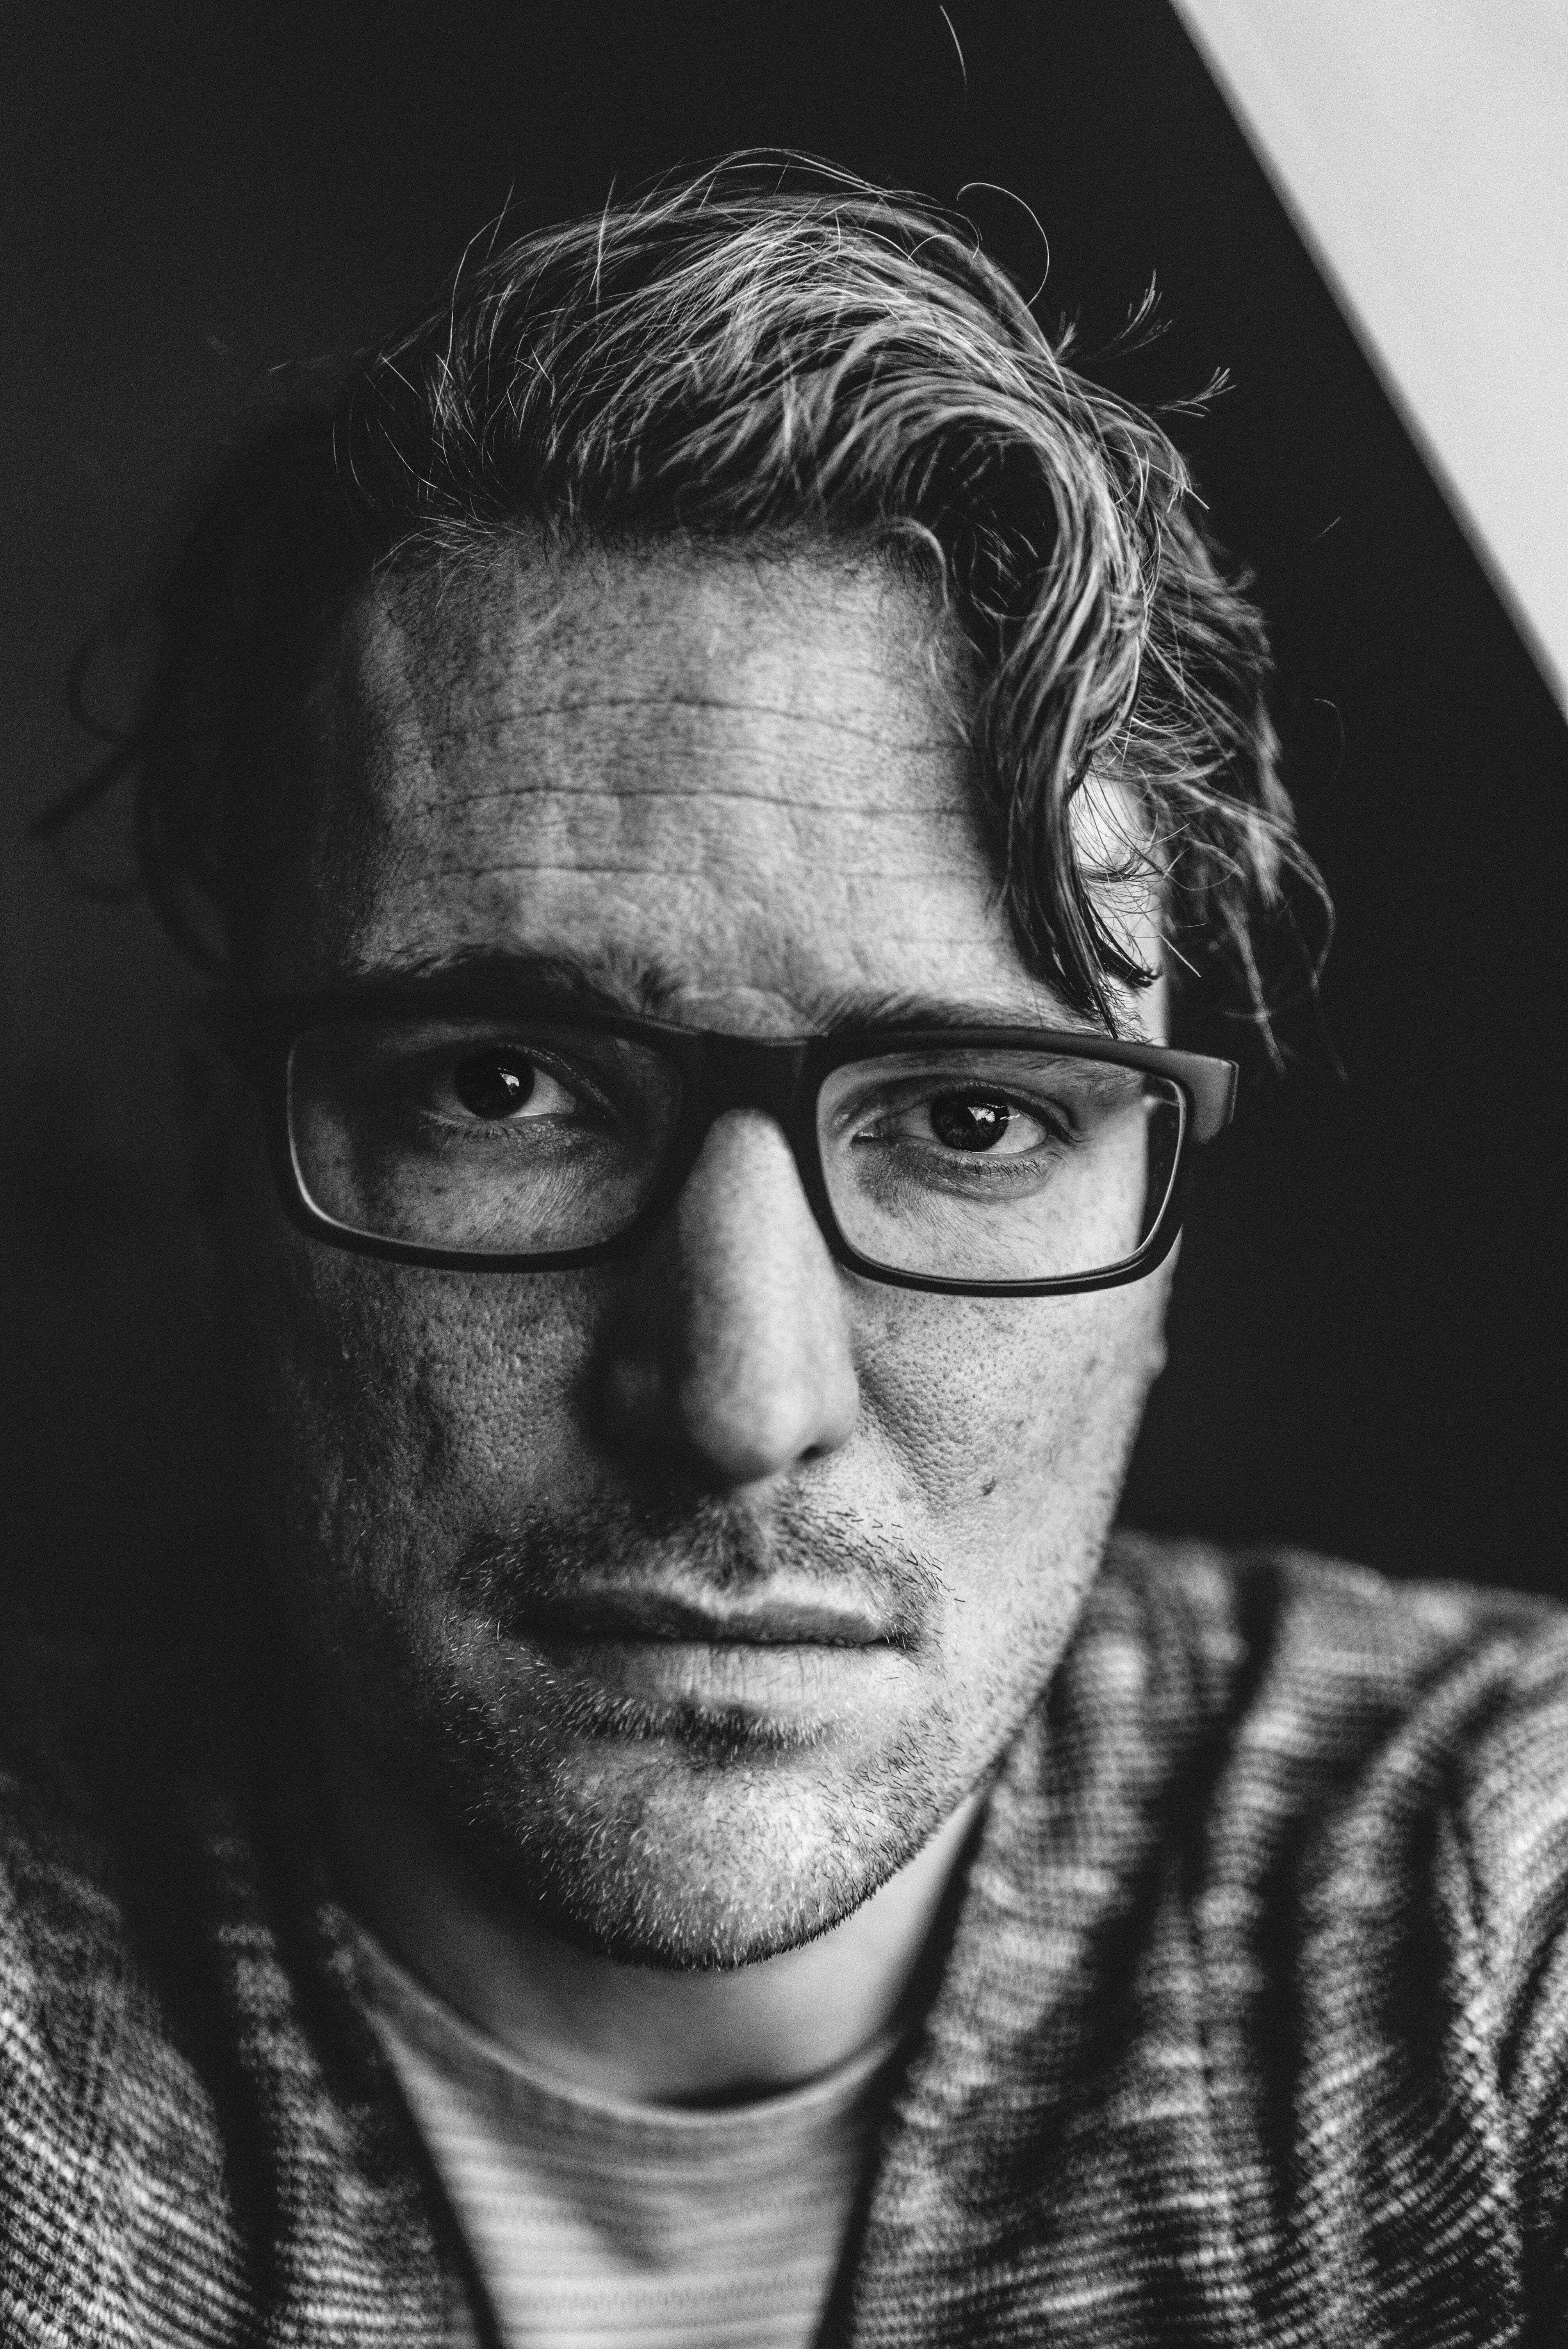
Broad Lighting
Broad lighting is the opposite of short lighting.
Instead of photographing the side of the face that’s in shadow, you photograph the side of the face that’s well-lit.
Like this:

But in every other way, broad lighting is the same.
So to set it up, simply use a Rembrandt lighting setup, a loop lighting setup, or a split lighting setup (remember, you need shadows!).
And then stand on the side of the subject with the light.
Note that broad lighting is known for its ability to widen faces, so it works well when dealing with narrow-faced subjects (but less well when your subject has a wide face).
You can also use broad lighting to hide aspects of your subject’s face, such as blemishes; just make sure you light the part of the face without the blemishes.
Make sense?
Lighting Patterns in Photography: Conclusion
Now that you’ve finished this article, you should know all about lighting patterns in photography.
And you should be well-equipped to create simple lighting setups whenever you need.
So commit these patterns to memory.
And the next time you’re looking to capture a beautiful portrait, refer back to them!
You’re practically guaranteed some great results!
What are some key lighting patterns in photography?
I recommend every photographer be familiar with these basic lighting patterns: Rembrandt, loop lighting, butterfly lighting, and clamshell lighting. Those four patterns alone could make a career because they’re just so essential for creating stunning portraits.
Do you need a lot of fancy lights to create professional lighting patterns?
Absolutely not! You can very easily create stunning lighting patterns with a single light (and it could just be a window, if you’re willing to work patiently). Don’t let equipment hold you back when it comes to lighting patterns!
Can you only use lighting patterns for portraits?
Definitely not! It’s true that lighting patterns are often talked about in terms of portraiture. But what works for portraits also works for still life photography and product photography, to name just a few genres. In fact, you can get some of your most interesting images by transposing techniques from one genre to another!