Photographers love window light. Windows tend to offer soft, directional illumination that makes for wonderfully dramatic images – plus, they’re available pretty much anywhere. If you’re looking to elevate your portraits, product shots, or still-life images without spending thousands of dollars on lighting gear, window lighting is a great choice.
That said, working with windows requires some real technical skills. You have to identify the best window, control its illumination, and pick the right camera settings, all of which can be difficult for beginners. Below, I share my top eight tips so you can approach window light photography like a pro!
Window Light Photography Tips:
1. Use a North- or South-Facing Window for Beautiful Soft Light
Windows let in the sun, but depending on the direction of the window, you’ll get more or less sun, and you’ll get harsher or softer light.
East- and west-facing windows, for instance, will give you very direct light when the sun shines through in the morning or the evening. And while this can work for very contrast-heavy, dramatic images, it’s an approach that I generally recommend avoiding.
Why? First, direct sunlight creates harsh shadows, which just aren’t very flattering for portrait, still life, or product photography. Instead, you want soft, even lighting that offers very gradual transitions as it illuminates your subject.
Second, east- and west-facing windows only offer direct light for half the day. The rest of the time the sun will shine in the opposite direction, which results in dramatically reduced illumination. Therefore, using ease- and west-facing windows just makes working out photoshoot times a lot harder; instead of having the whole day to shoot with relatively consistent results, you have to figure out how the lighting changes (dramatically!) over the course of the day and manage your shooting times accordingly.
So instead of using windows facing east and west, find some windows that face north or south. These windows are always offering soft, even, flattering light because the sun doesn’t shine through them directly. And the light remains consistent across the course of the day, which is good for planning (plus it just makes mastering window photography a lot easier!).
2. Use the Biggest Window You Can Find
Windows are a lot like softboxes, in that bigger windows result in softer light.
As light sources get larger and larger, you get much more even, gradual shadow transitions. And since this look is very flattering, I recommend using the largest window available to you.
Note, however, that you’re always free to experiment with other window sizes for different effects. And if you have nothing else to work with, a smaller window will give you a nice result, especially if you use a modifier:
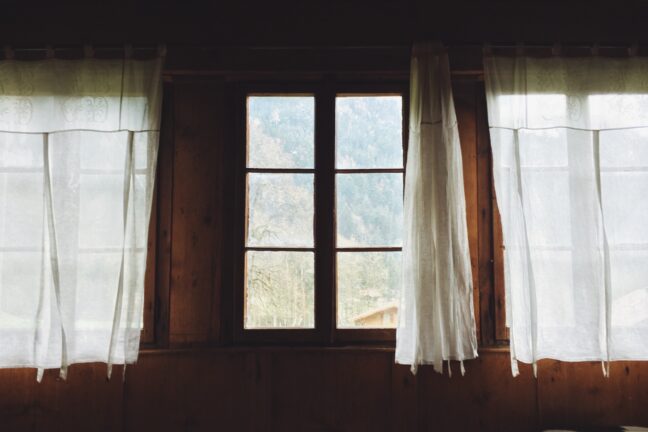
3. Try Adding Modifiers to the Window for Different Effects
If you use a large north- or south-facing window for your light, you’ll get a great, soft result. But what if you want even softer photos or you don’t have a big north- or south-facing window to work with? That’s where modifiers come in handy.
In standard flash photography, you’ll see shooters using umbrellas and softboxes to diffuse the light. But you don’t need anything so fancy. Instead, just get a nice white sheet and drape it over the window. It’ll soften the light and make it much easier to capture gorgeous images.
Note that you don’t want to diffuse the light too much because this will substantially reduce its intensity. And the dimmer the light, the more you’ll need to drop the camera’s shutter speed and the higher you’ll need to make the ISO, which will result in blurry and/or noisy images.
So go ahead and diffuse the light with a custom modifier. But don’t go overboard!
By the way, you’ll want to make sure that the sheet is a neutral white. If you use a colored sheet, it’ll tint your images and may require some color correction in post-processing later on.
4. Use a Wide Aperture, a Decent Shutter Speed, and the Lowest ISO You Can Afford
Window light tends to be pretty weak, especially when compared to the direct light you get when working outdoors. You have to set your camera settings very carefully to ensure you achieve a detailed, well-exposed result. Here’s what I recommend:
First, use a very wide aperture, such as f/2.8 or f/1.8. This will let in as much light as possible, and it’ll also have a nice side effect: It’ll give you very artistic, creative images by blurring the background and only keeping a sliver of your subject in focus.
Second, set your shutter speed between 1/100s and 1/250s. The precise value should depend on the length of your lens and your comfort levels; that way, you’ll be able to capture sharp images, but you won’t have to worry about raising your ISO too much.
Third, make sure that your ISO is as low as possible. A high ISO will increase image noise levels, which rarely looks good. So start with an ISO of around 100, then only raise it if you’re not able to set your shutter speed in the window I suggested above (i.e. if your shutter speed is too slow; a too-fast shutter speed is fine and can be left alone).
That way, you’ll be able to get sharp, well-exposed photos with as little noise as possible.
5. Remove All Other Light Sources for the Most Powerful Result
In general, you want to control the light completely. It’s what will allow you to capture beautiful, flattering images. (Plus, if you use multiple light sources, you risk adding unpleasant color casts to your photos.)
Related Posts
So here’s what you do: Before taking a single shot, walk around the room and turn off every light. Then pull down the blinds or drapes on every window in the room, save for your single light source. If you don’t have effective blinds or drapes, go ahead and cover the windows with black sheets.
Once this is done, your subject will be lit by one window. That way, you can create dramatic, three-dimensional images without having to worry about other light getting in the way.
6. Use Blinds to Create Dramatic Shadows
If you’re hoping to capture unique, powerful images, then here’s a creative tip for you:
Put blinds over your window. But don’t close them; instead, leave them completely (or partially) open. They’ll cast interesting, unique shadows, which is great for more experimental work.
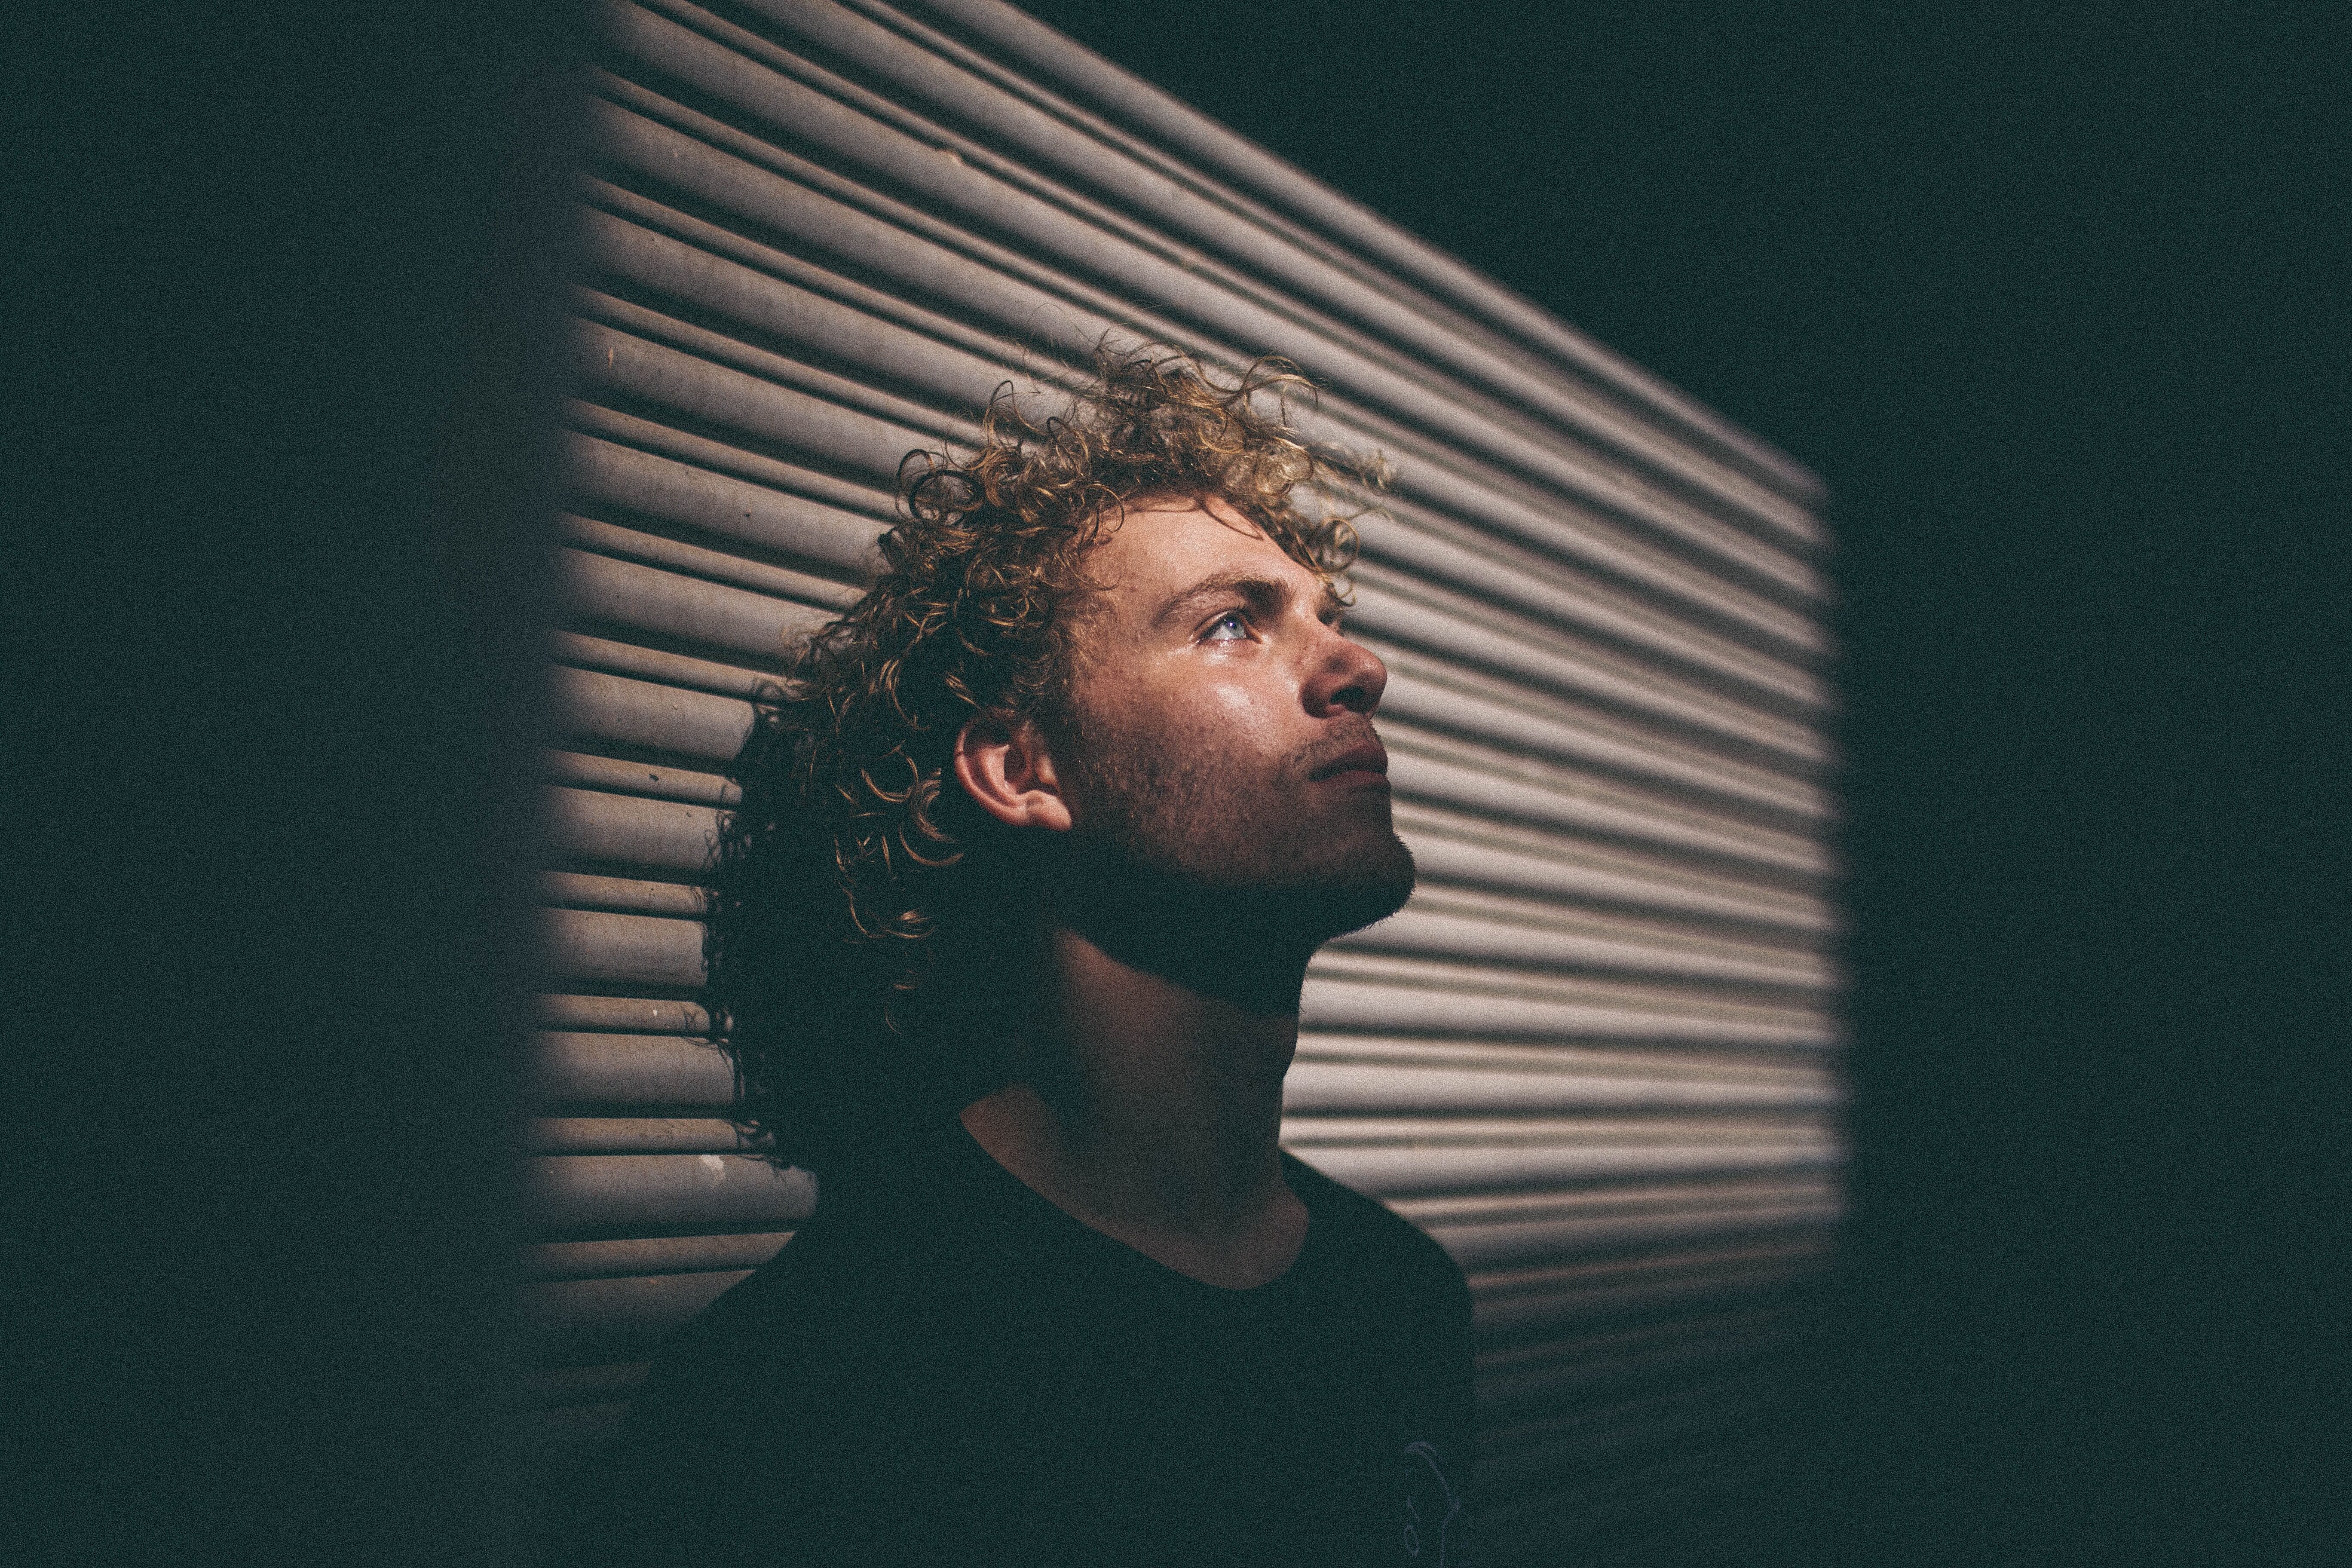
I also recommend adjusting the blind gap sizes so that you get thinner and thicker shadows. The results will speak for themselves!
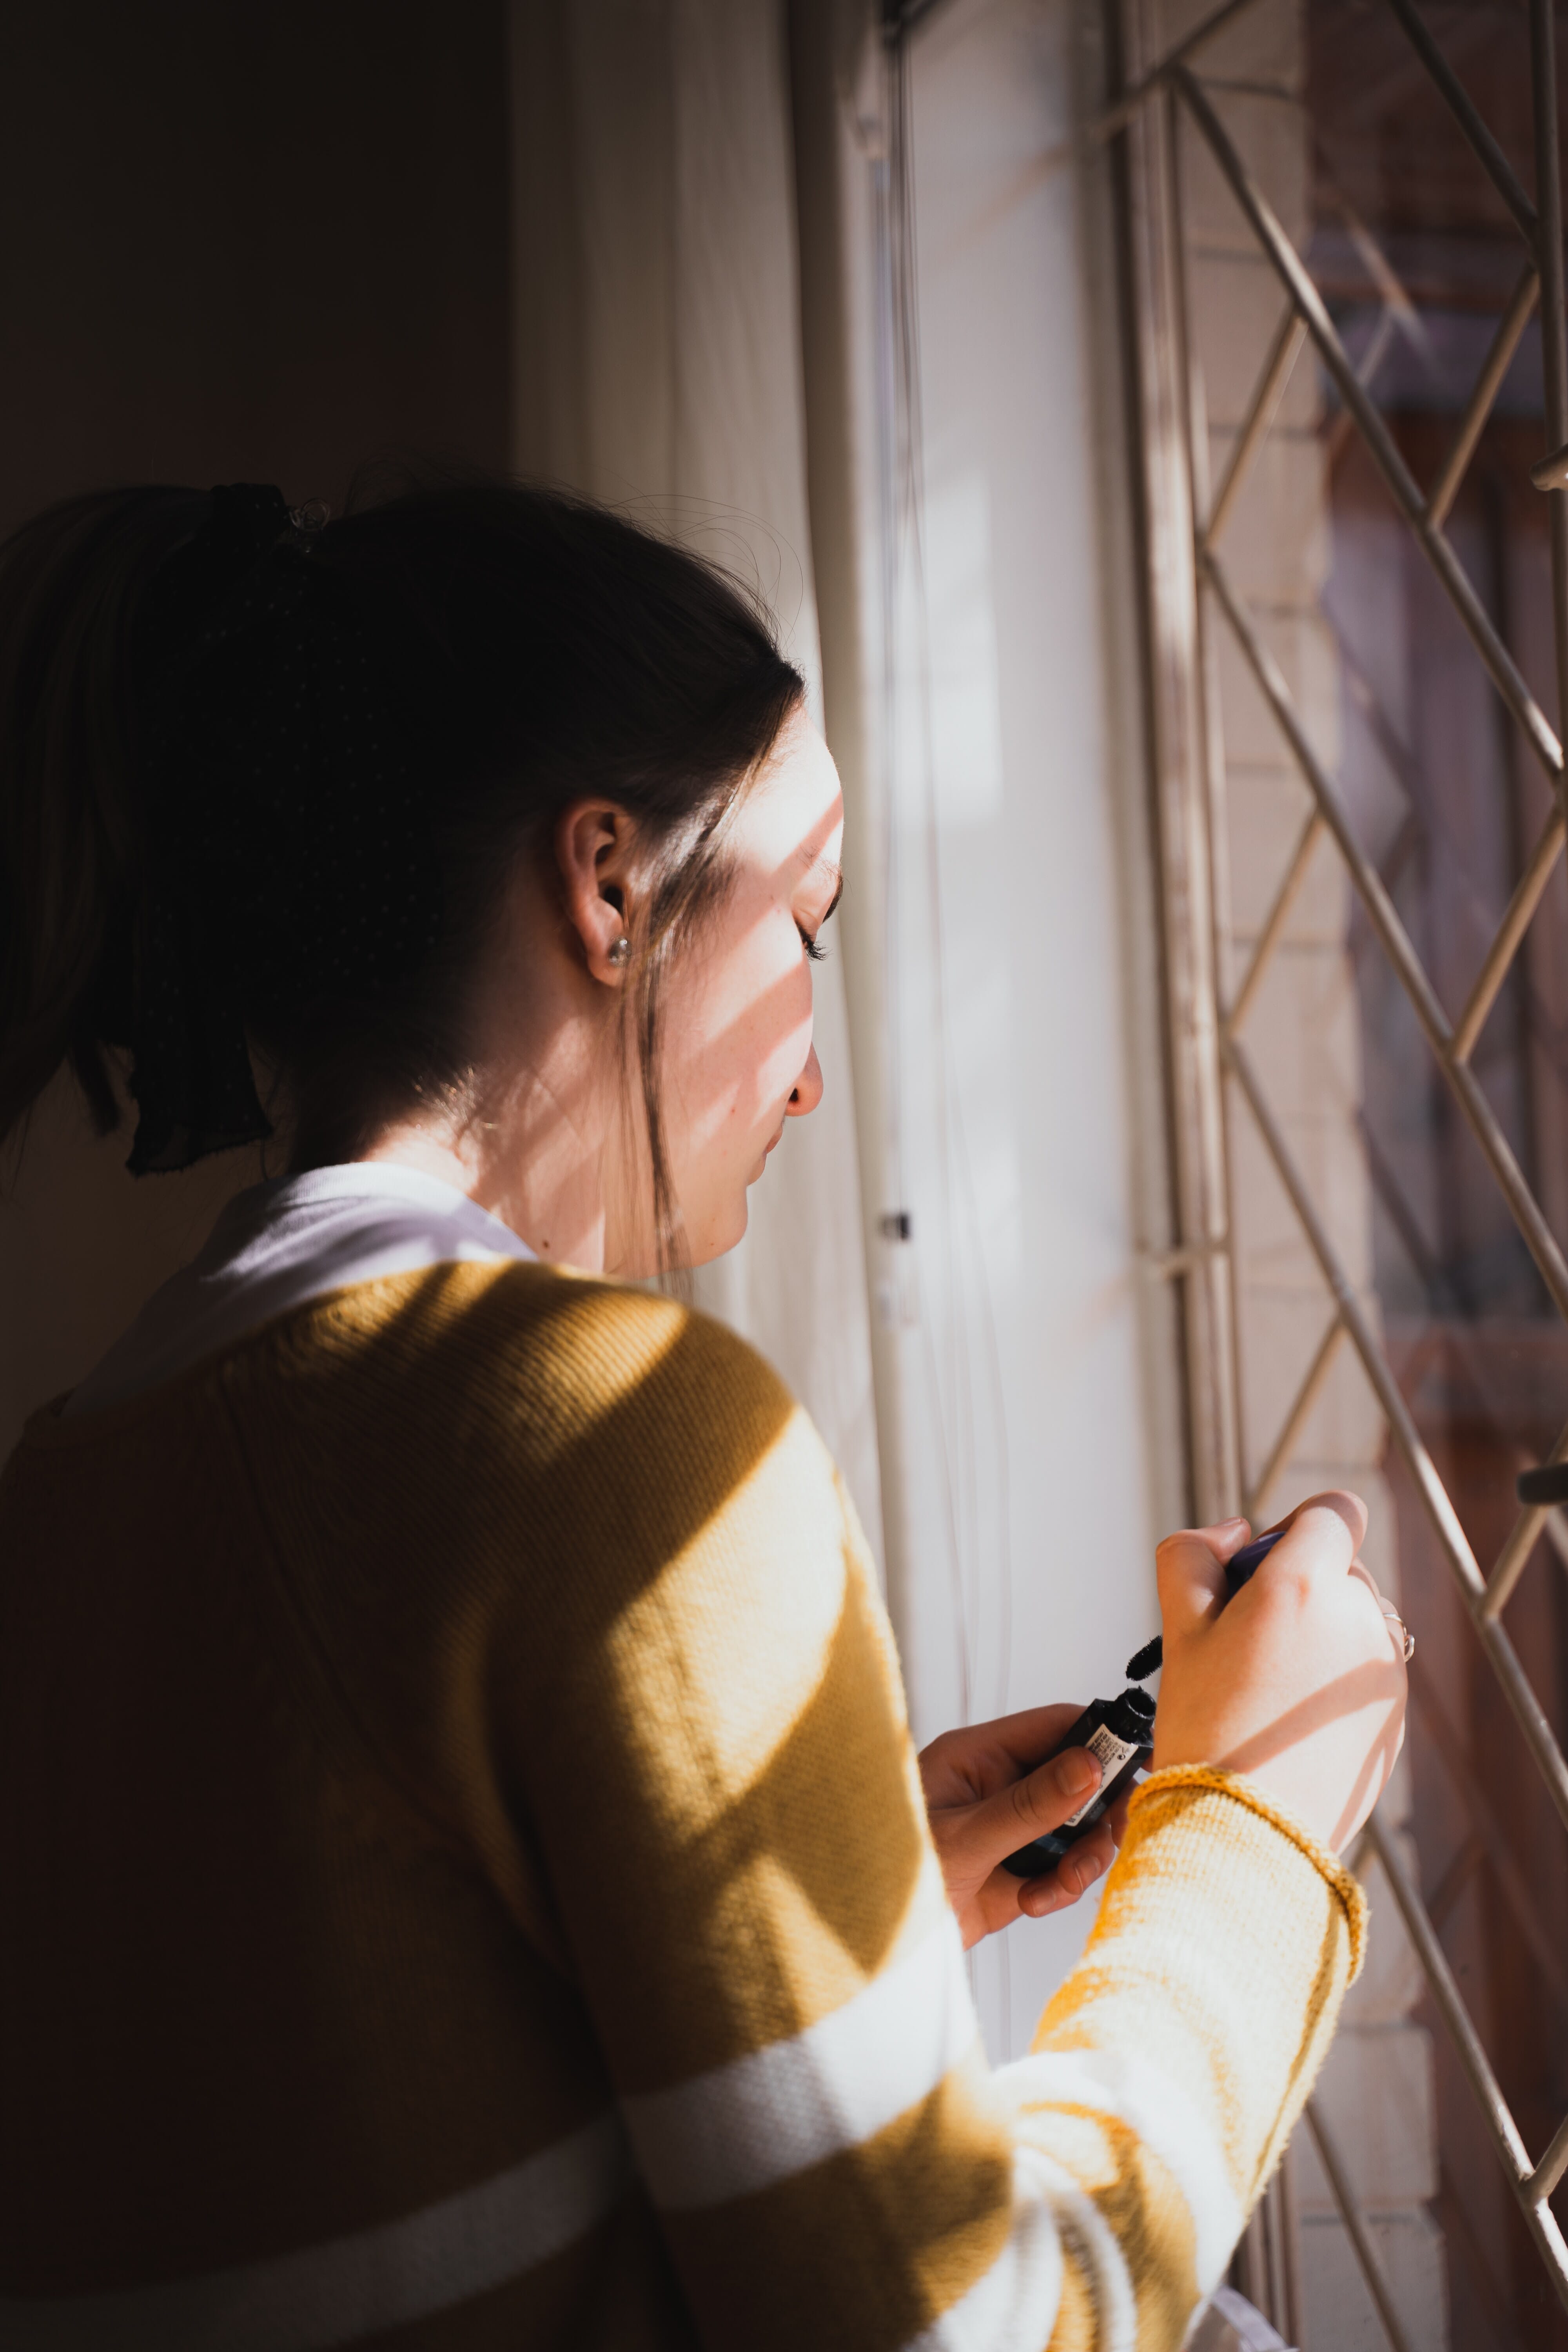
7. Experiment with Lighting Angles for Creative Photos
Once you have your window light setup, then it’s time to really dig in and create a unique portfolio of shots. And one of the most important elements to think about is the direction of the light.
If your subject is facing the window and you’re standing with the window light coming over your shoulder, you’re going to get one type of shot – with a bright subject and a darker background.
But if you position your subject facing 90 degrees away from the window so the light is hitting their face from the side, you’ll get a completely different result (one that’s much more three-dimensional and dramatic).
Personally, I’m a fan of sidelight, where the light illuminates the subject from off to their left or right. But you’ll get different types of shots depending on the exact angle at which you position your subject, which is why it pays to experiment with a bunch of different options.
Try starting with your subject facing the window directly. Then shift so that you get some 45-degree sidelight, then shift again so you get 90-degree sidelight, then again for very limited sidelight, and so on.
Not only will this give you some beautiful photos, but it’ll also help you really understand how the light affects your images.
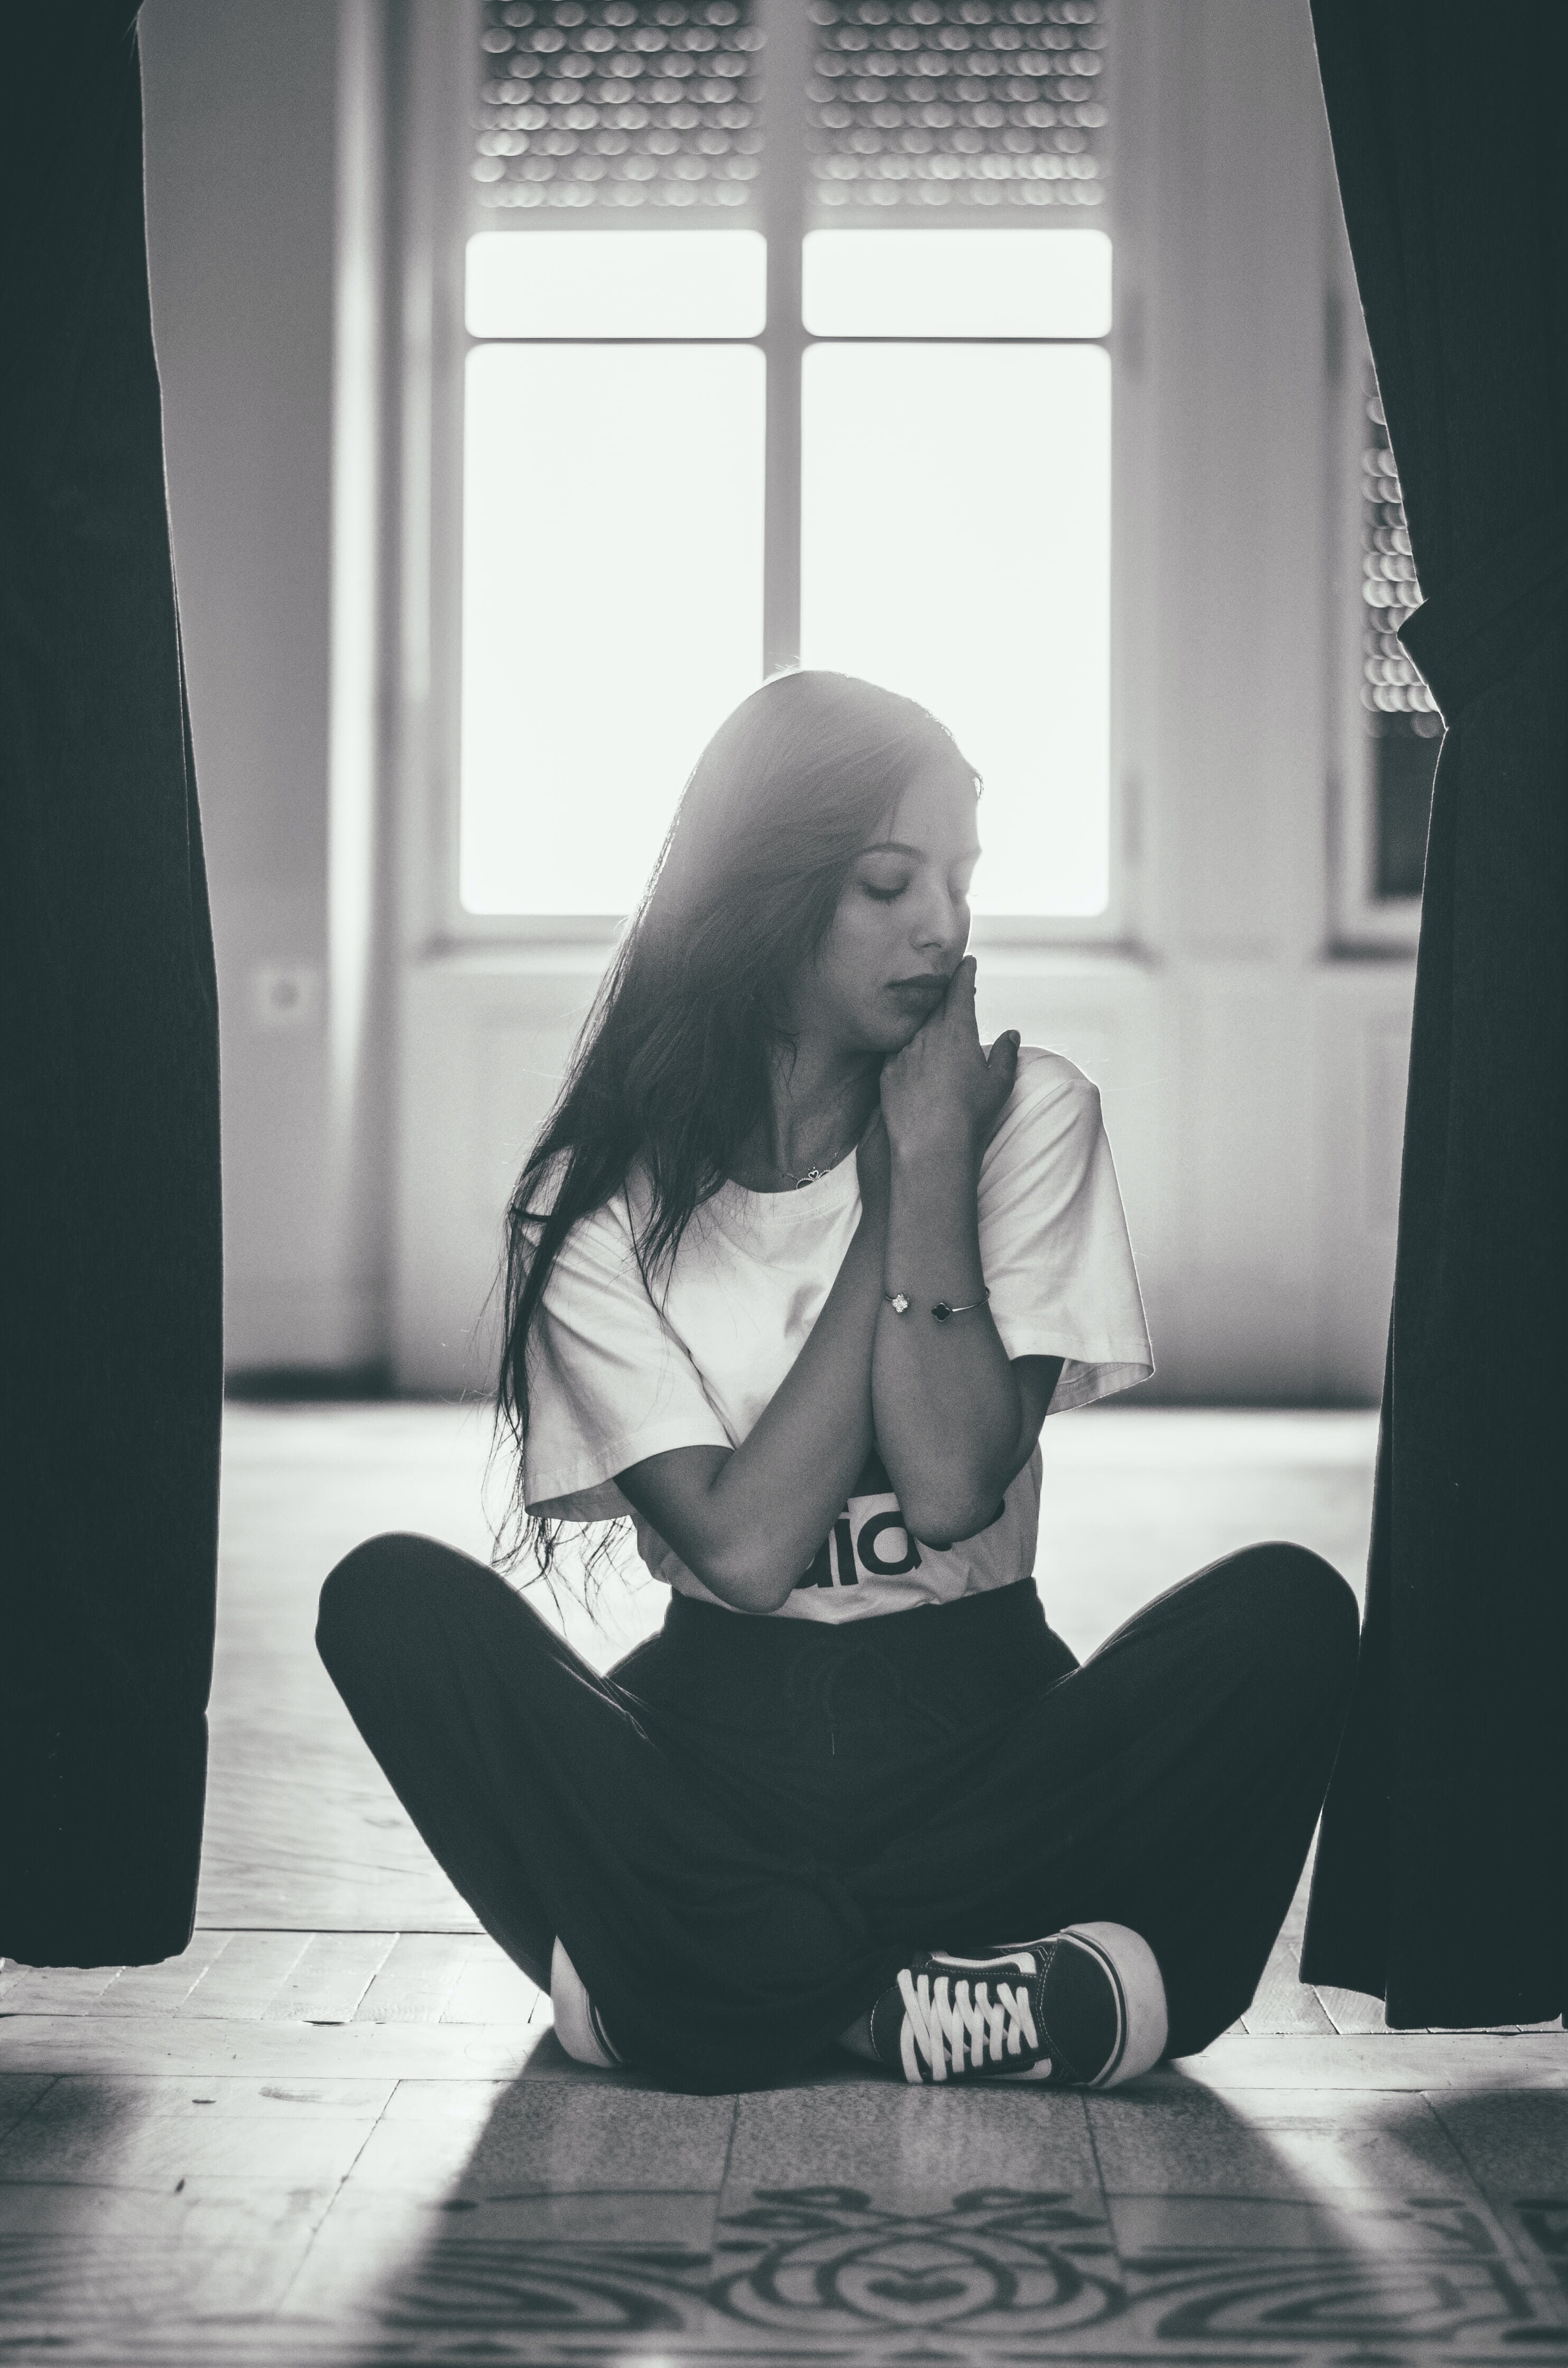
By the way, if you’re after more creative window light shots, you can always go for a direct backlighting effect where you position your subject in front of the window and shoot from behind. This will generally create a beautiful silhouette and can work well with any subject. (Pro tip: If you have your subject wear a hat, you’ll get an even more interesting outline!)
8. Use a Reflector to Prevent Strong Shadows
If you ever find yourself taking photos but feel like the shadows are a bit strong, don’t be afraid to use a reflector. This will punch up the light on your subject and will also minimize the strength of the darker areas.
For instance, if you’re taking a backlit window portrait but don’t want a true silhouette, you can put a reflector under your subject’s chin, which will bounce back light onto their face. Or if you’re doing a side-lit portrait but the shadows on the unlit part of the face aren’t as soft as you’d like, you can add a reflector on the unlit side to make the results more flattering.
Let me emphasize something, though: You don’t need a fancy reflector that photography professionals often use (though these are actually pretty cheap and can be worth purchasing if you’re planning on doing a lot of portrait or product photography). Instead, you can just use something white, like a sheet of white paper or an open book.
Create Some Beautifully Lit Photos!
Window light offers stunning, directional illumination that produces great results in a whole host of scenarios. And now that you know it works and how you can take advantage of its unique features, your photos will improve in leaps and bounds.
Just remember to choose your window carefully, and make sure you take steps to modify the light (if needed). Pick the camera settings that’ll net you sharp, well-exposed shots, and bring in a reflector to reduce any unwanted shadows.
And, of course, have fun photographing!
Window Light Photography FAQ
What type of window is best for window light photography?
I recommend using a window that faces north or south. That way, you never get direct light from the sun, and the light stays more consistent throughout the day.
Should I use a reflector when doing window light photography?
That depends on the look you’d like to achieve. Reflectors can be useful, especially if you want to punch up the darker areas a bit.
What’s the best window photography lighting angle?
I recommend using sidelight. Position your subject so that the window light hits them from somewhere off to their right or left. You can also use backlight for an interesting silhouette or frontlight for a bright subject on a dark background.
What subjects can I photograph with window light?
All kinds! Portraits are a very popular window light subject, but you can also photograph products or still-life arrangements.